End-Effector Installation [Optional Kit]#
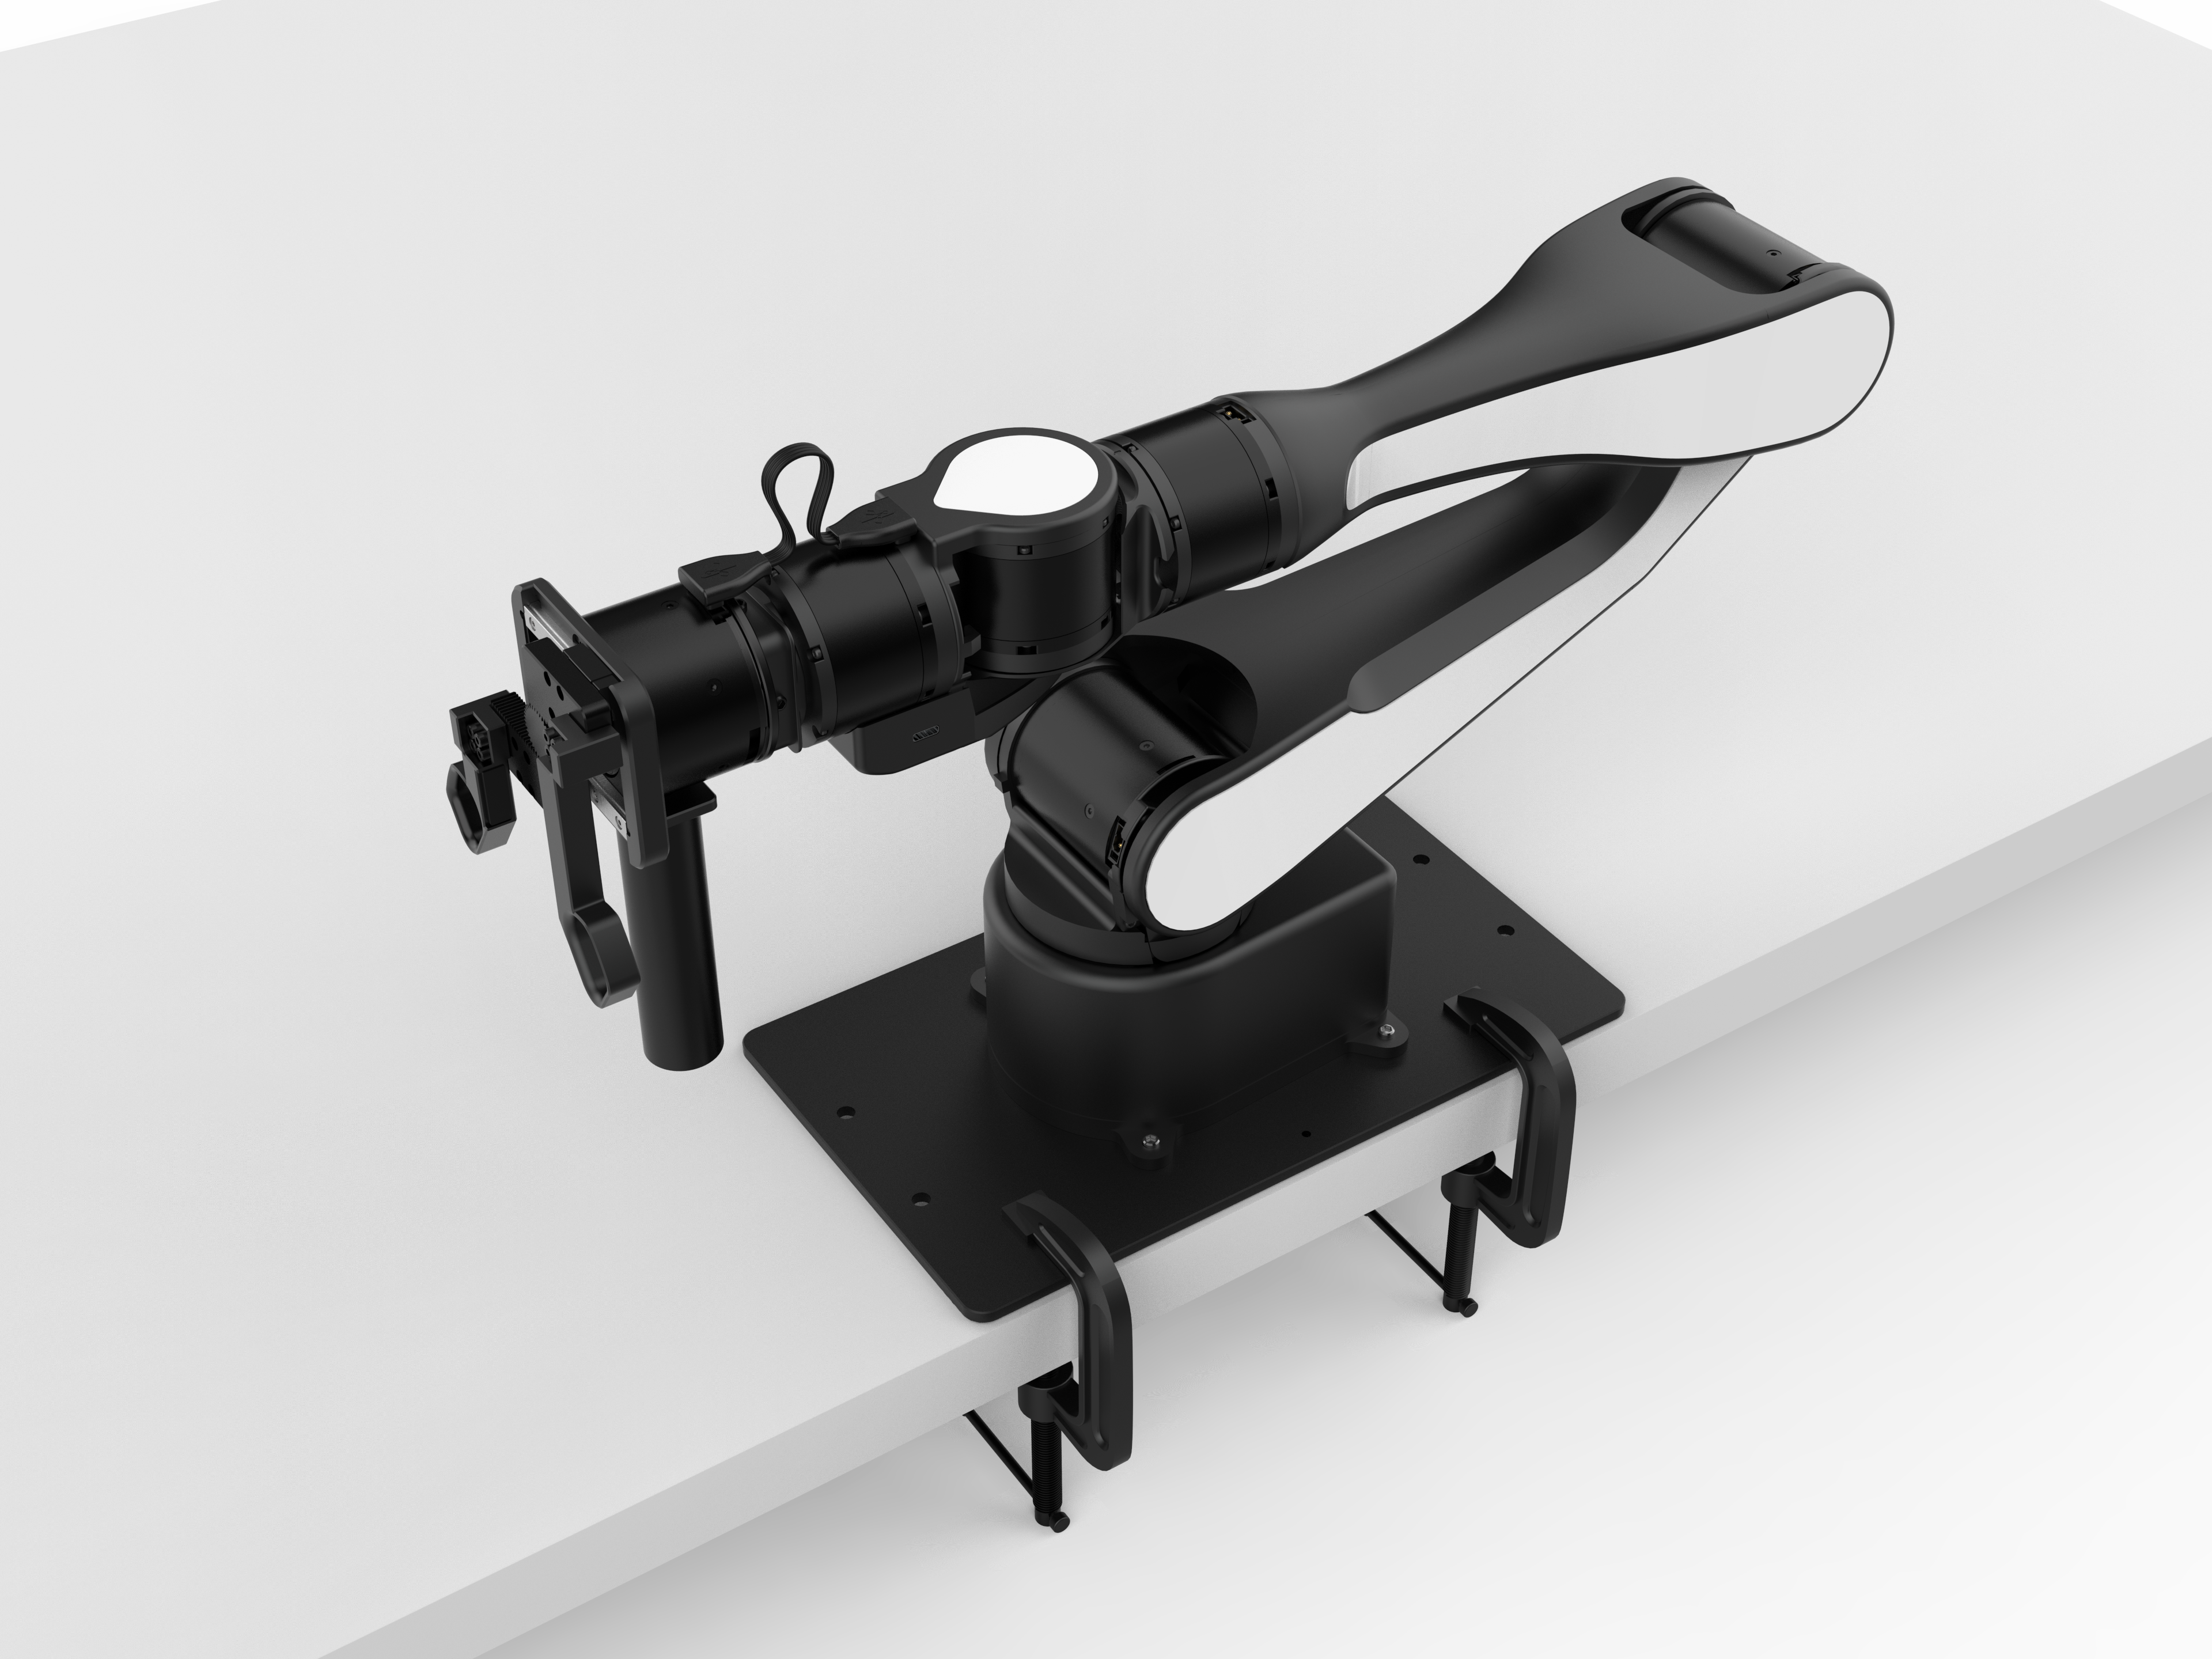
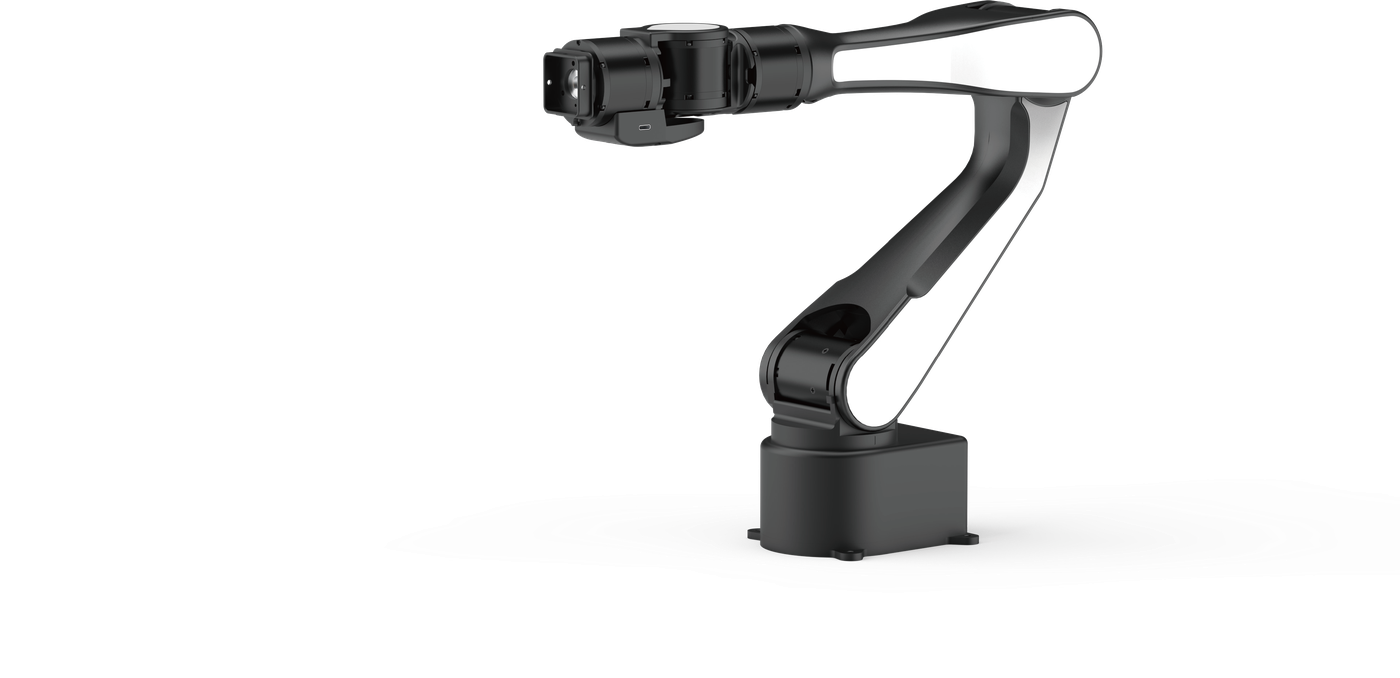
AIRBOT Play currently supports the following two official end-effector versions. The robotic arm can start and operate whether or not an end effector is connected:
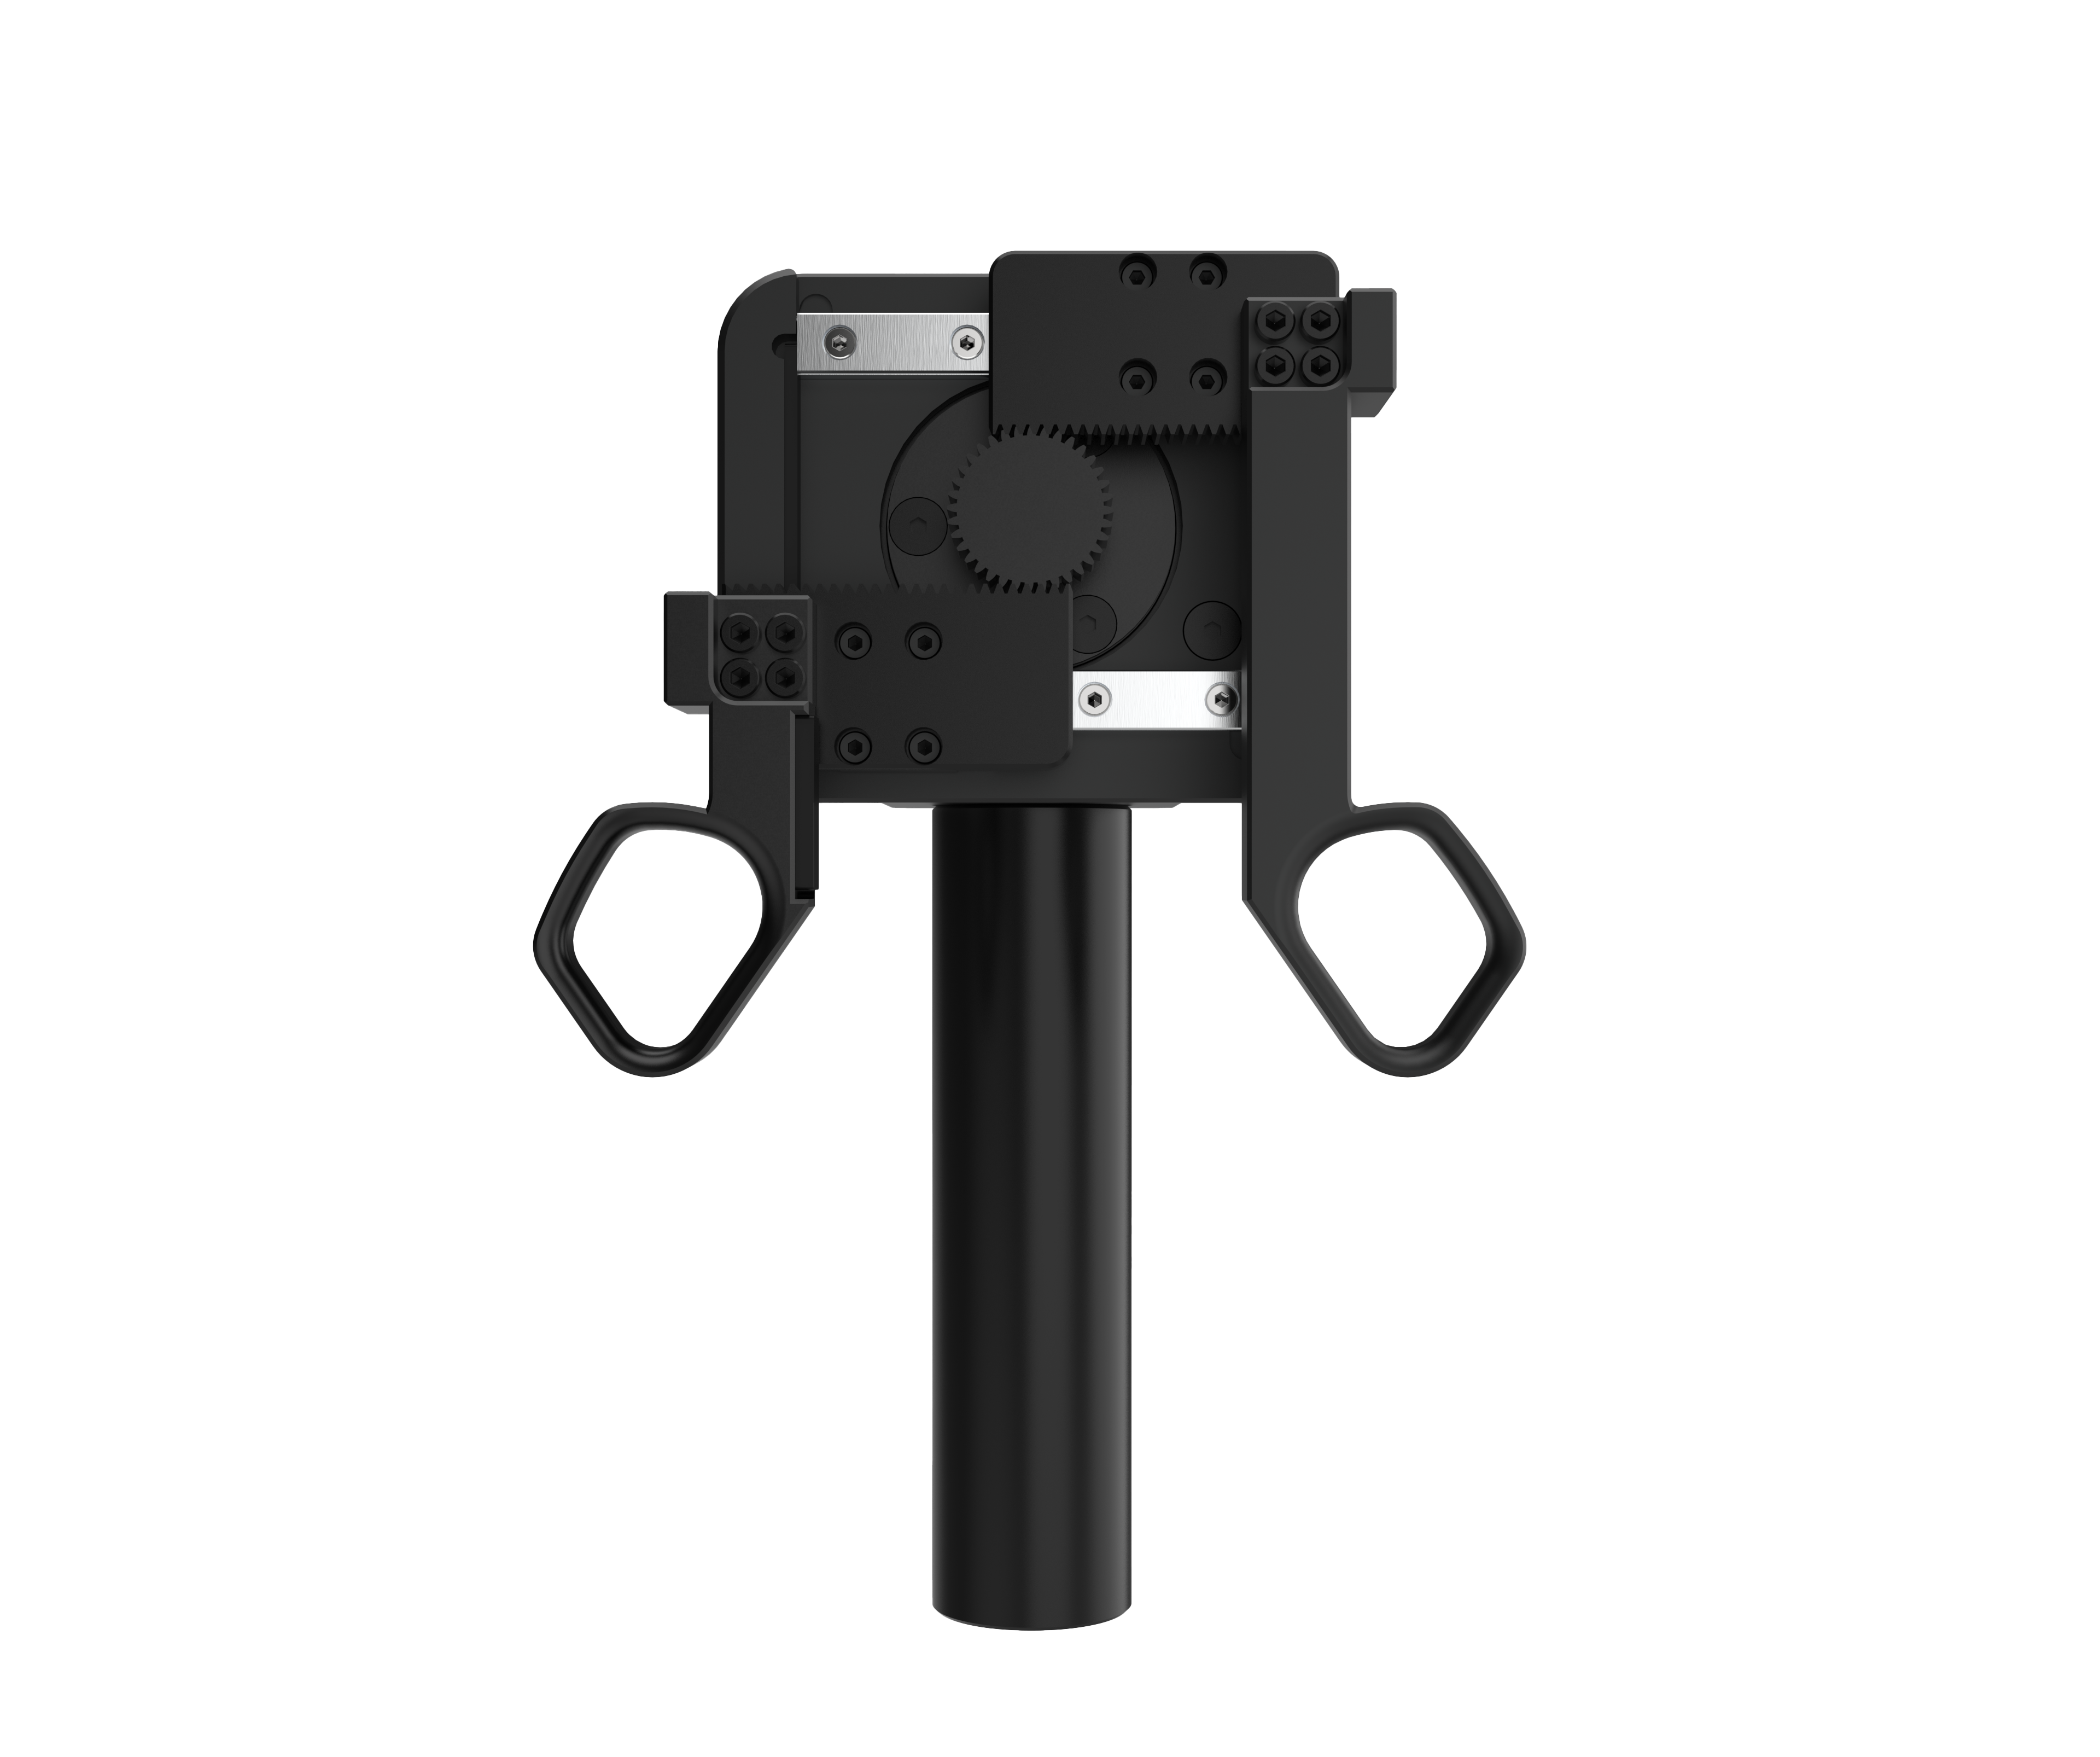
AIRBOT Gripper 2: a two-finger gripper, code-namedG2. This parallel two-finger gripper is opened and closed by a motor.AIRBOT Encoder 2: a two-finger teaching device, code-namedE2. This end effector has an opening and closing mechanism that can control the motion of another two-finger gripper.
-

AIRBOT G2 two-finger gripper
-
AIRBOT E2 teaching device
Support for Other End Effectors
AIRBOT Play can also support other end effectors, such as dexterous hands or custom grippers. Contact the technical support team if needed.
Camera Support
If a camera adapter is needed to secure a camera, install it between the tool-end connector and the gripper. Contact the technical support team for adapter accessories and drawings.
Installation Preparation#
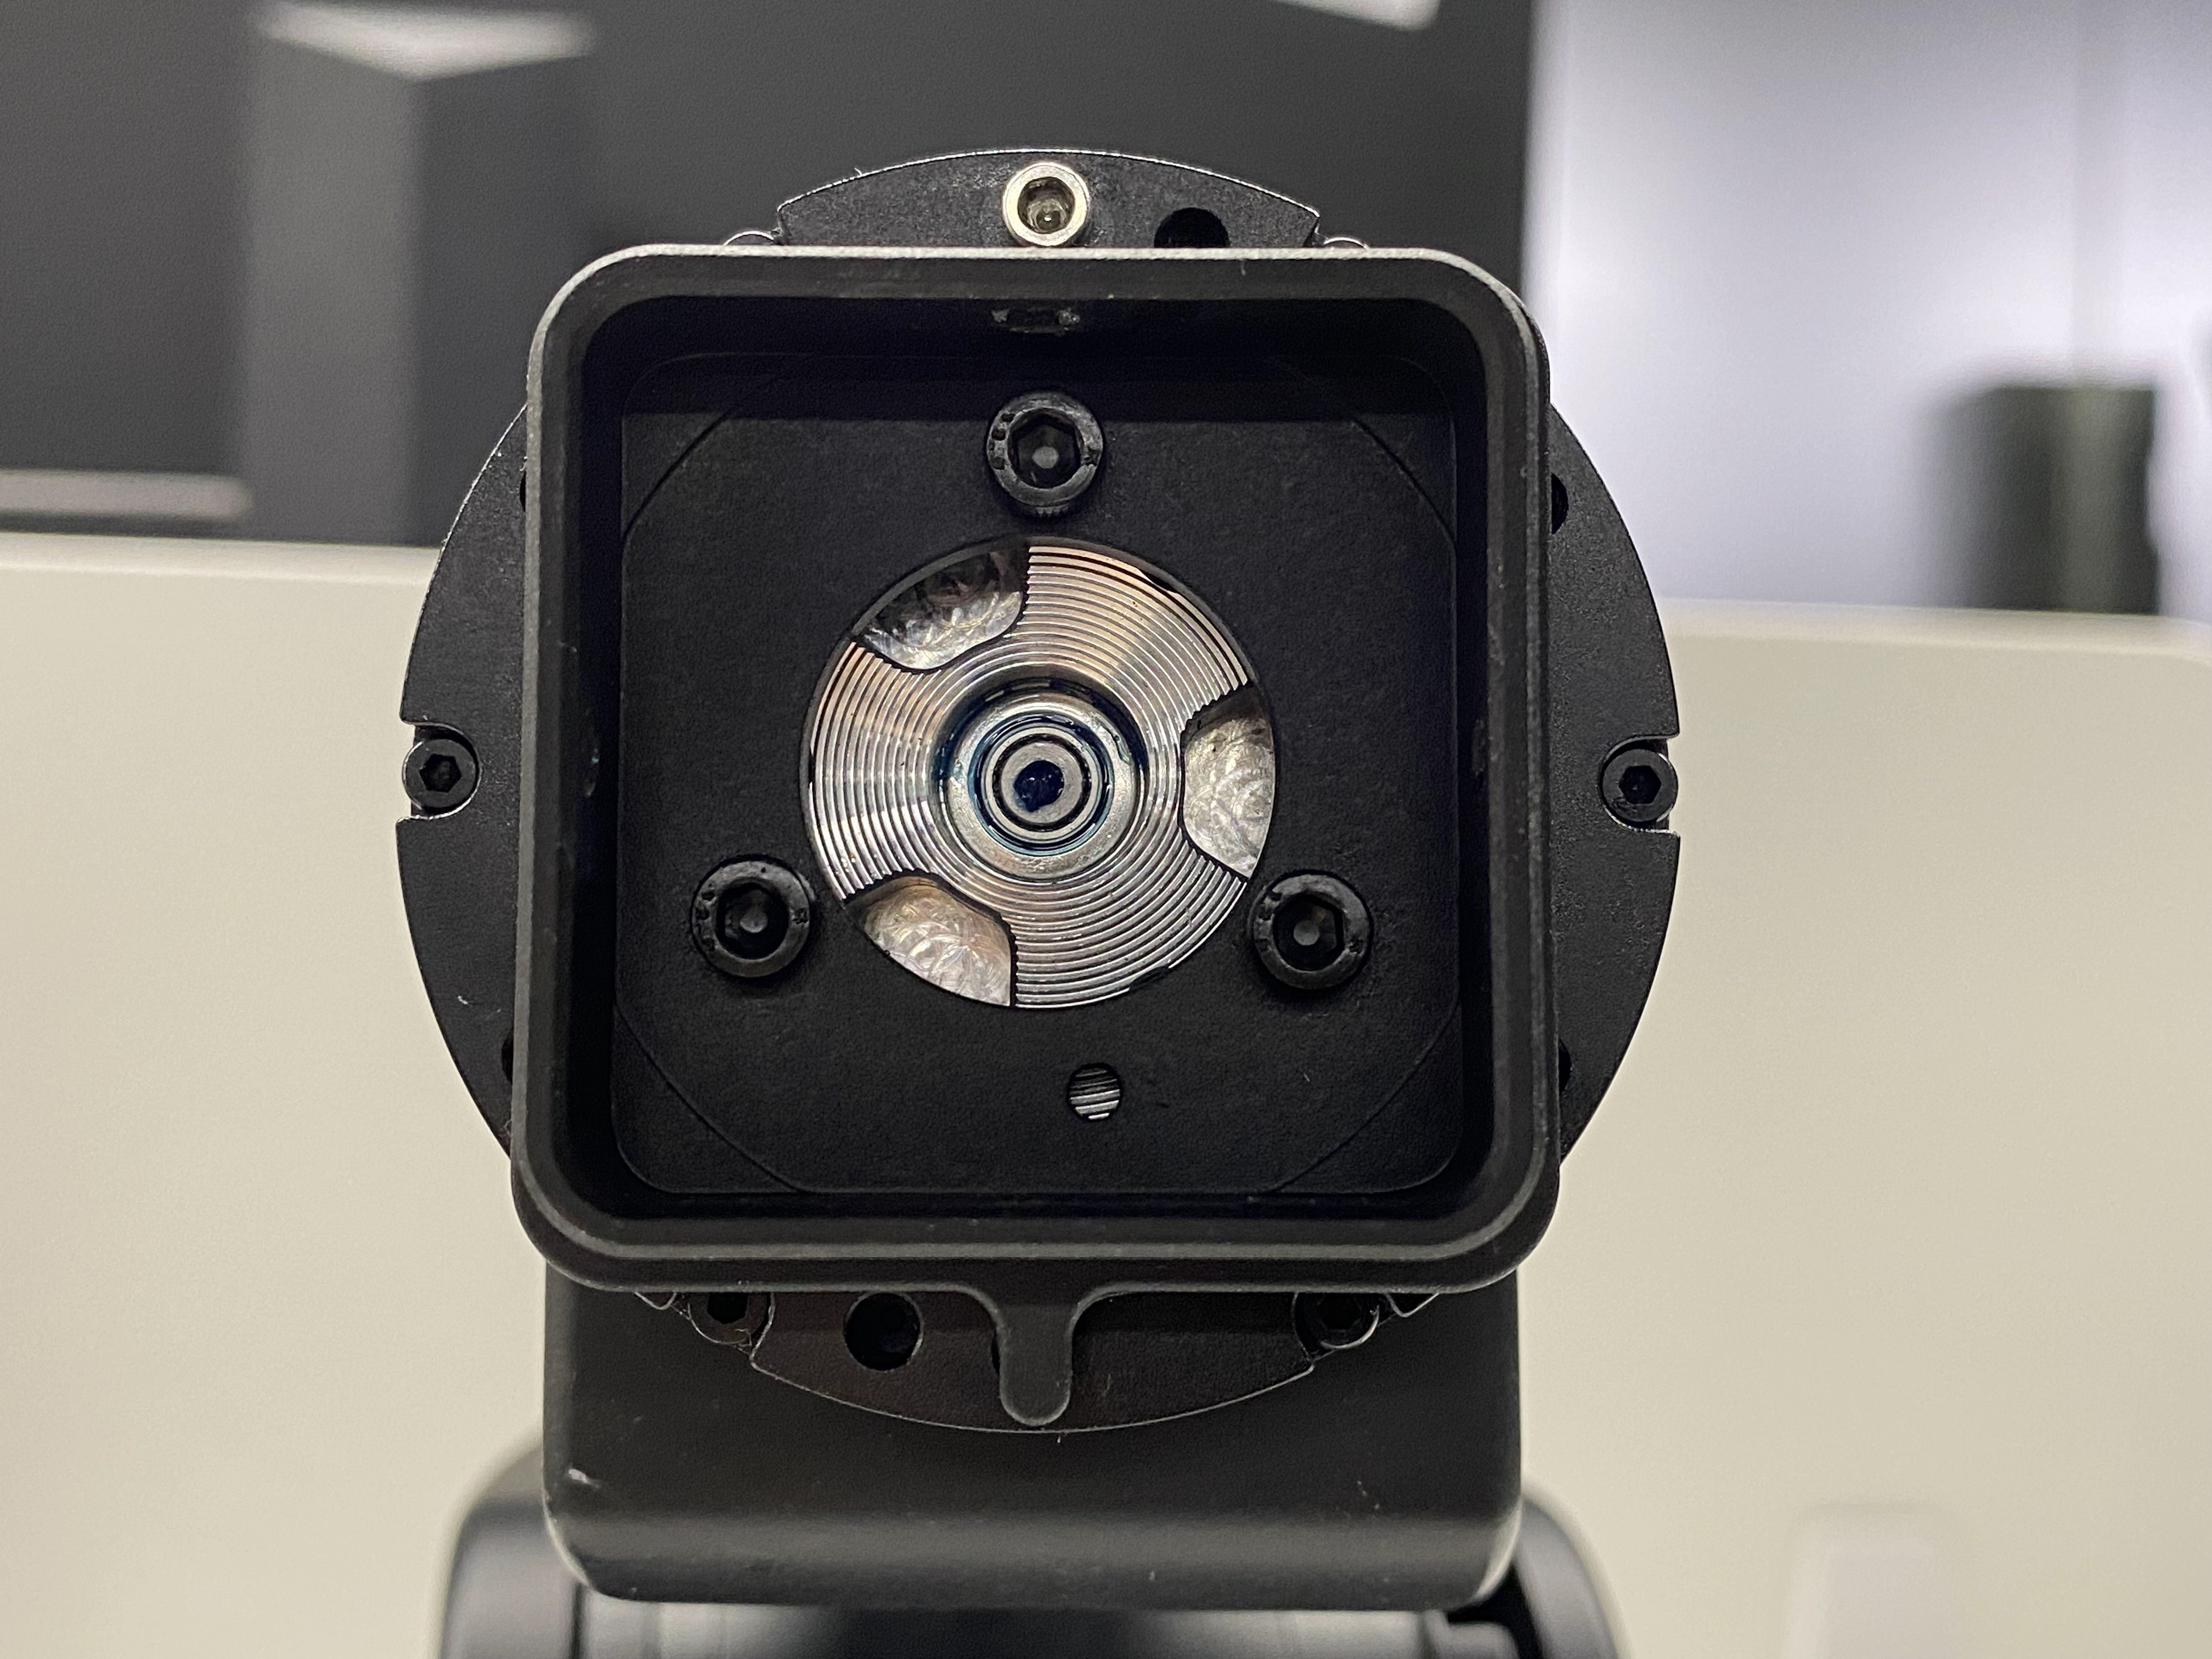
The robotic arm's tool-end connector is installed by default at the factory. Before installing an end effector:
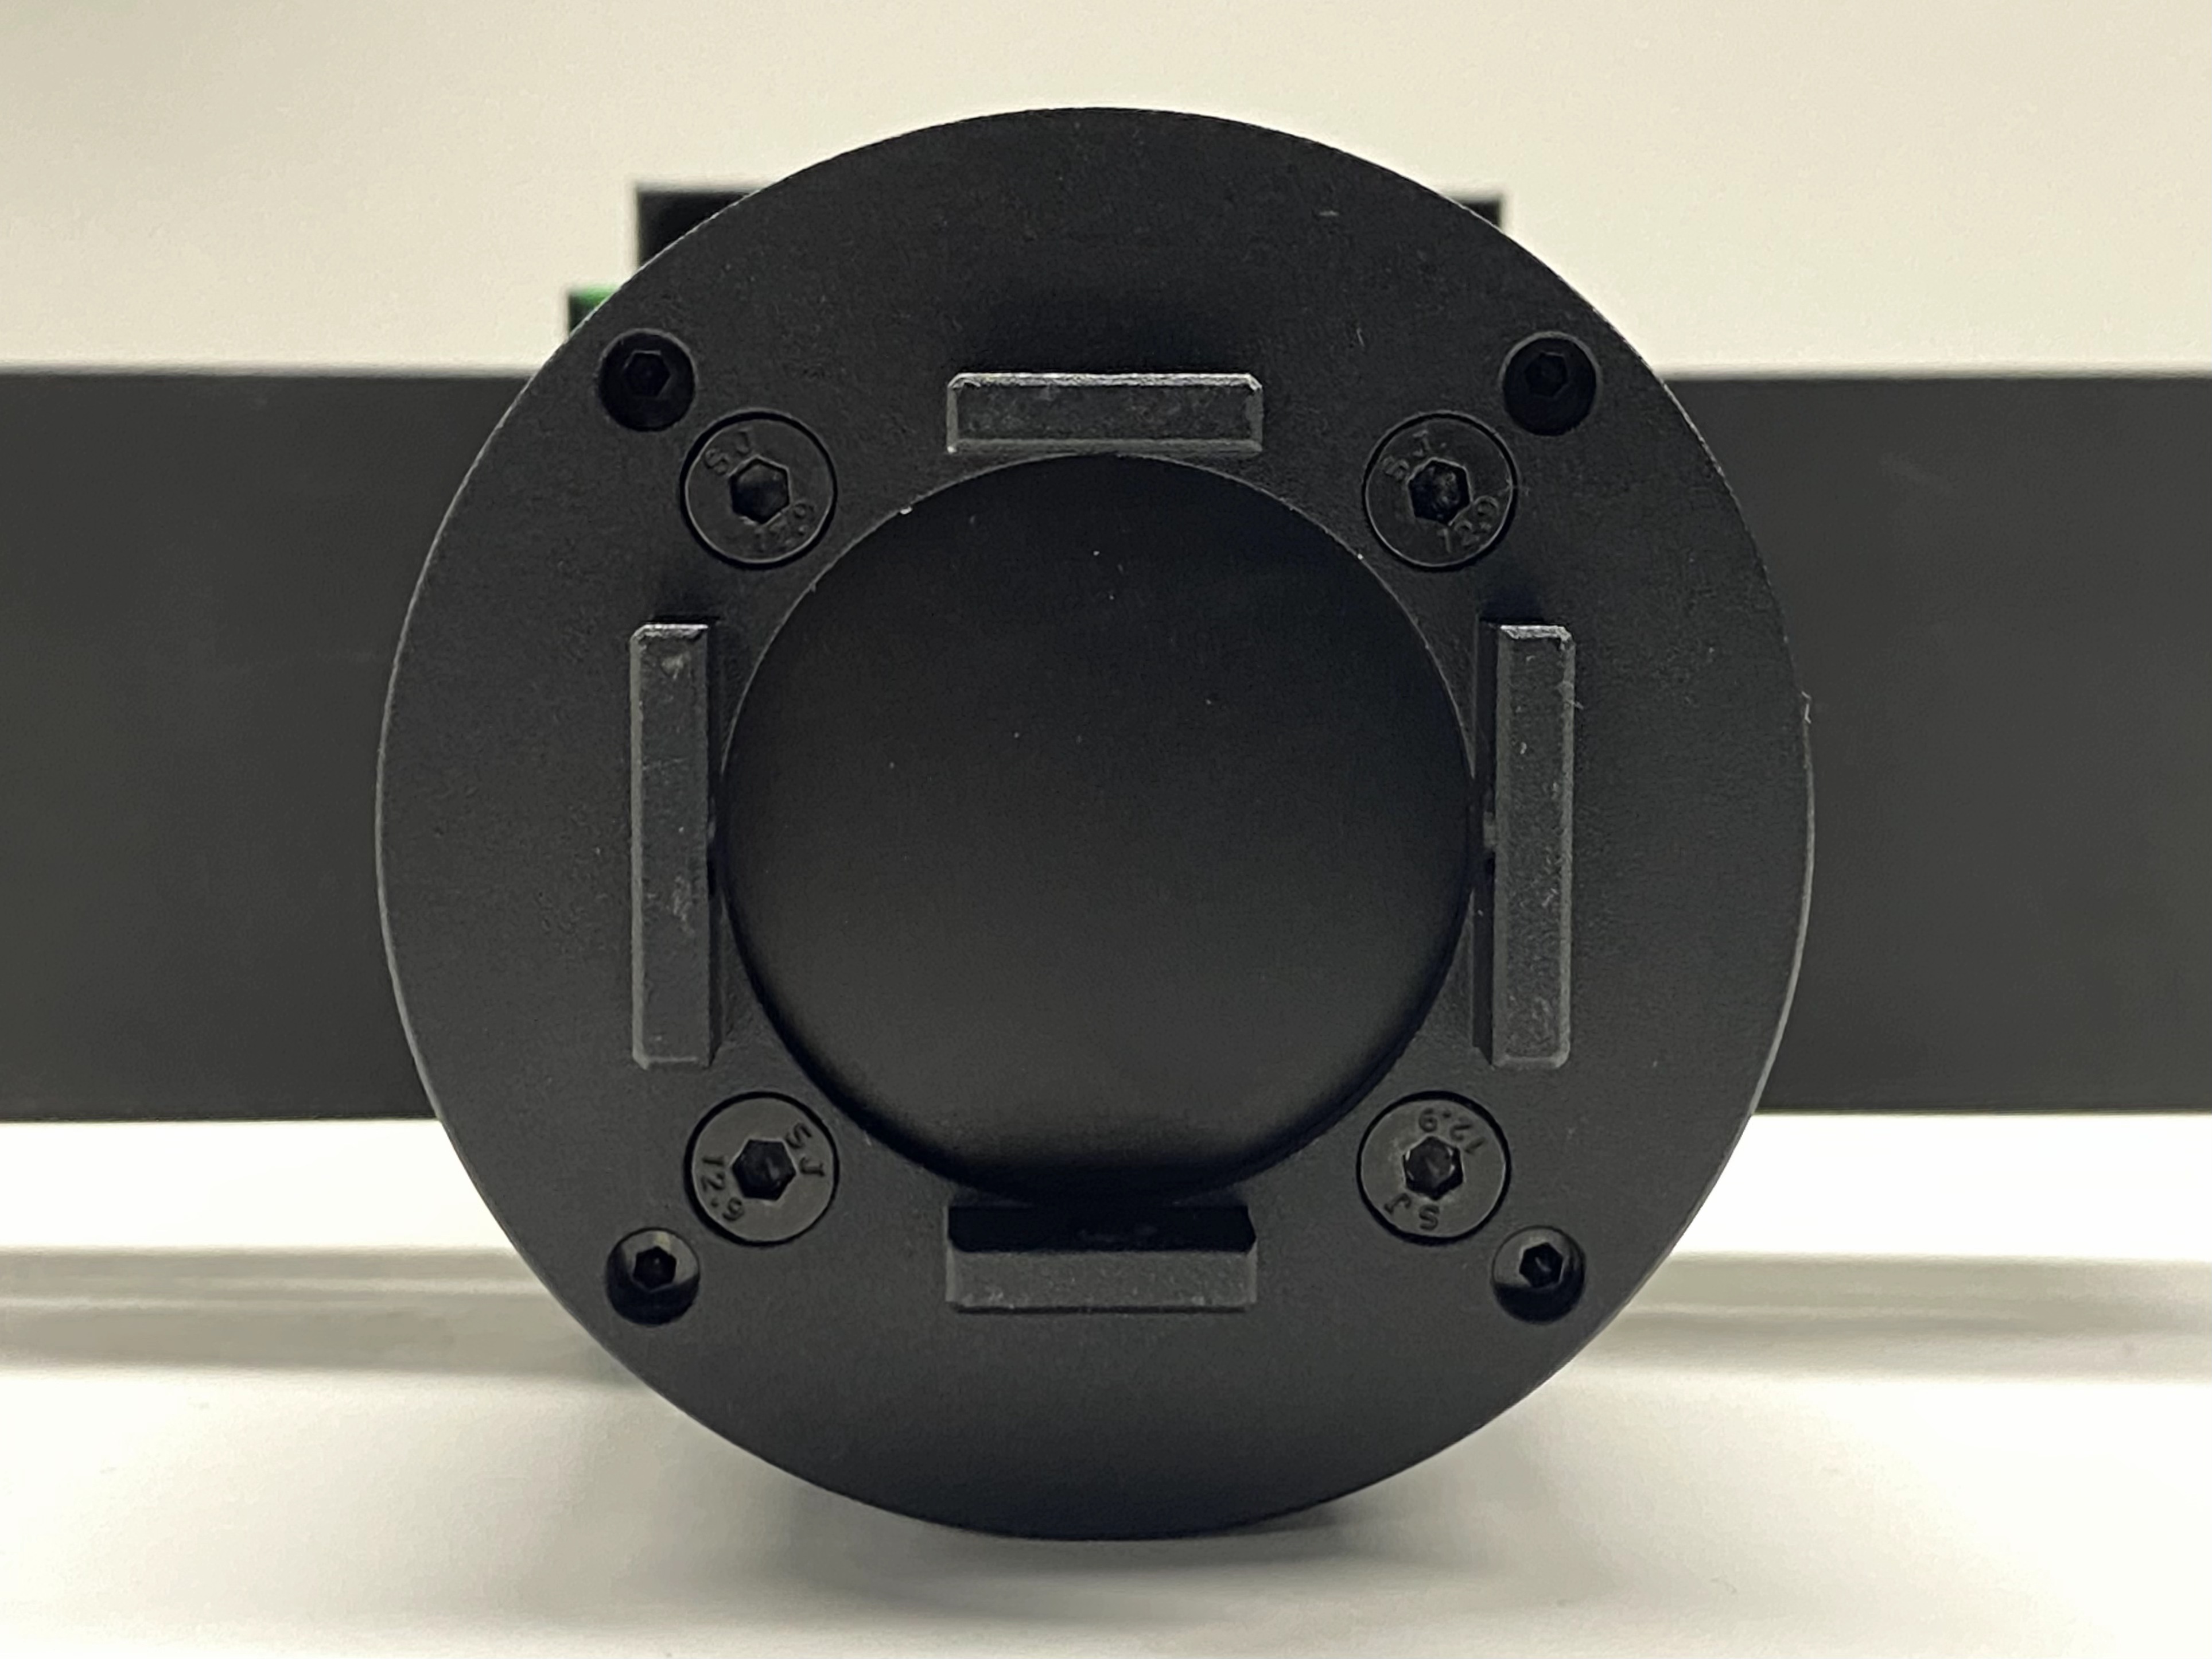
- Rotate the tool end of the robotic arm until the user-button side faces downward.
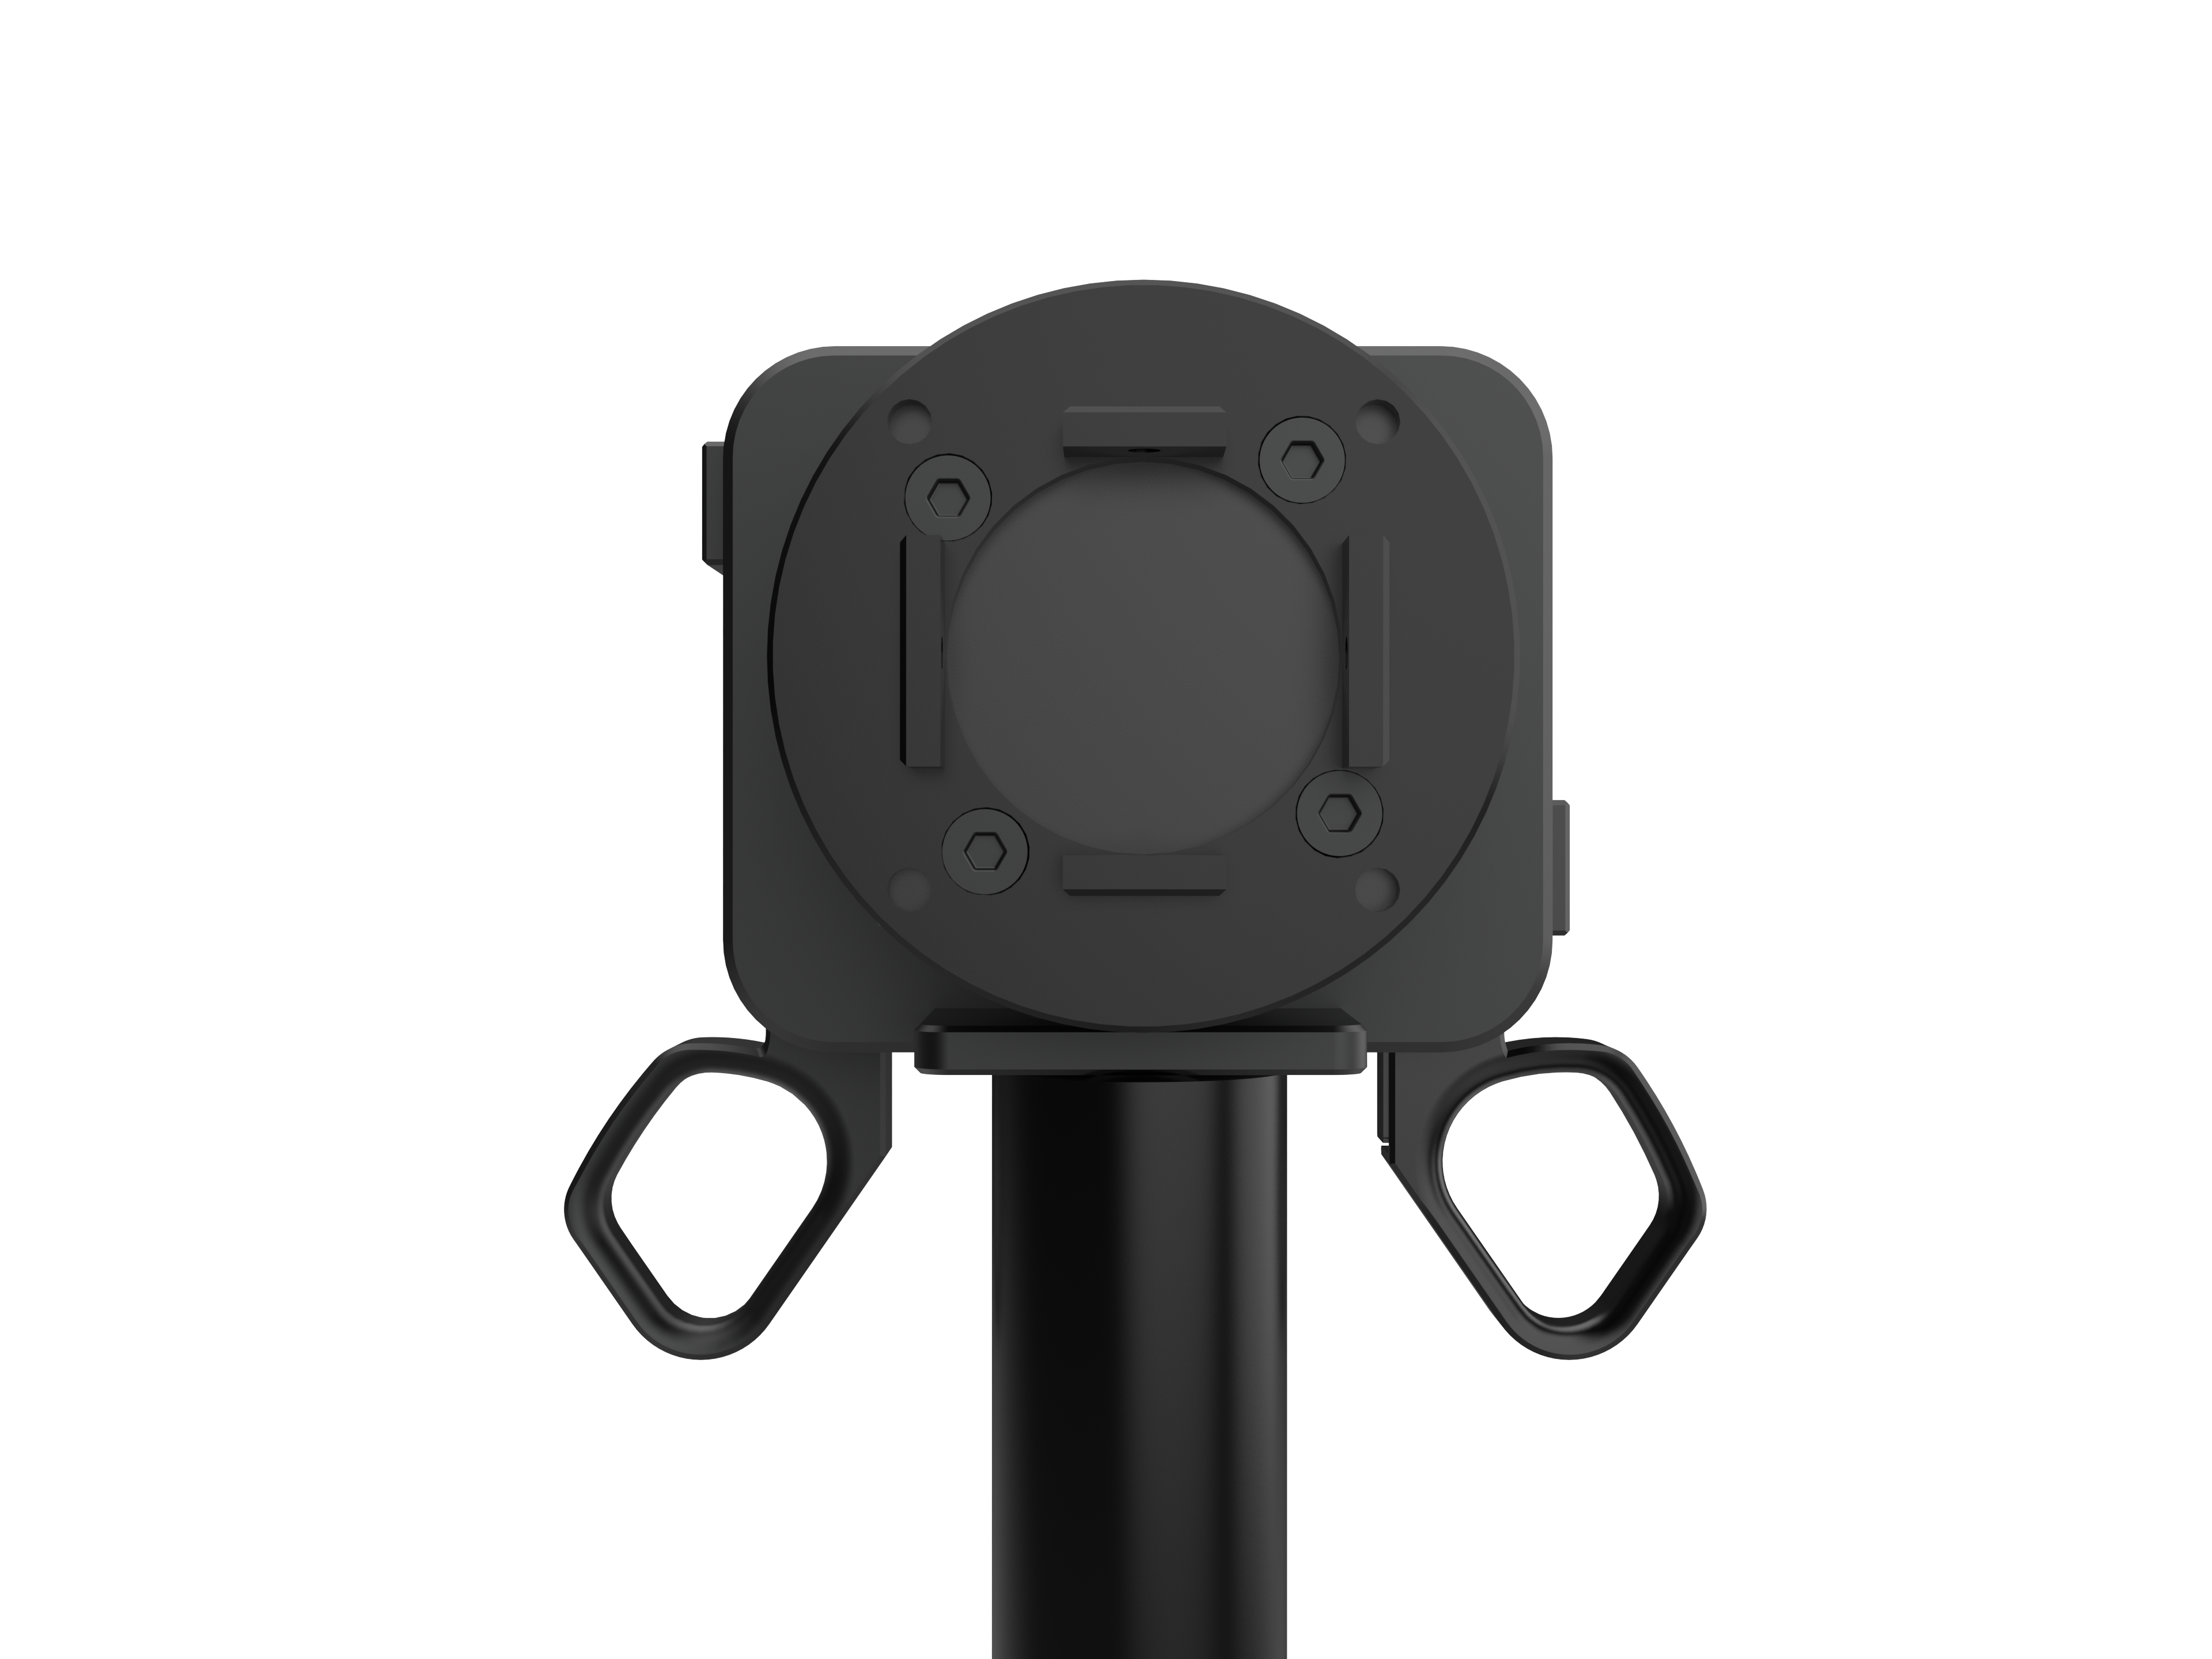
- Rotate the connector to the position shown so that the protruding teardrop-shaped stop faces downward.
Installing the Gripper#
Take out the gripper and four M3 screws. Insert the gripper's mounting section into the robotic arm's tool-end connector, then secure it through the side holes.

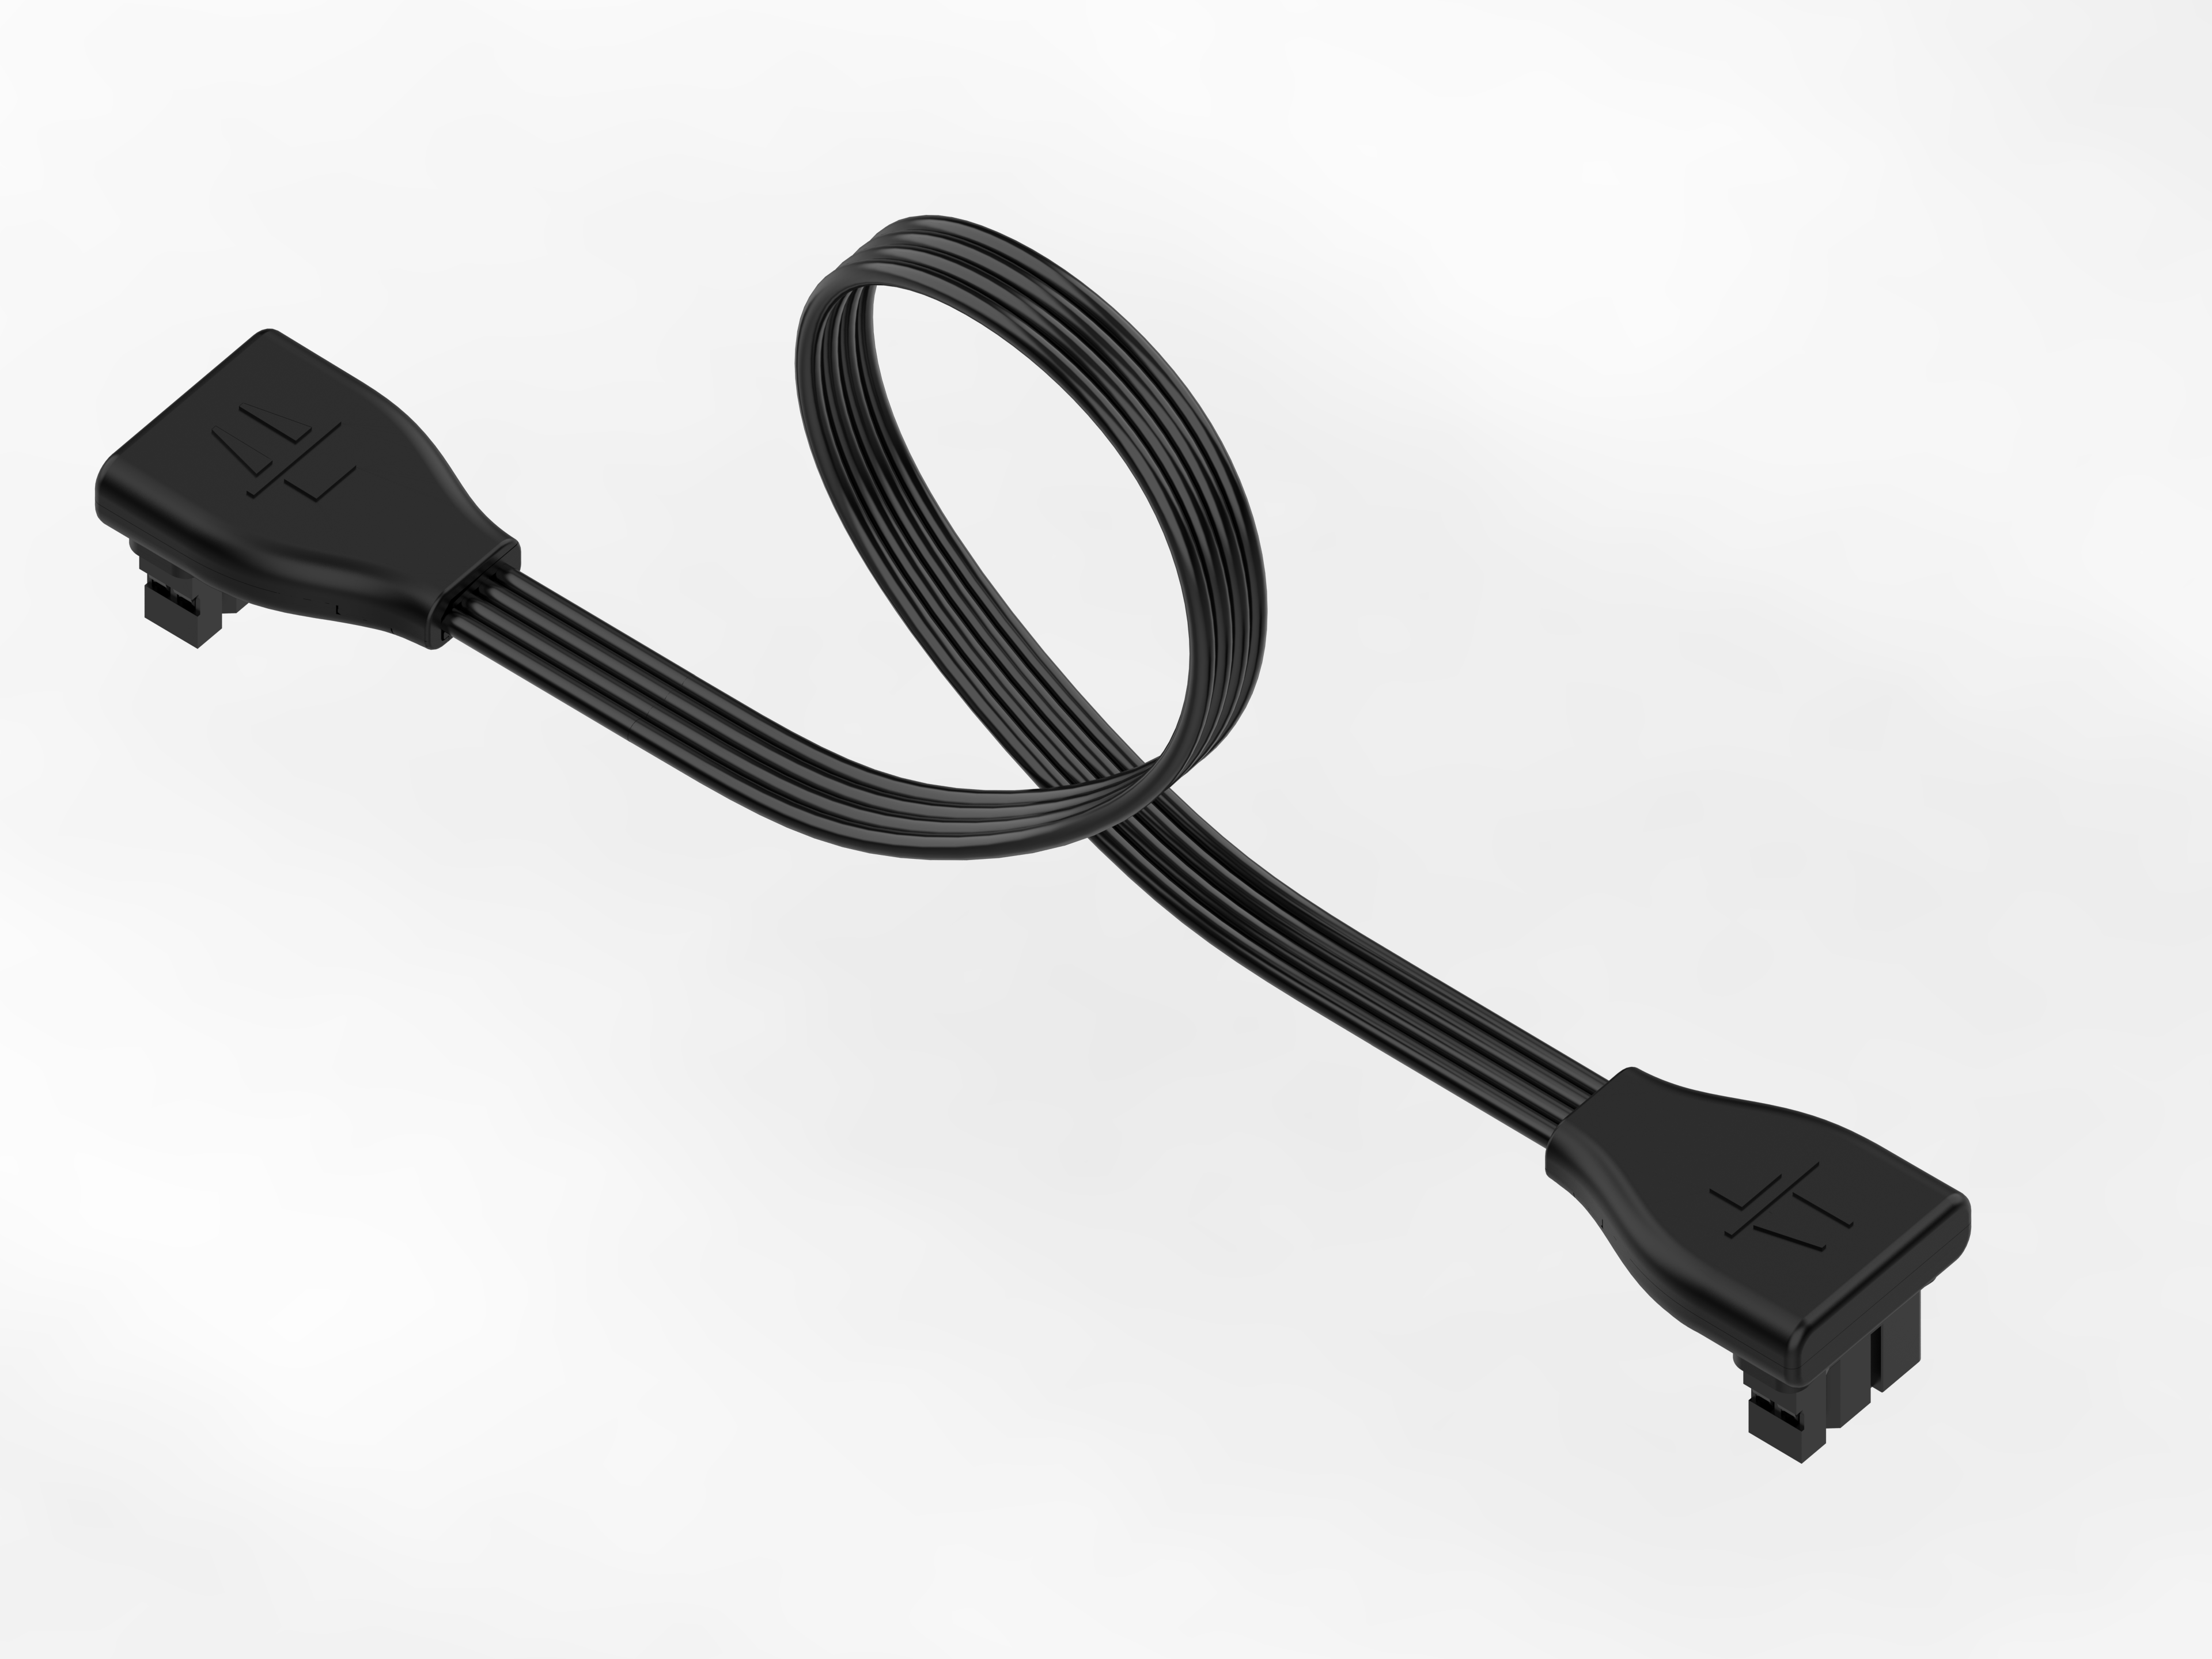
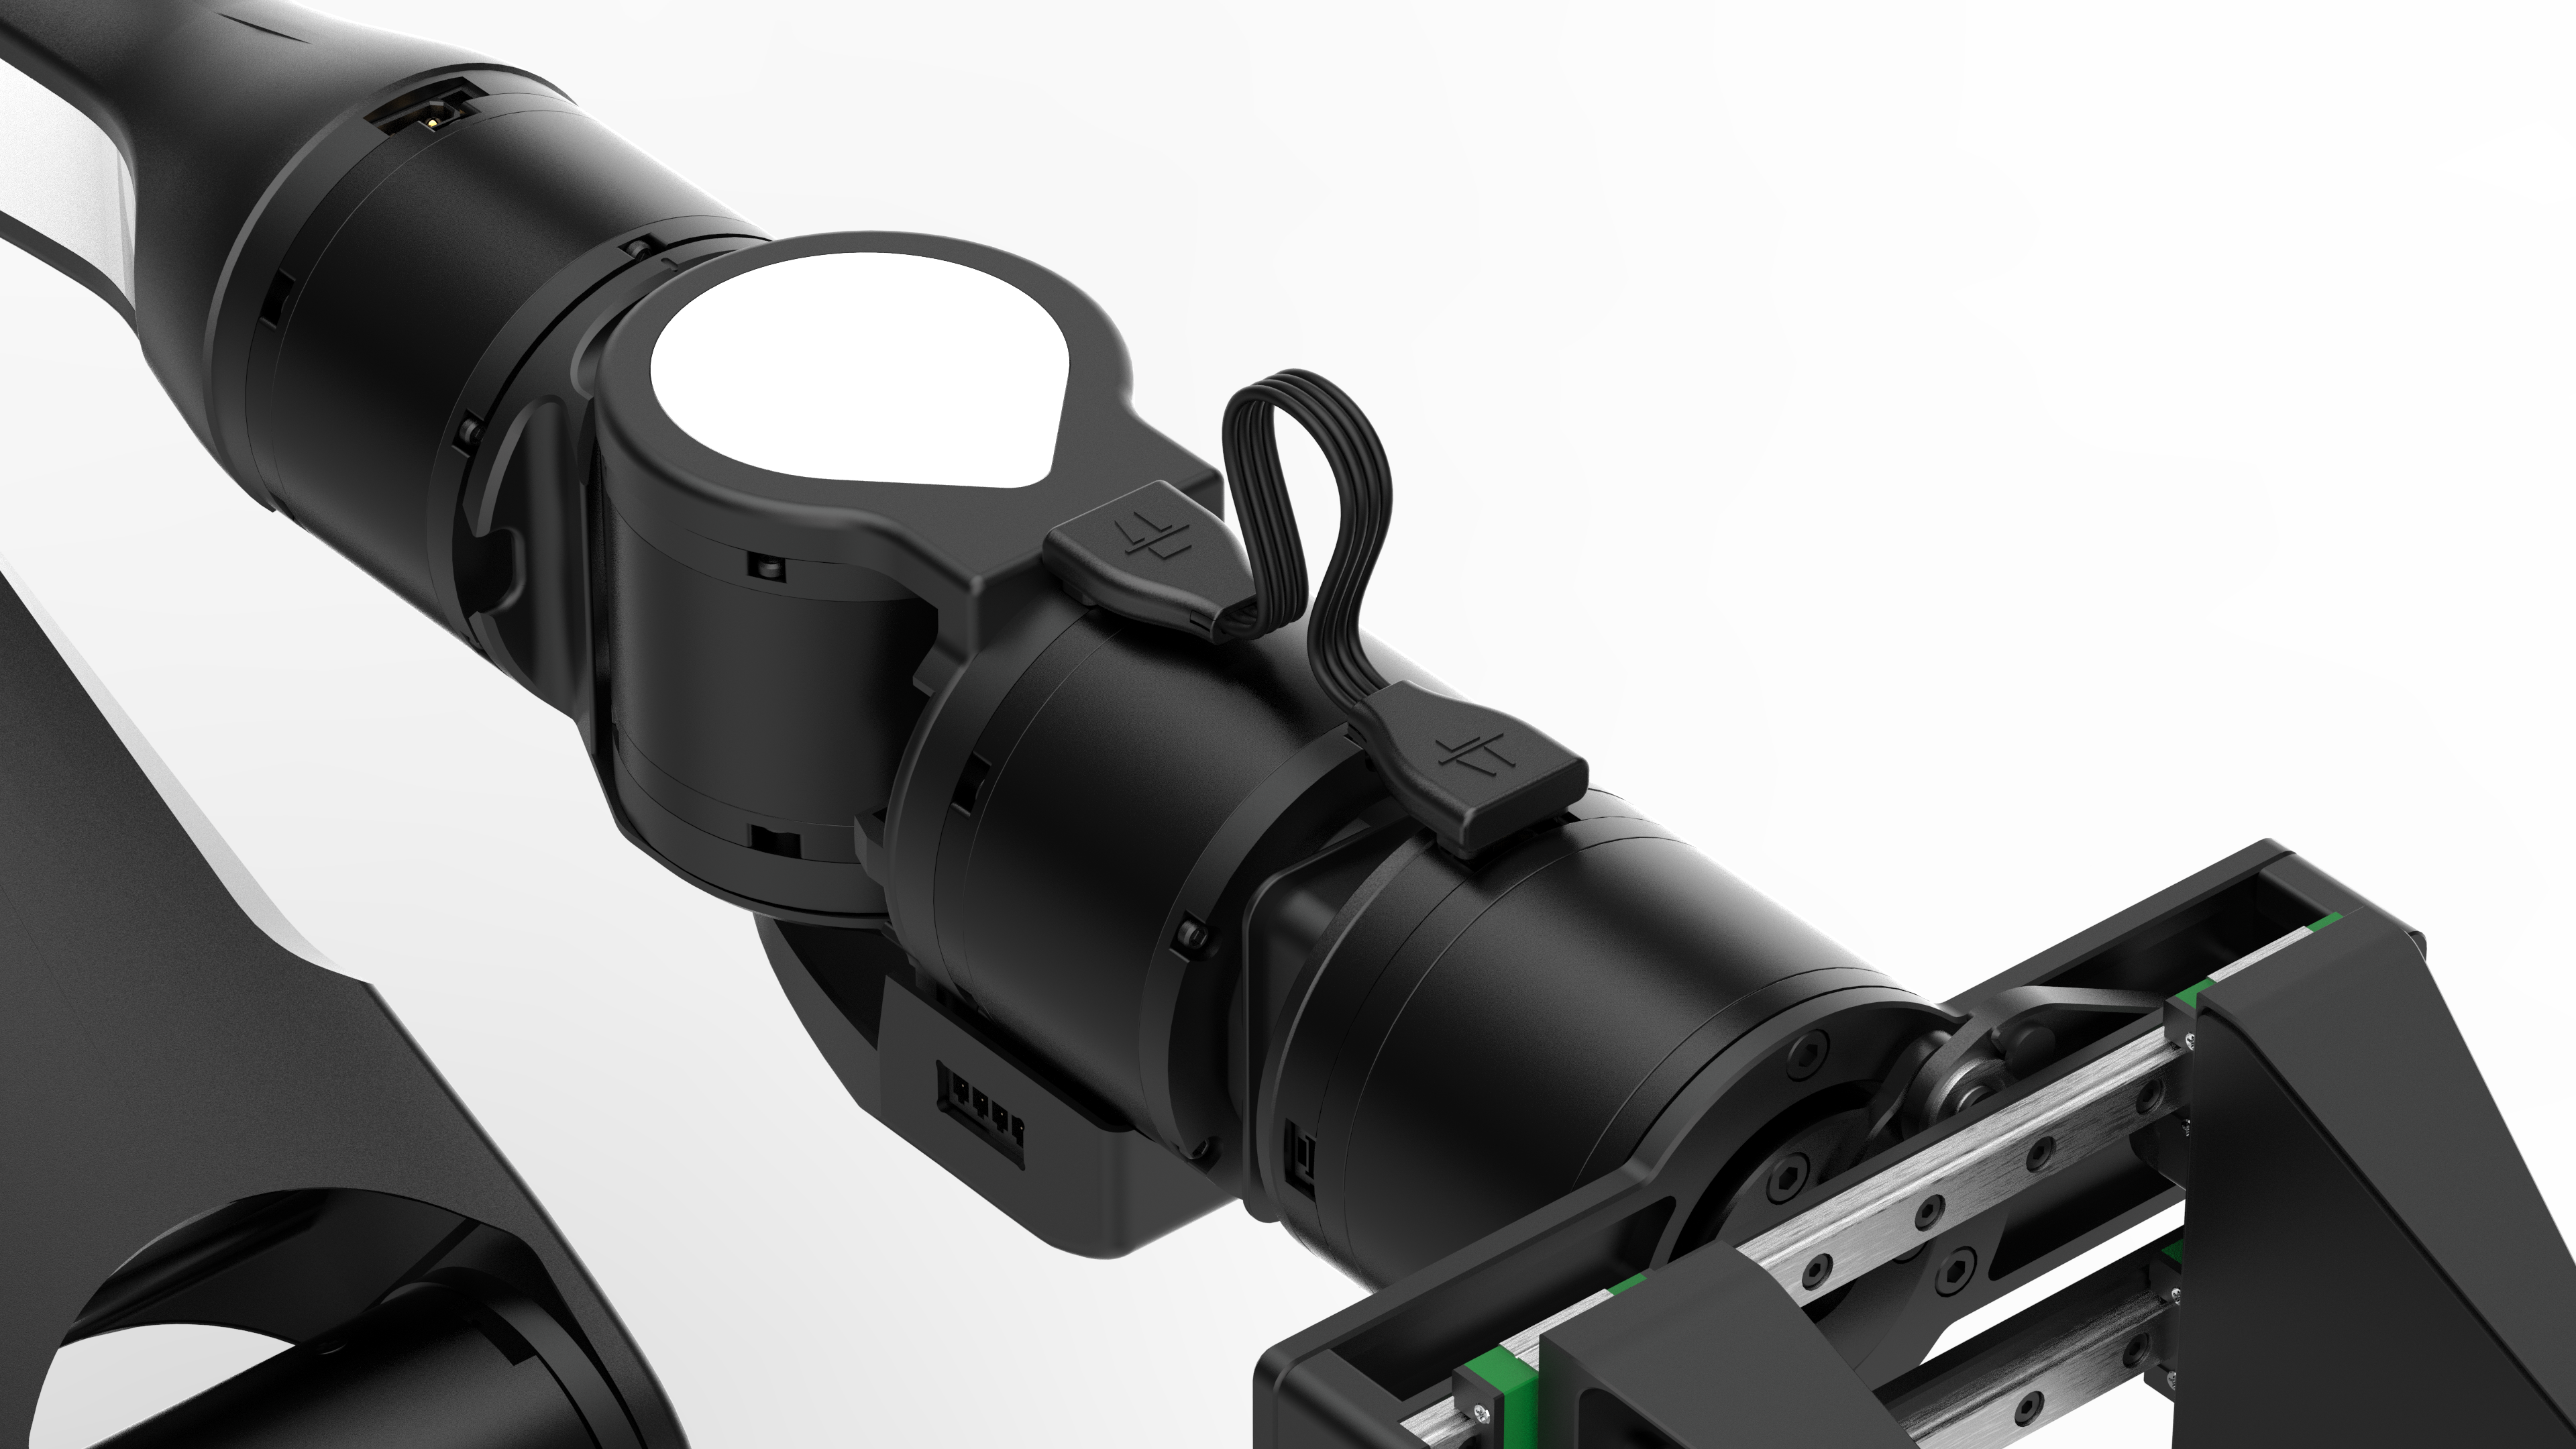
Take out the connection cable supplied with the gripper and connect it as shown.
Caution
- Use the cable labels to distinguish between the gripper and teaching-device connection cables.
- Connect the J6 joint at the robotic arm's tool end to the gripper motor strictly as shown. Do not connect it to any other motor.
- Do not pull forcefully on the connection cable. Plug or unplug it at the two ports during installation or removal.
Installing the Teaching Device#
Take out the teaching device and four M3 screws. Insert the teaching device's mounting section into the robotic arm's tool-end connector, then secure it through the side holes.
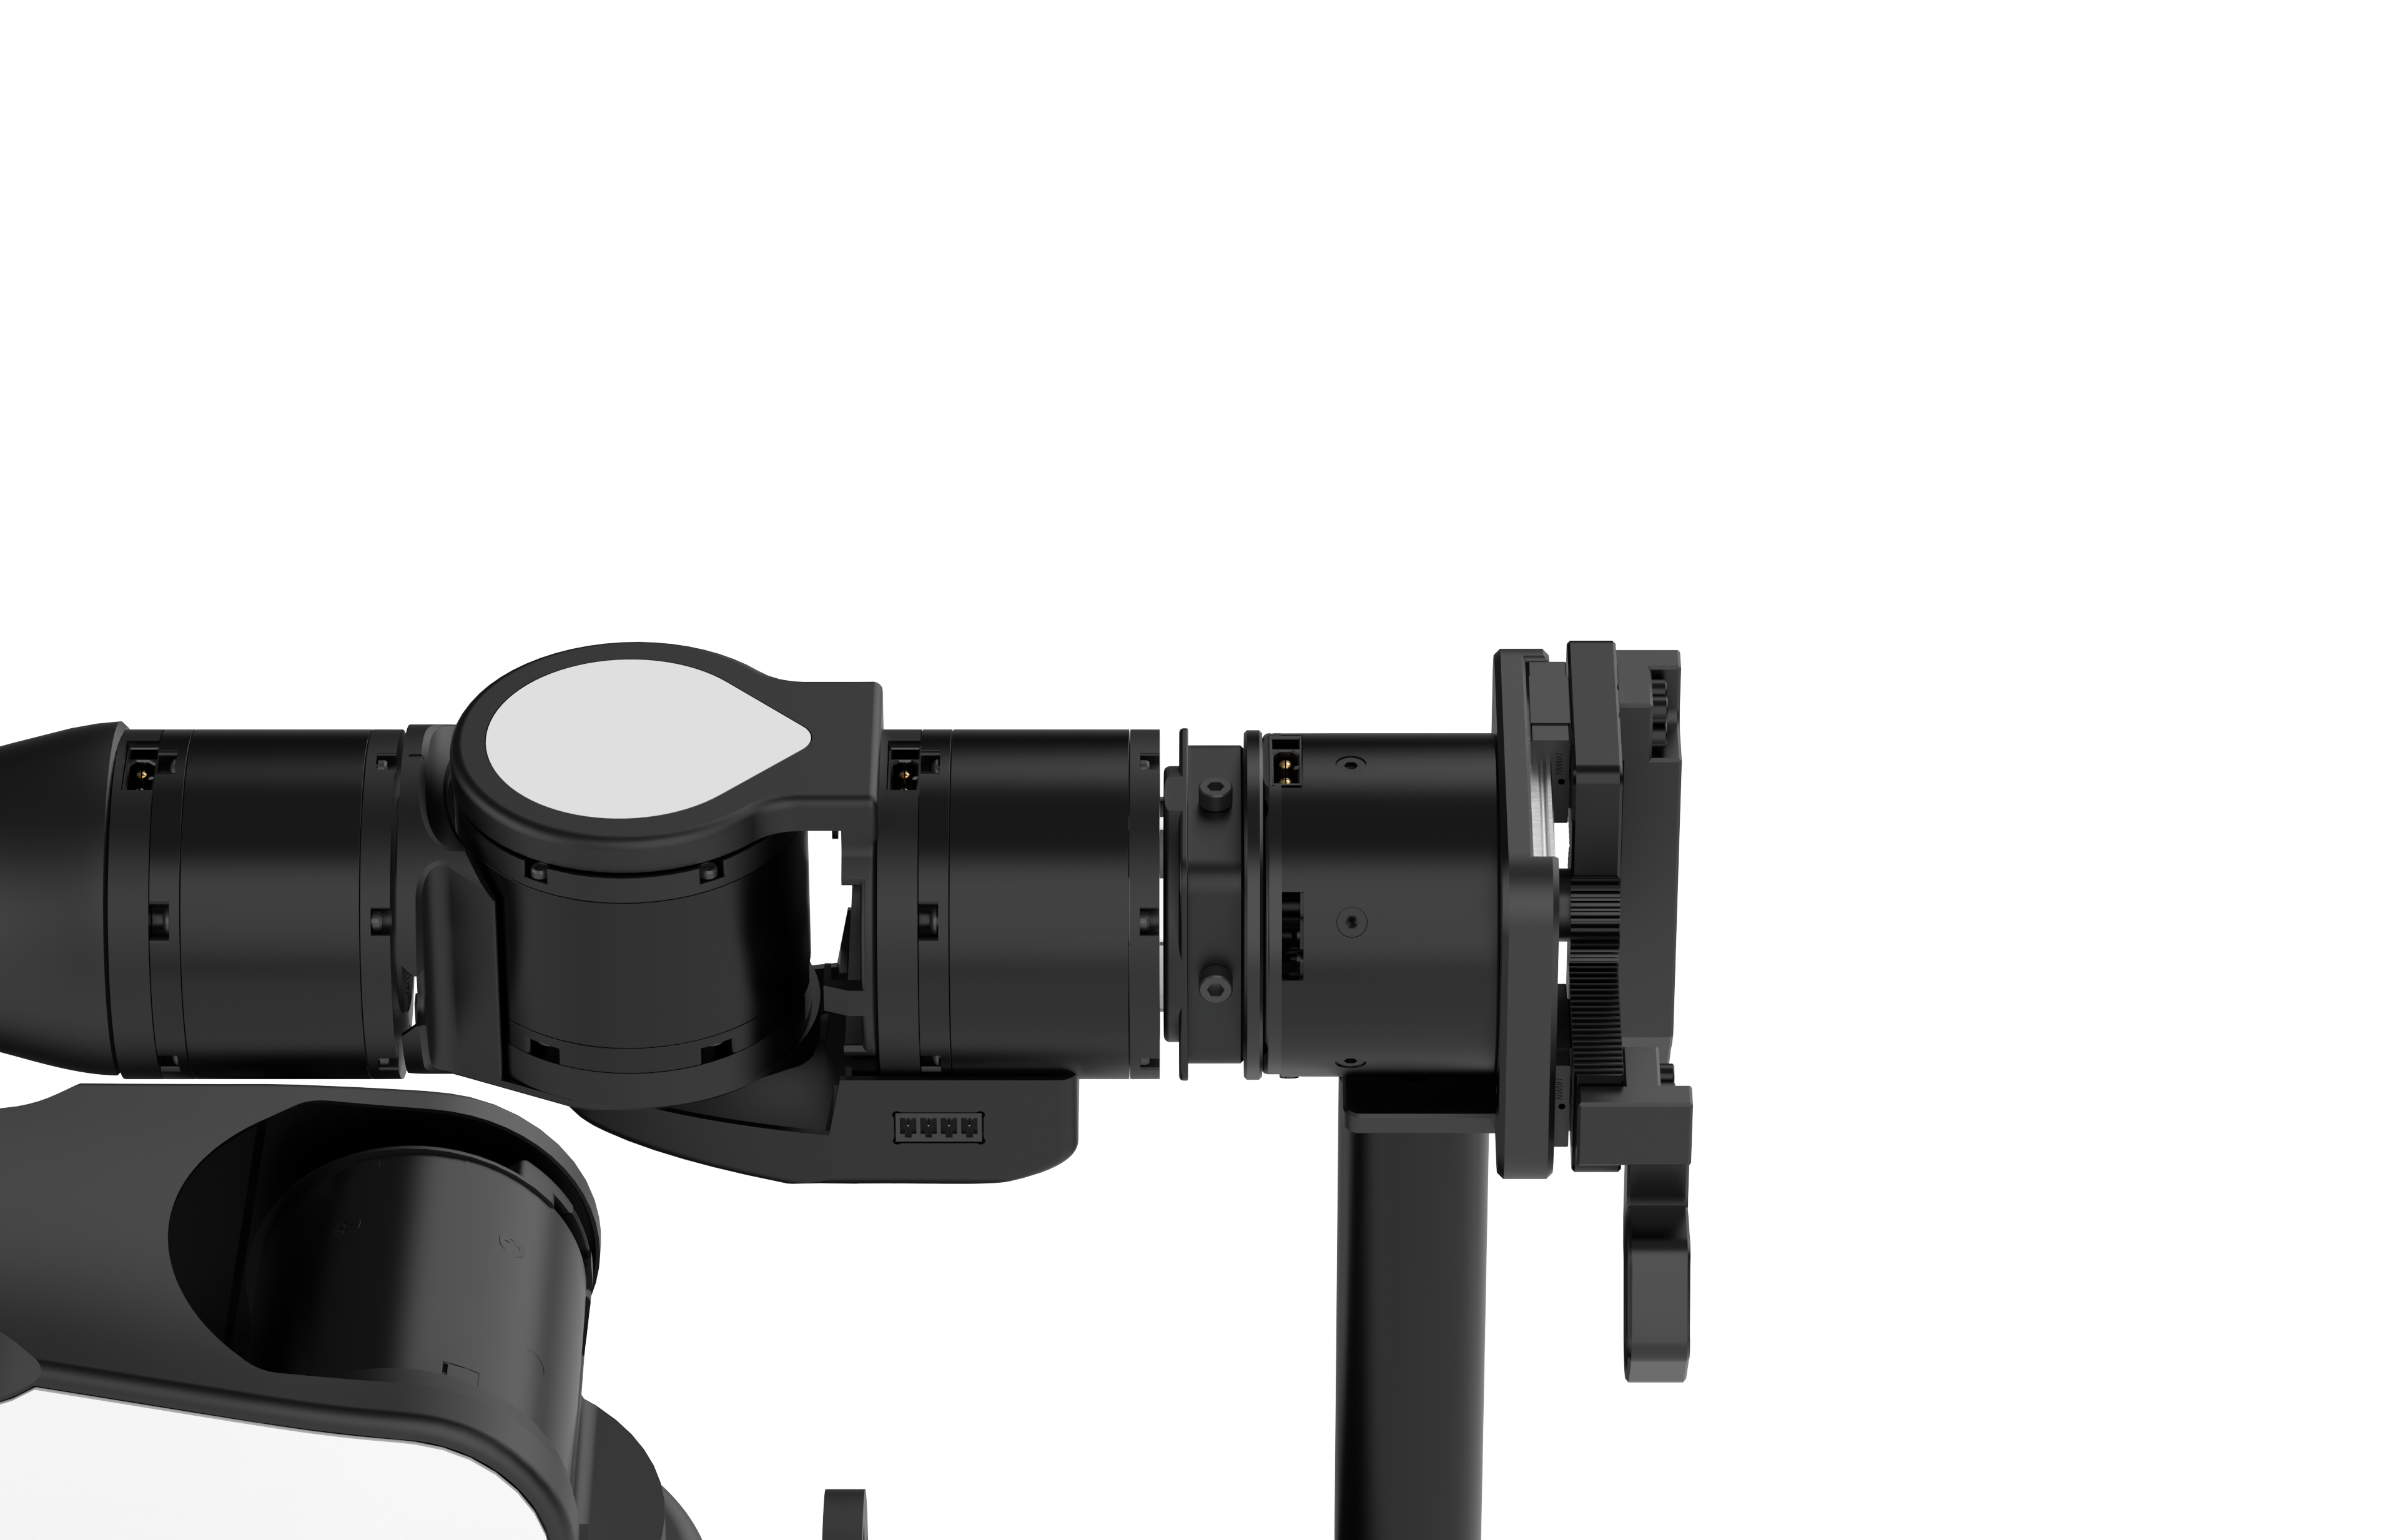
Take out the connection cable supplied with the teaching device and connect it as shown.
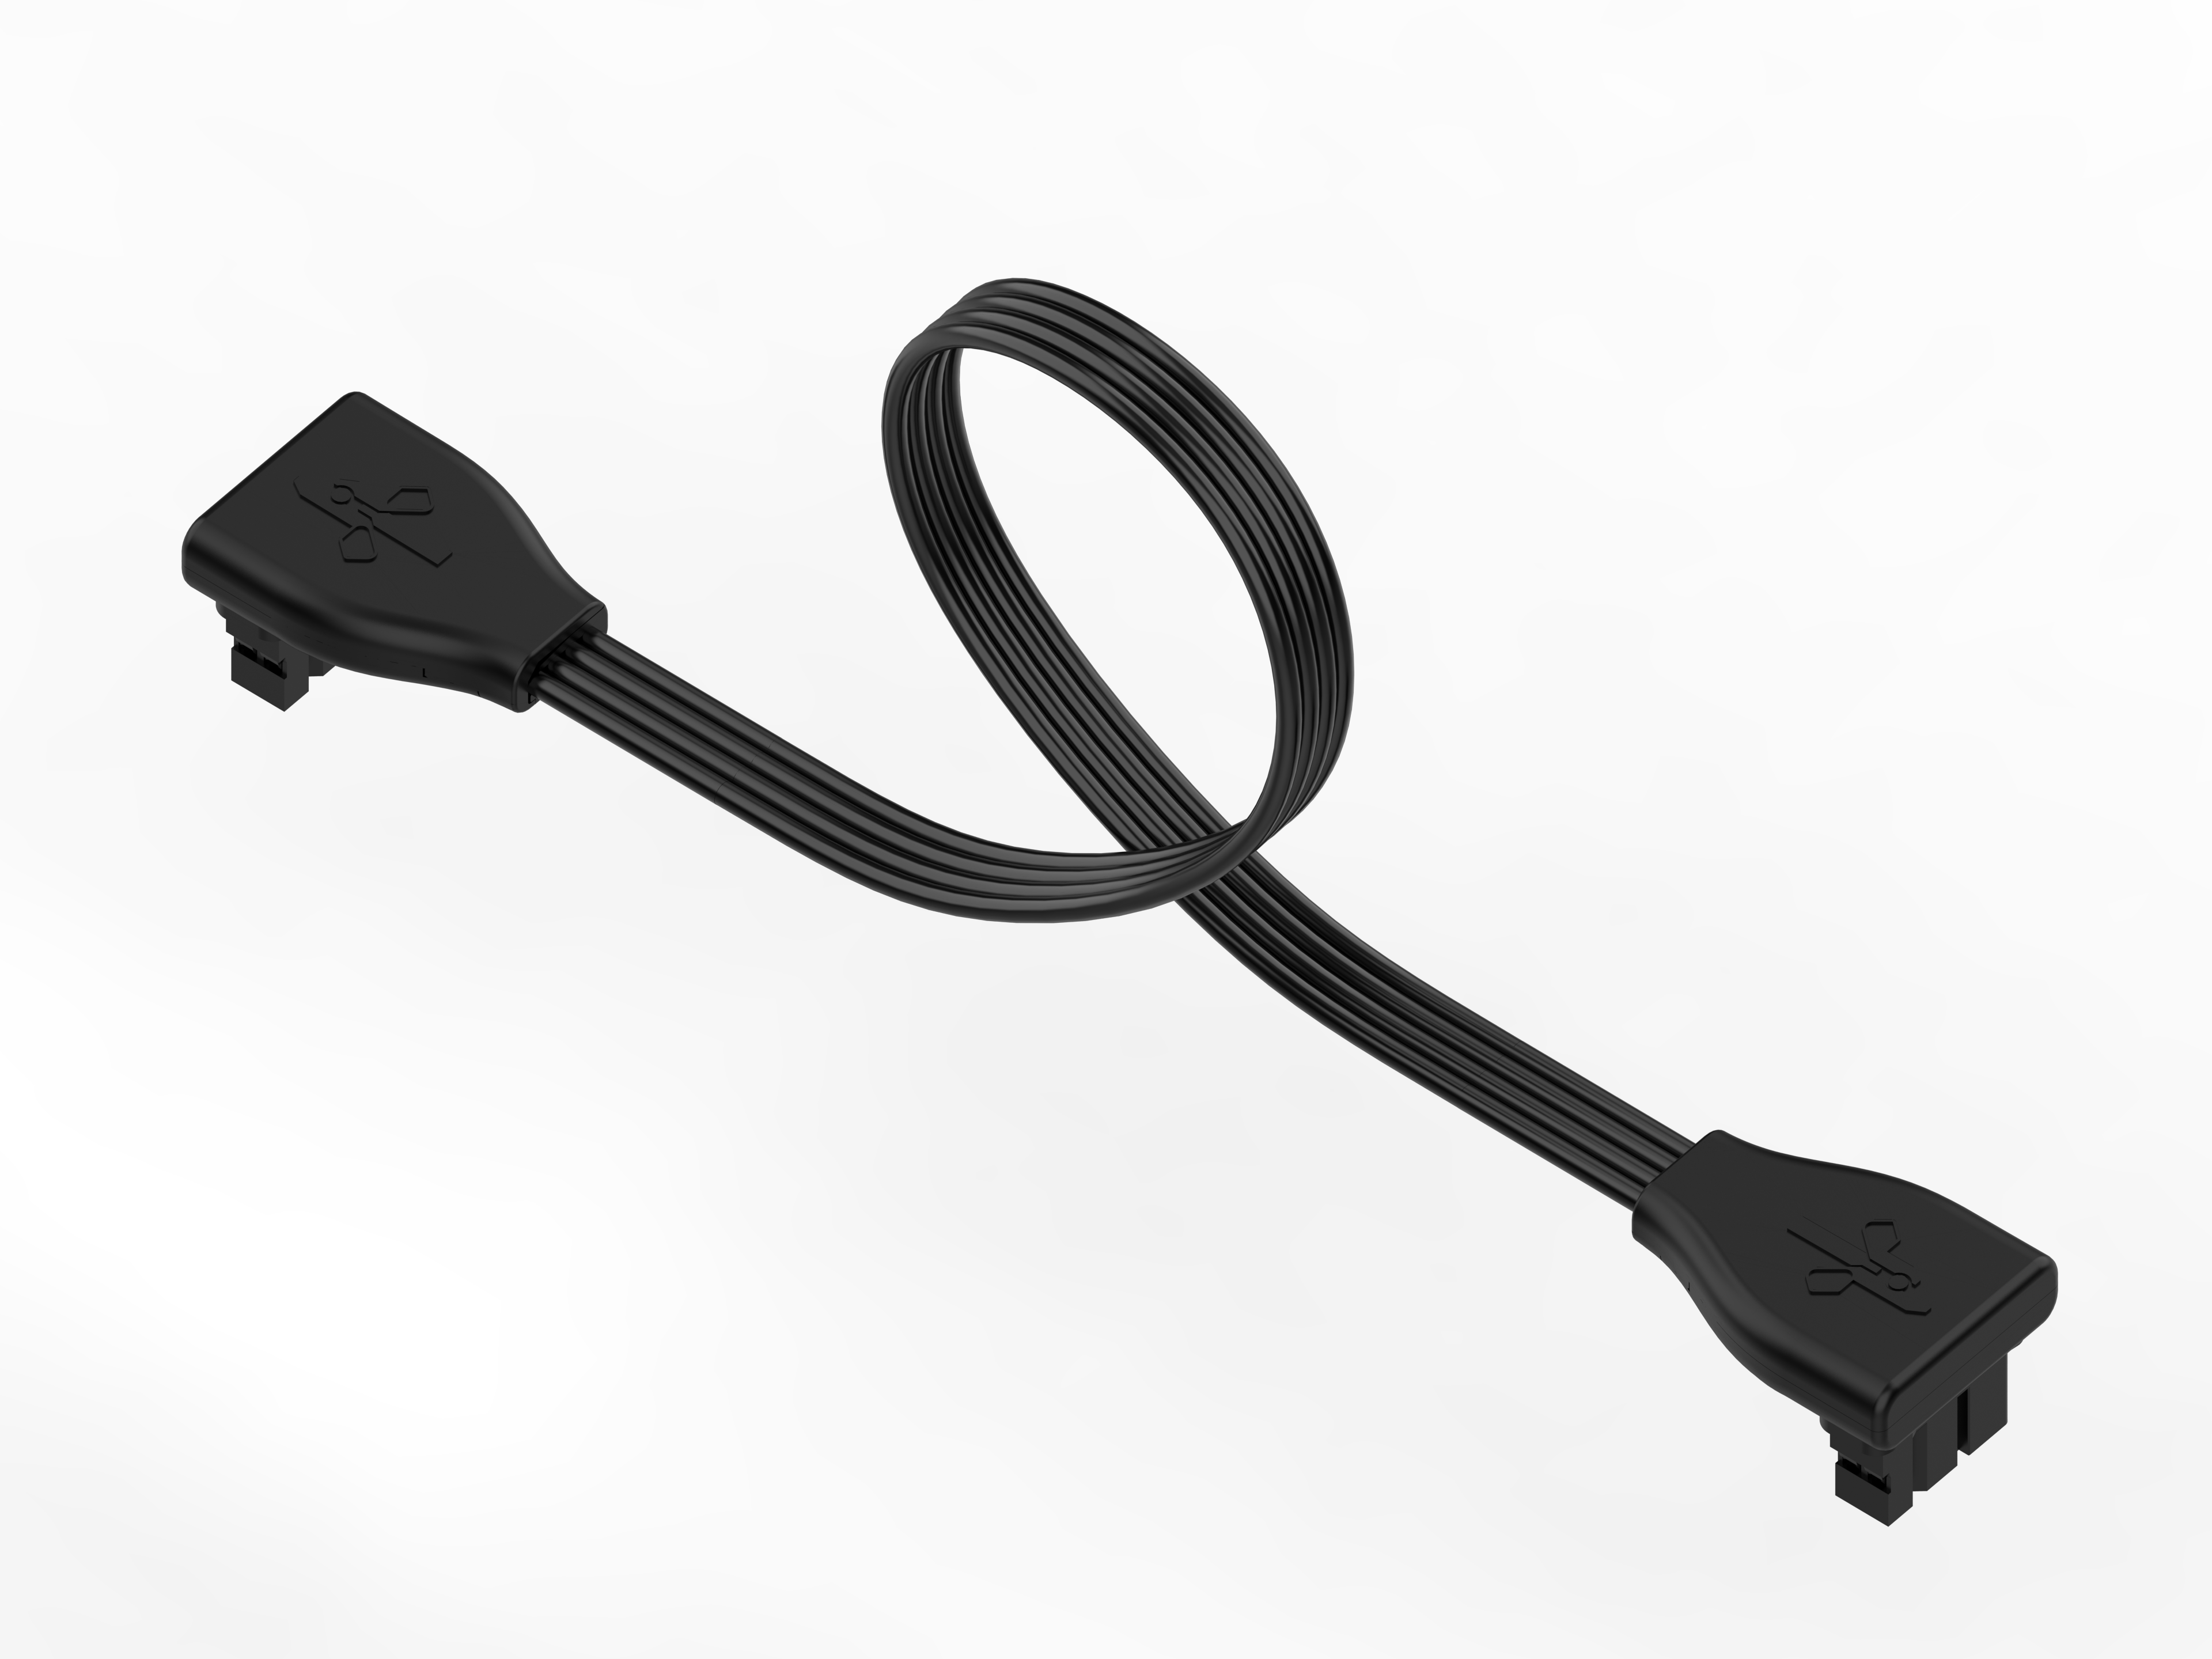
Caution
- Use the cable labels to distinguish between the gripper and teaching-device connection cables.
- Connect the J6 joint at the robotic arm's tool end to the teaching device strictly as shown. Do not connect it to any other motor.
- Do not pull forcefully on the connection cable. Plug or unplug it at the two ports during installation or removal.