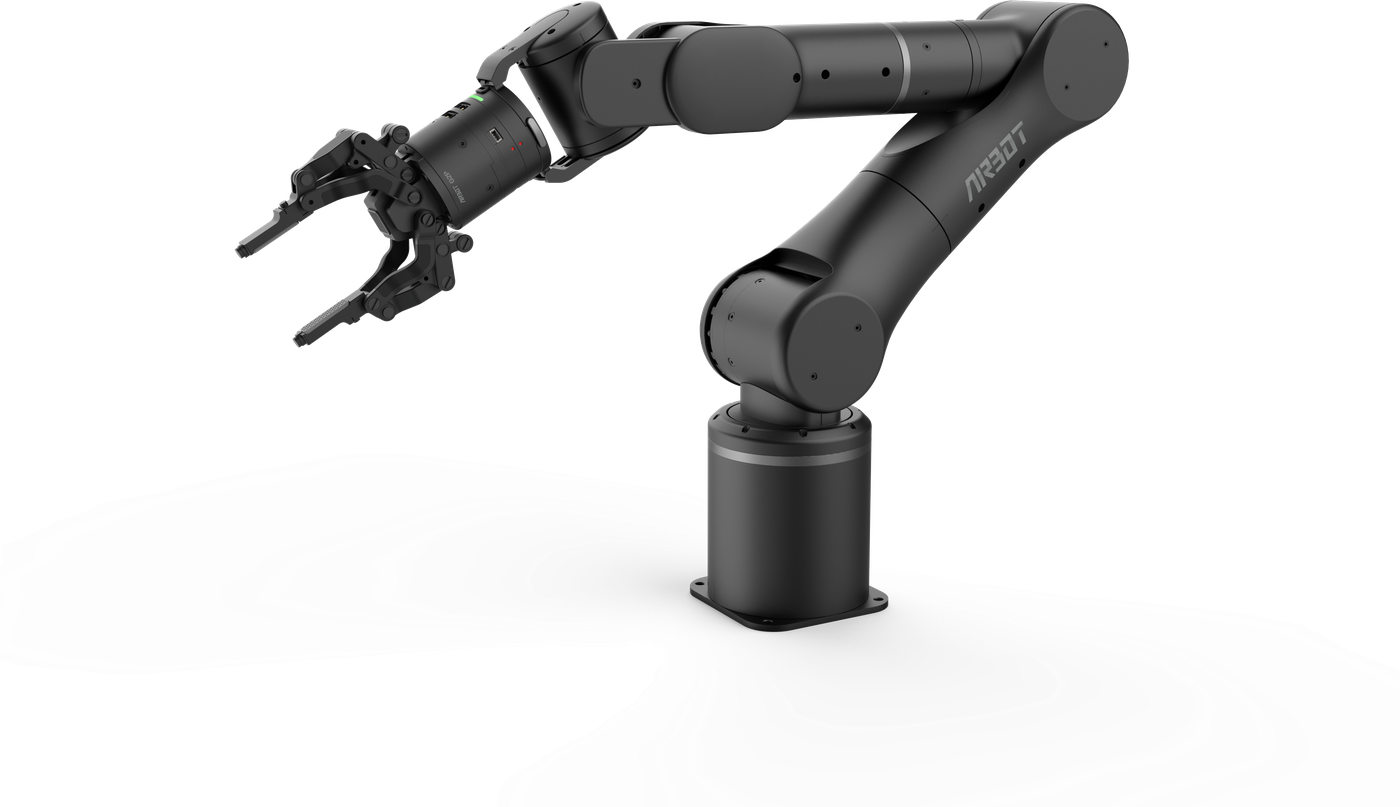
Light Up the Robot Arm#
Power Connection#
- Connect the 3-pin MR30-M plug from the power adapter to the base power connector. Make sure it is correctly oriented and fully seated.
- Connect the power cord to the power adapter.
- Check that the power cord, adapter, and base are firmly connected, then connect the power cord to mains power.
- Press the base button to start the robot arm. A white button indicator means that the arm is powered on.
Ethernet Connection#
Use an Ethernet cable to connect the computer to the Ethernet (X5) port on the base. This port connects the computer to the X5 chip and is used to invoke the robot arm's preset motion modes and SDK interfaces.
Wired Network Settings on the Computer#
The robot arm's default IP address is 192.168.25.201. Switch the computer's wired network adapter to manual configuration and assign another address in the same subnet, for example IP address 192.168.25.100 with subnet mask 255.255.255.0. The computer and robot arm must use different IP addresses. A gateway is normally not required when the computer is connected directly to the robot arm.
After configuring the network, check connectivity in a terminal:
After connectivity is confirmed and the SDK is installed, list the available examples: