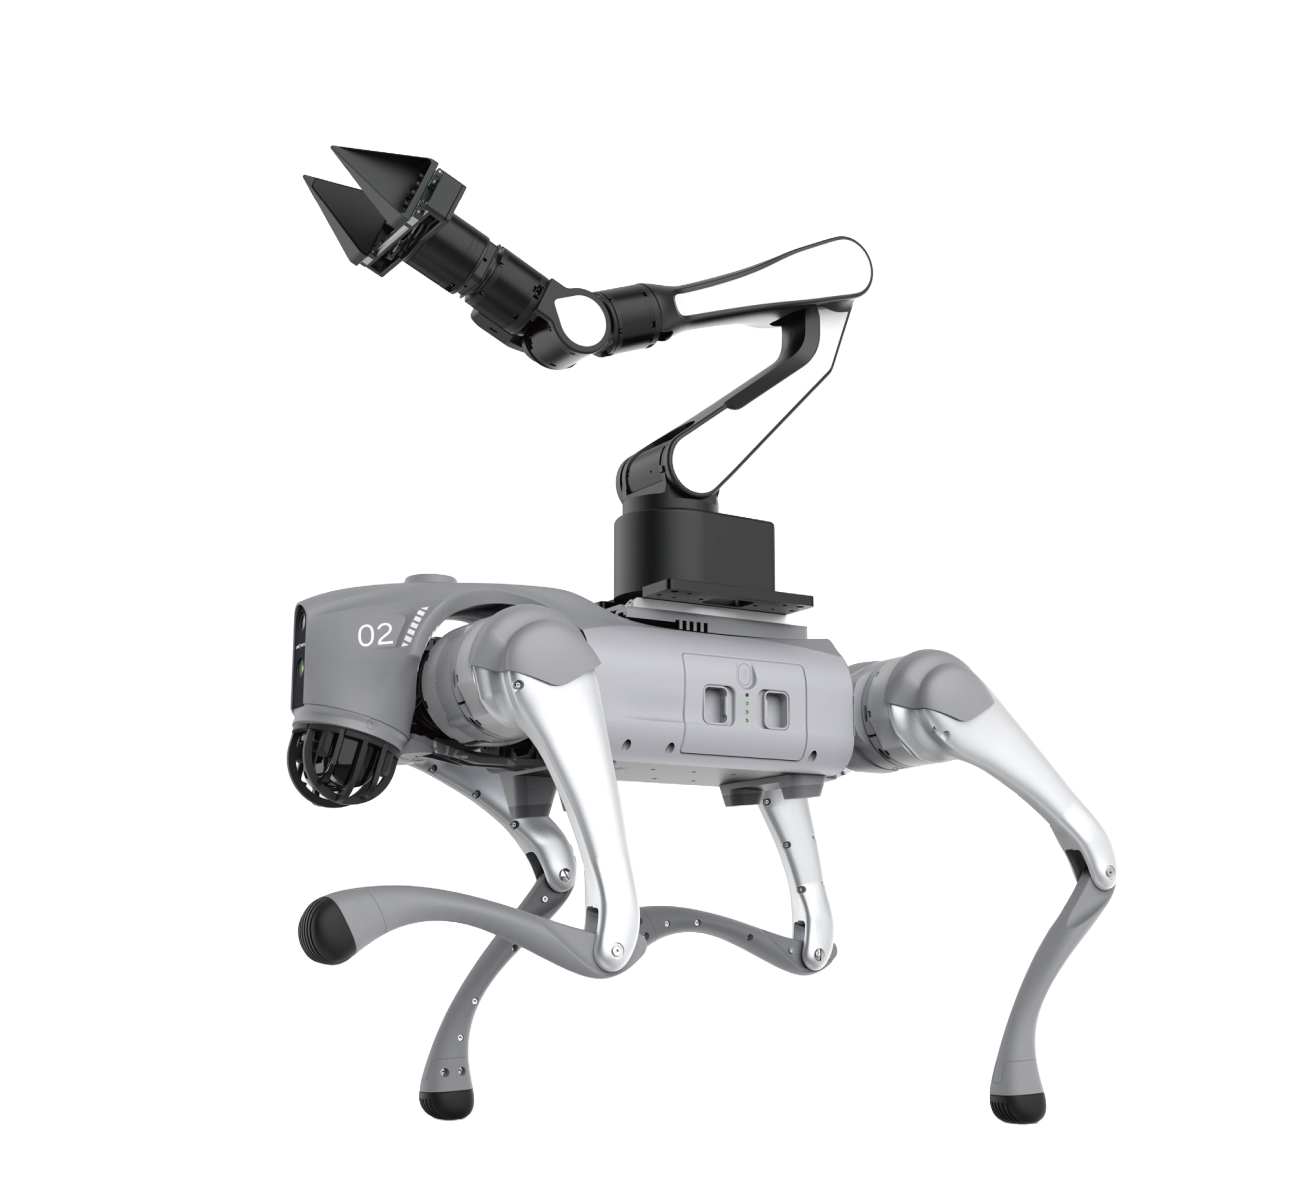
Network Preparation#
Select a Connection Method#
Two implementation options are available:
- Wireless: More flexible, but latency is susceptible to environmental interference.
- Wired: More stable with lower latency, but the movement range is limited.
Configure the Router#
- Router: TP-LINK AX3000
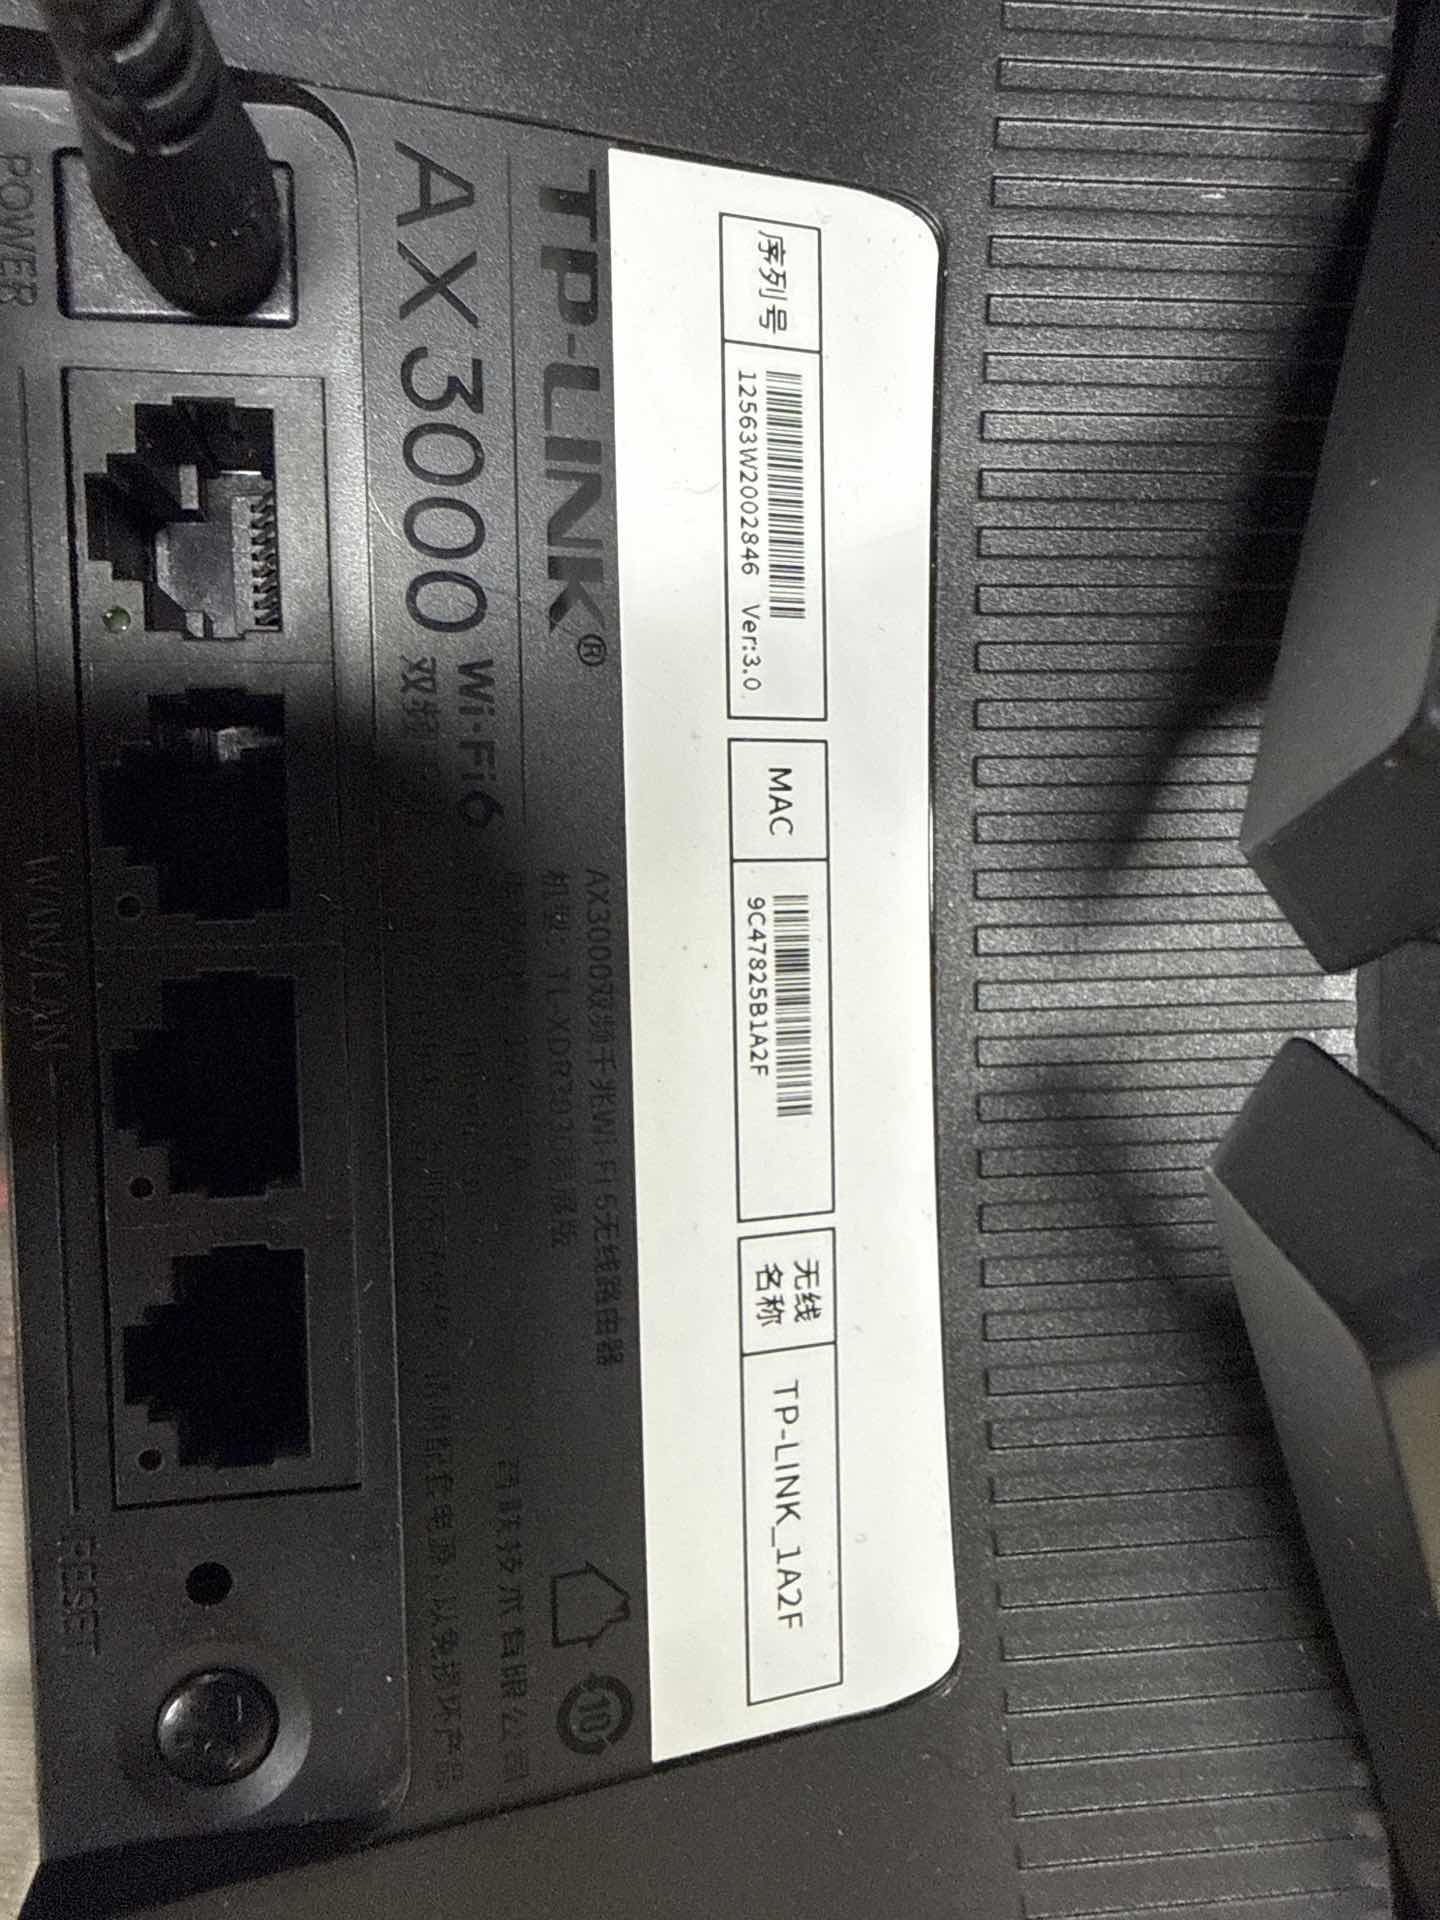
- Connection: Connect to the Wi-Fi network whose name is printed on the router. After connecting, the configuration page opens automatically. Follow the steps in the images below. Set both the administrator password and wireless password to
discover; use the username printed on the router.

1
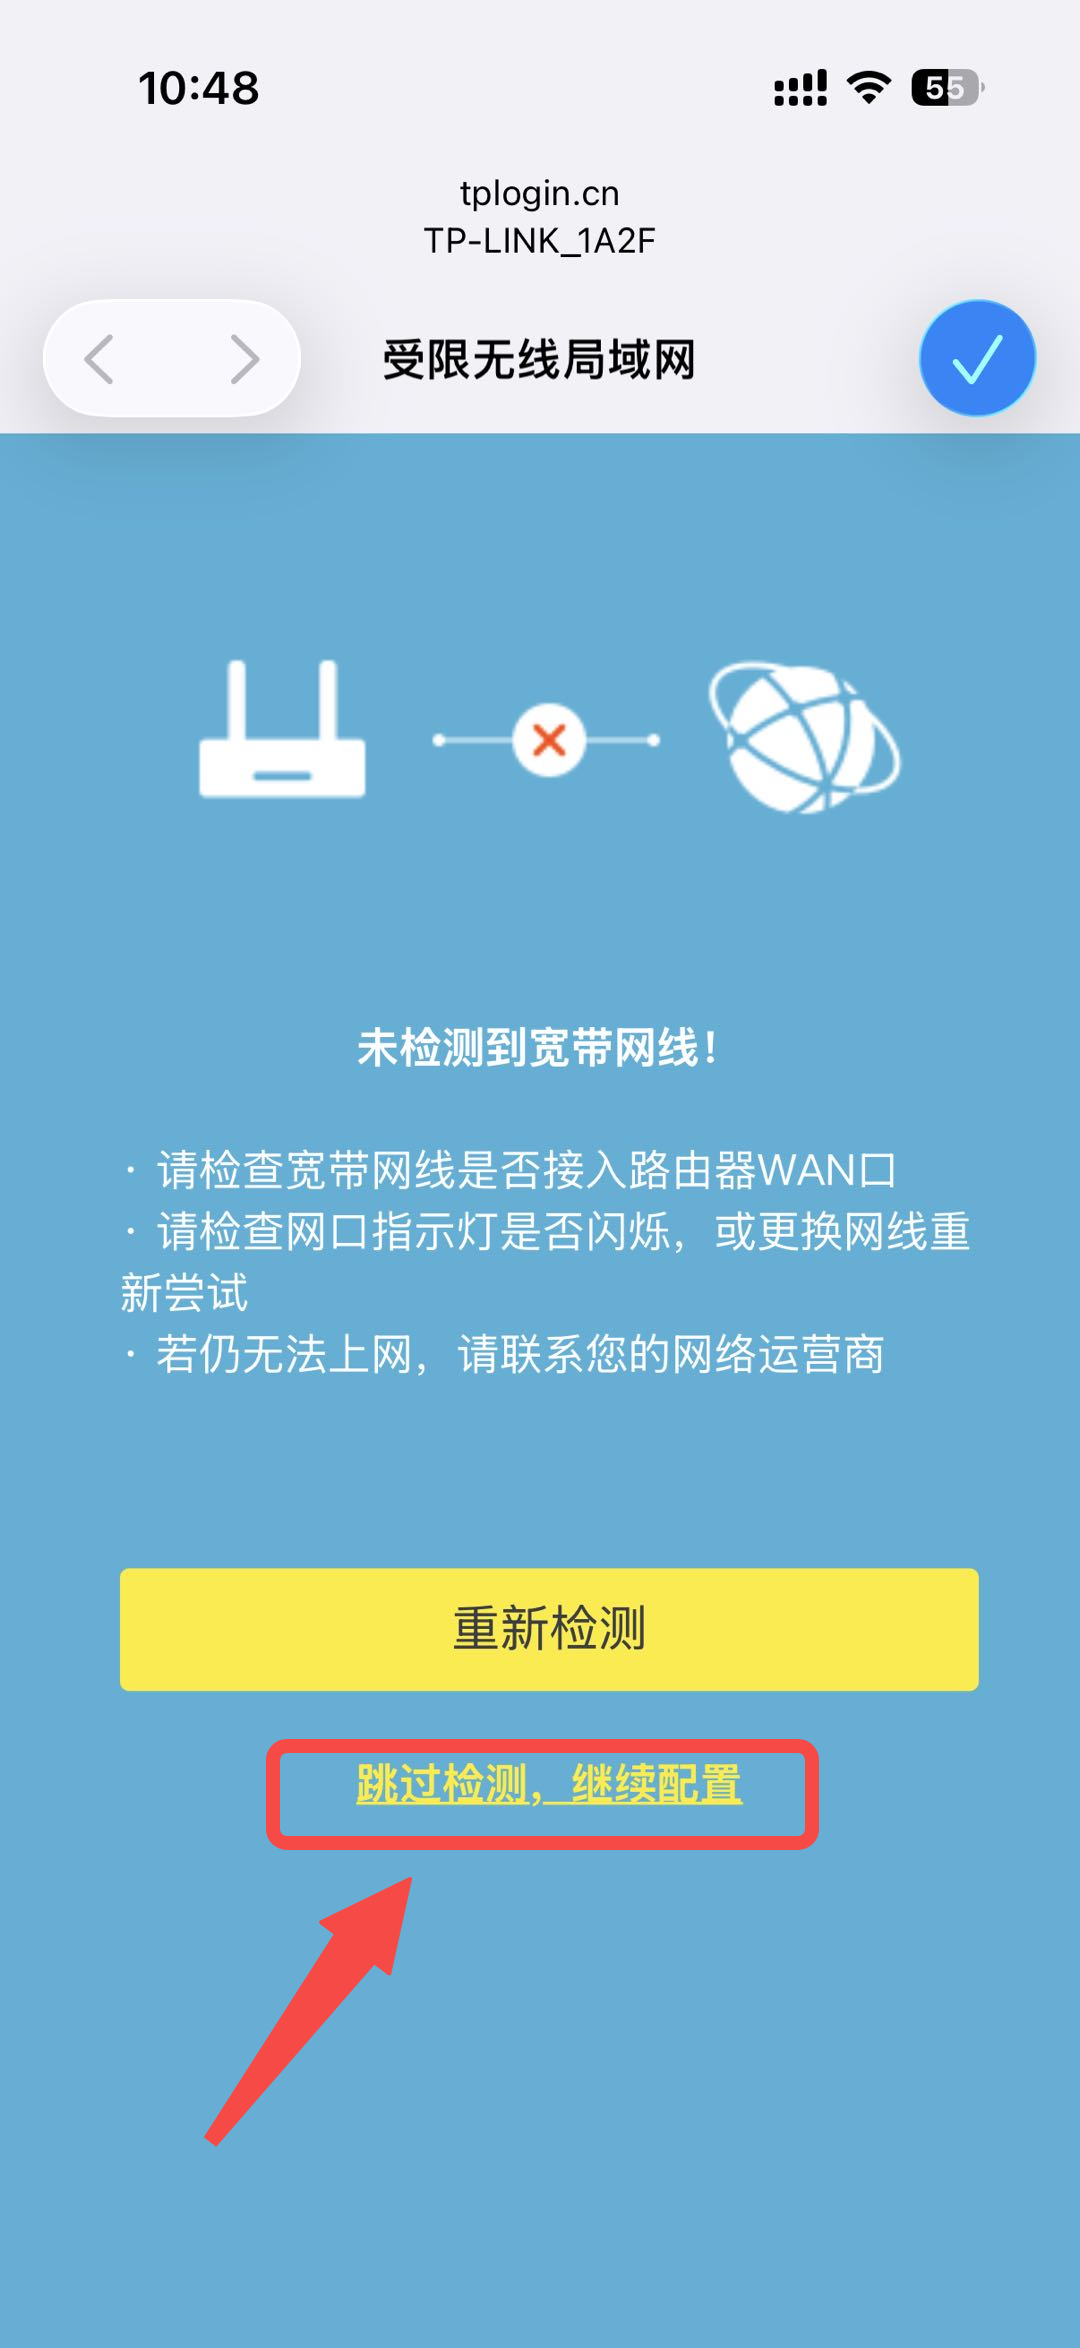
2
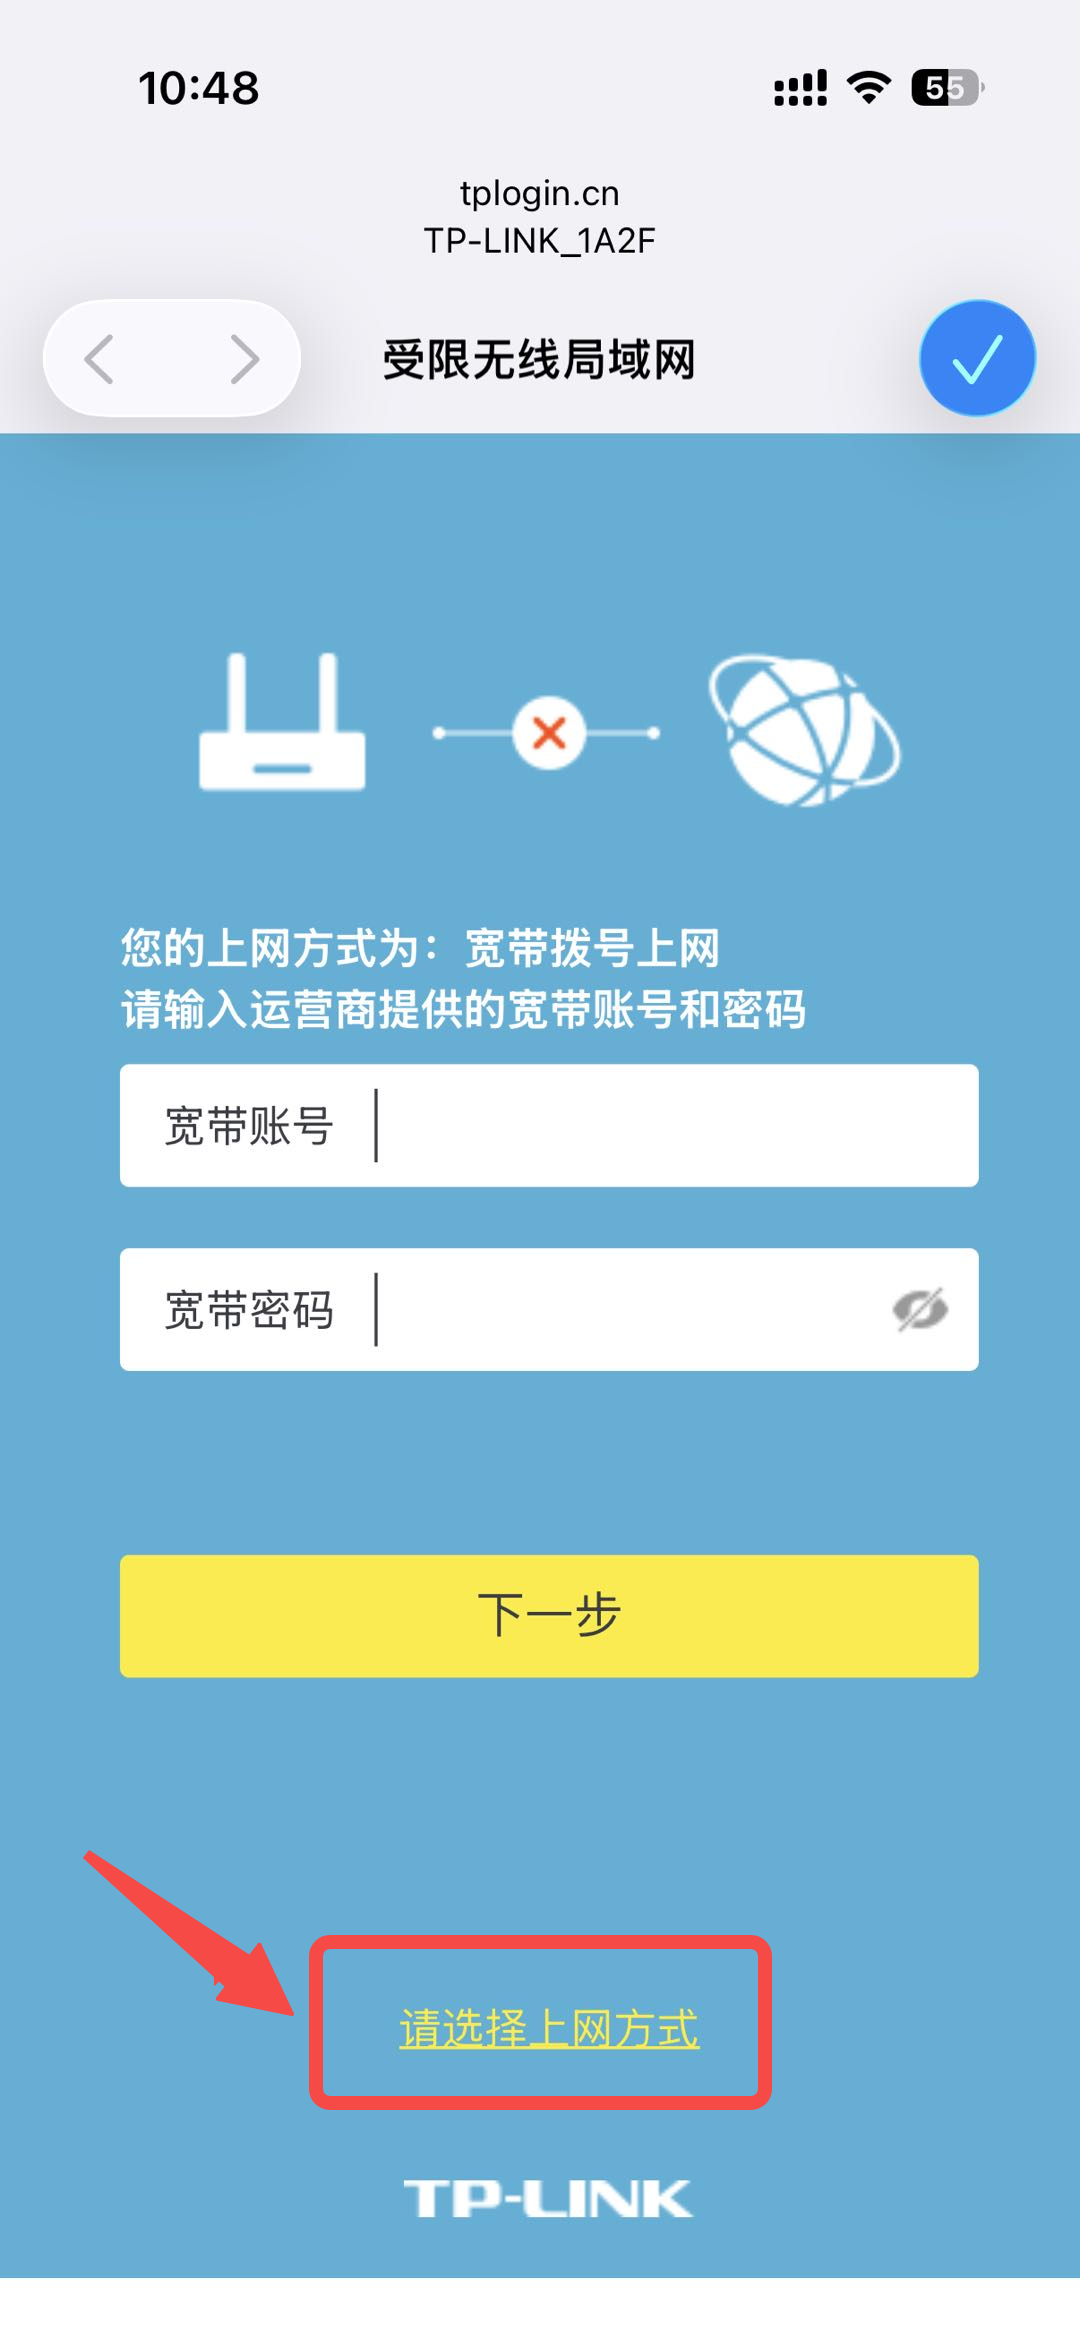
3
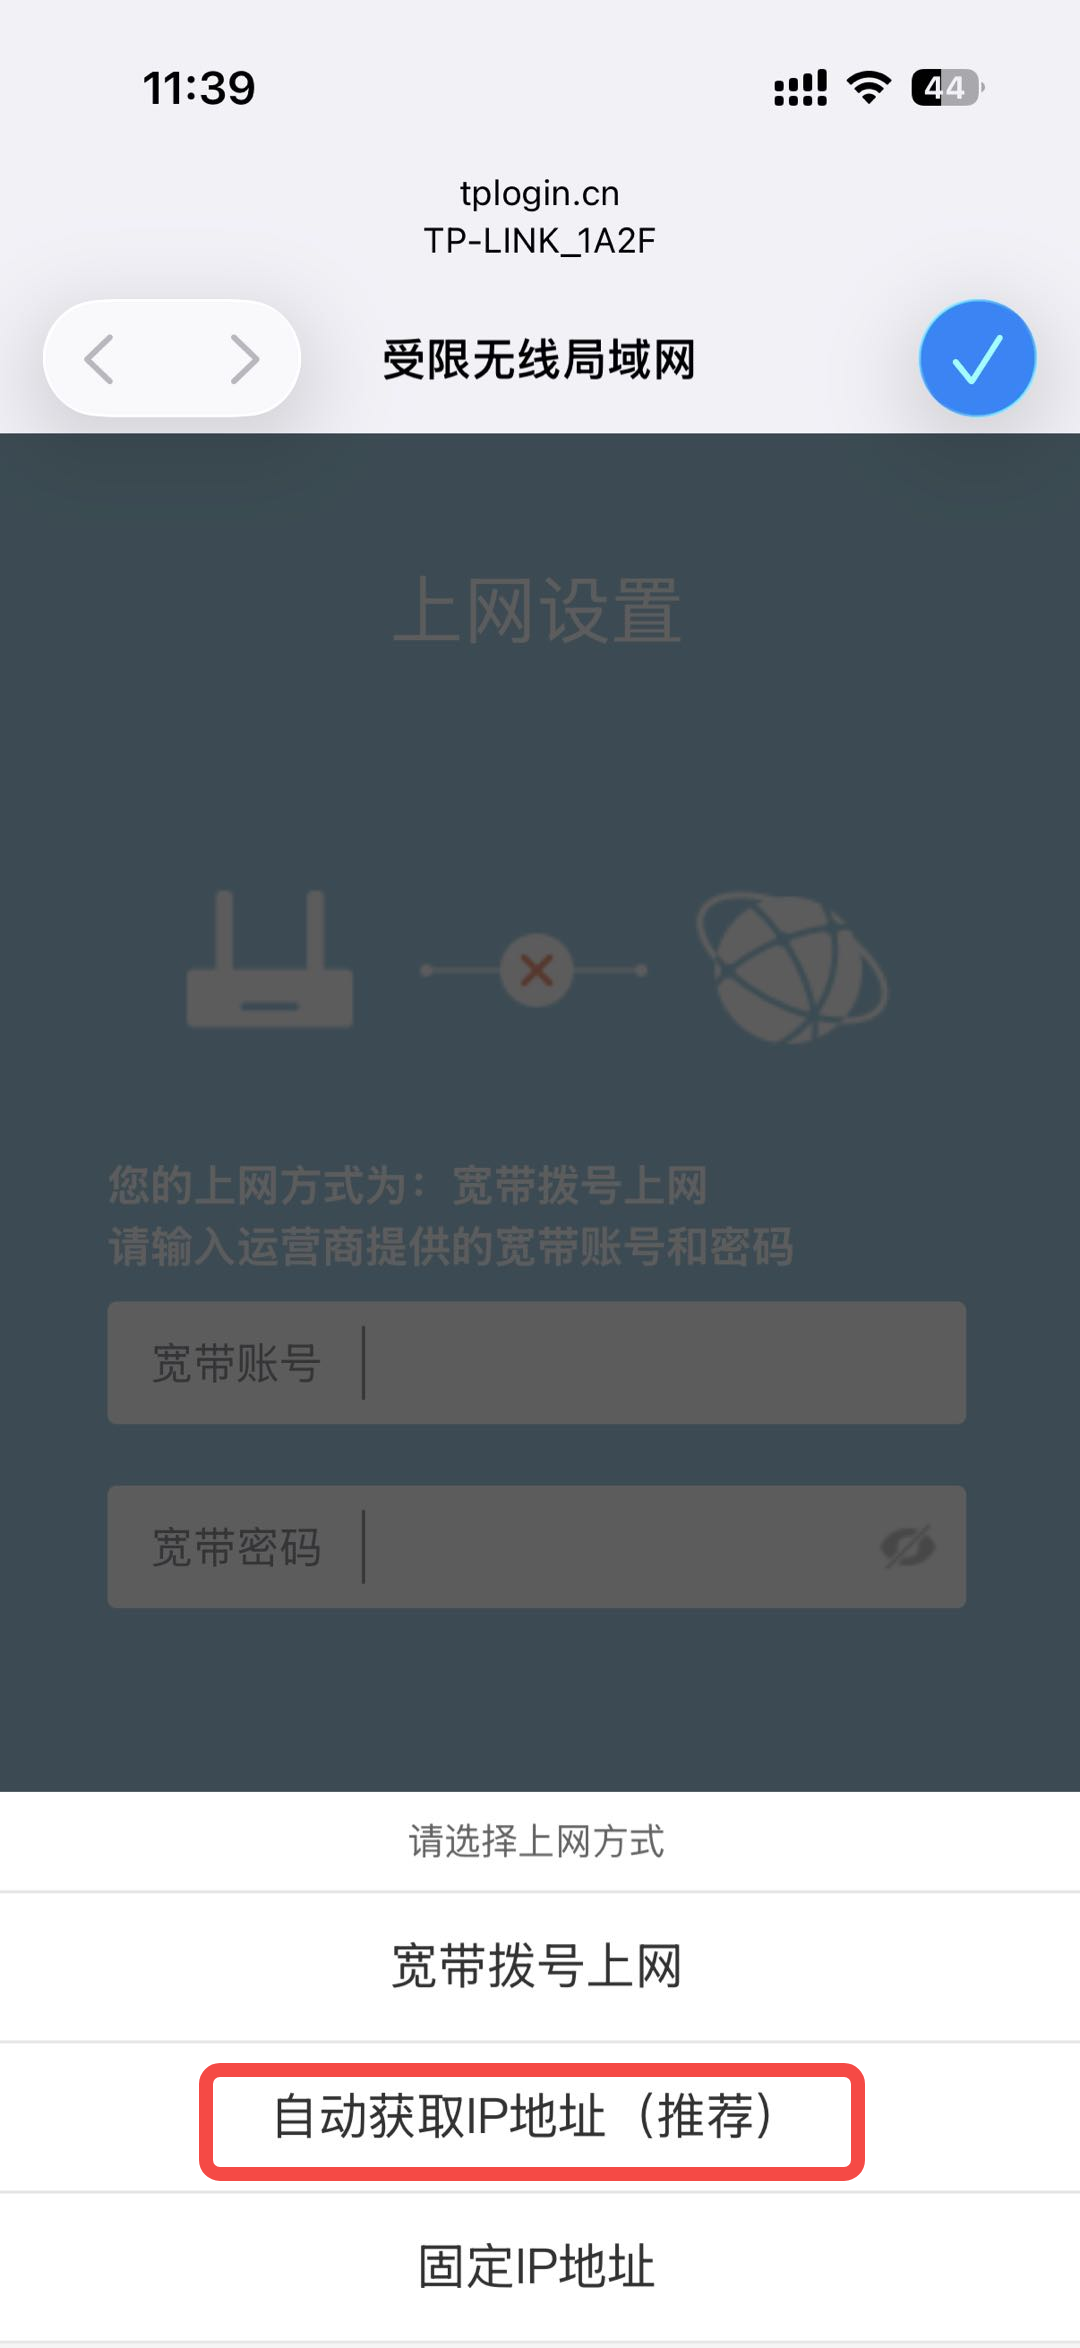
4

5
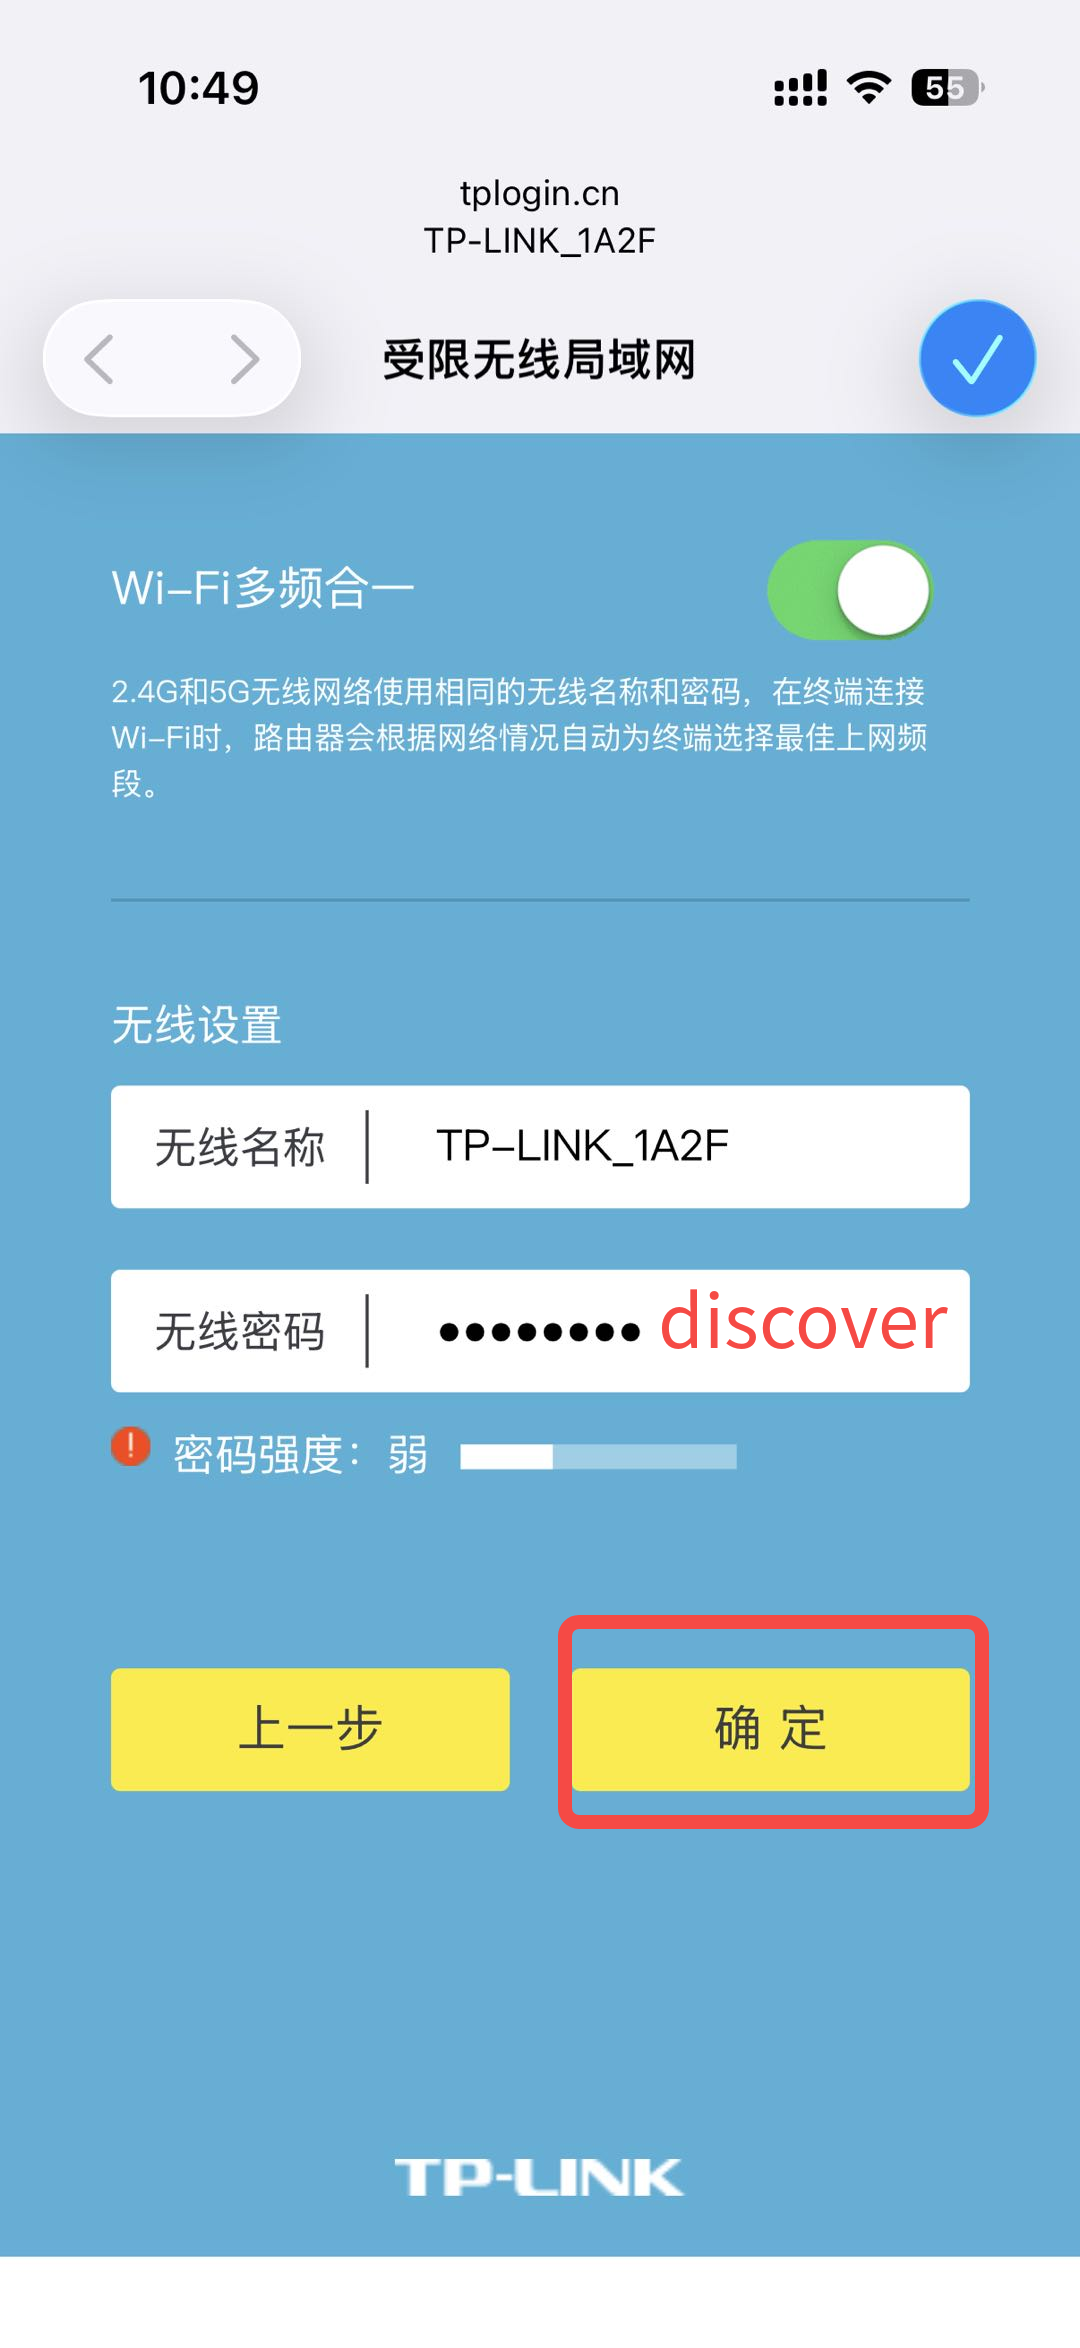
6

7
Connect and Test the Network#
Wireless Connection#
Materials:
- RJ45-to-RJ45 Ethernet cable
- Personal computer; Ubuntu ≥ 22.04 recommended
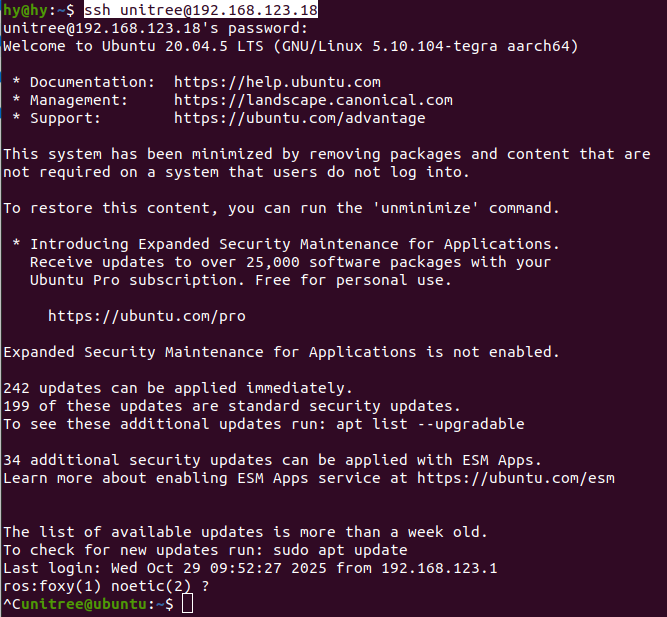
Step 1: Use an RJ45-to-RJ45 Ethernet cable to connect the quadruped robot to a Linux computer. Open a terminal and use SSH to access the quadruped robot's host computer (configure IPv4 as described in Connect to the GO2edu Host Computer). Select ROS version 1.
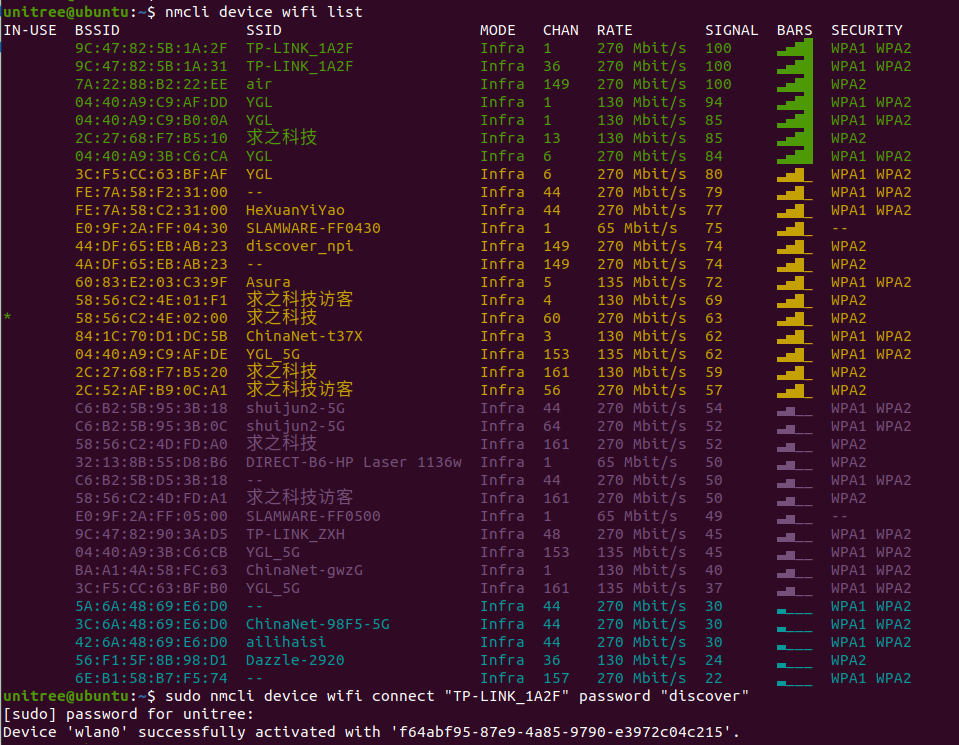
Step 2: Connect the wireless network adapter to the Wi-Fi network configured on the router.
# 1. List available Wi-Fi networks
nmcli device wifi list

# 2. Connect to the specified Wi-Fi network from the command line with administrator privileges
sudo nmcli device wifi connect "WiFi name" password "WiFi password"
Step 3: Check the address assigned after connection and locate the IP address for wlan0.
# 1. Display configuration information for all network interfaces on the current system
ifconfig

# 2. In the output, locate the `wlan0` interface and record the IP address after `inet` (for example, 192.168.1.100).
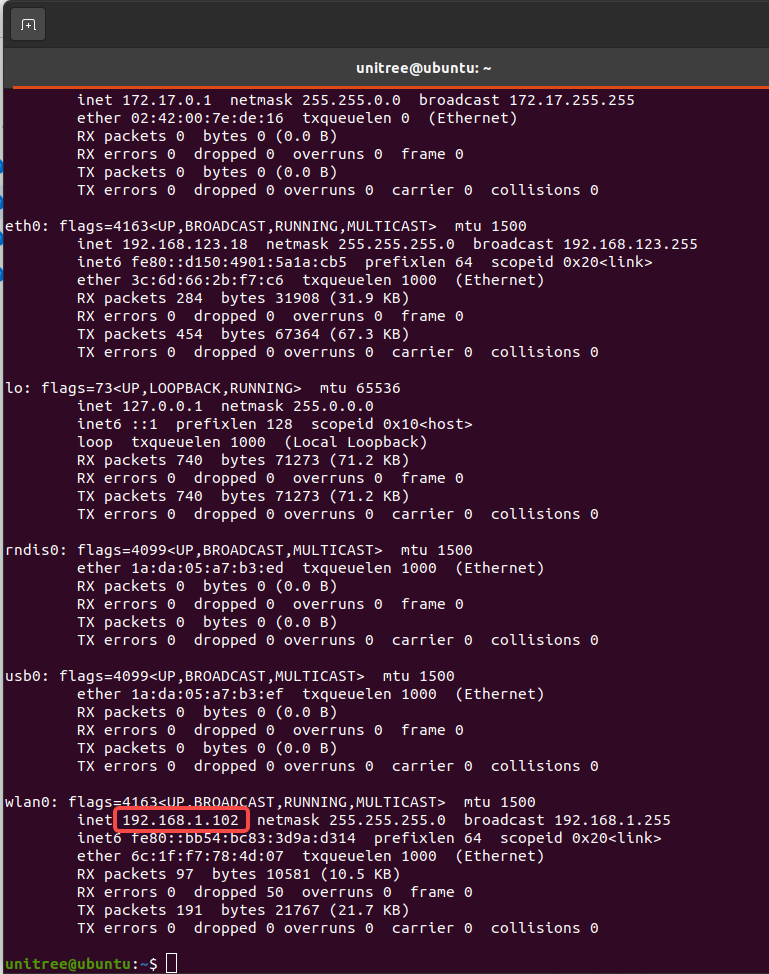
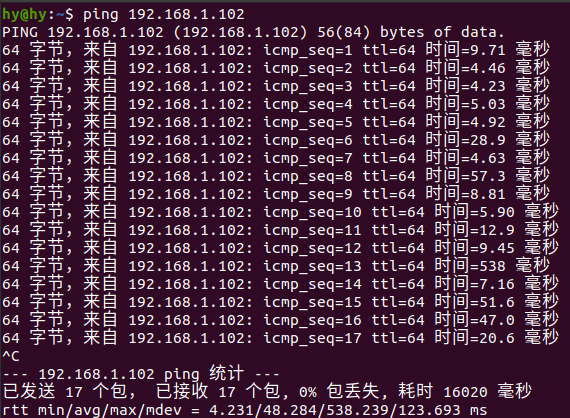
Step 4: Connect the Ubuntu computer to the same router over Wi-Fi. Open a terminal and use ping to check connectivity and latency. If latency is above 100 milliseconds for most packets, use the wired connection instead.
# Test connectivity and latency over the wireless network to the GO2edu
ping <IP address found above>
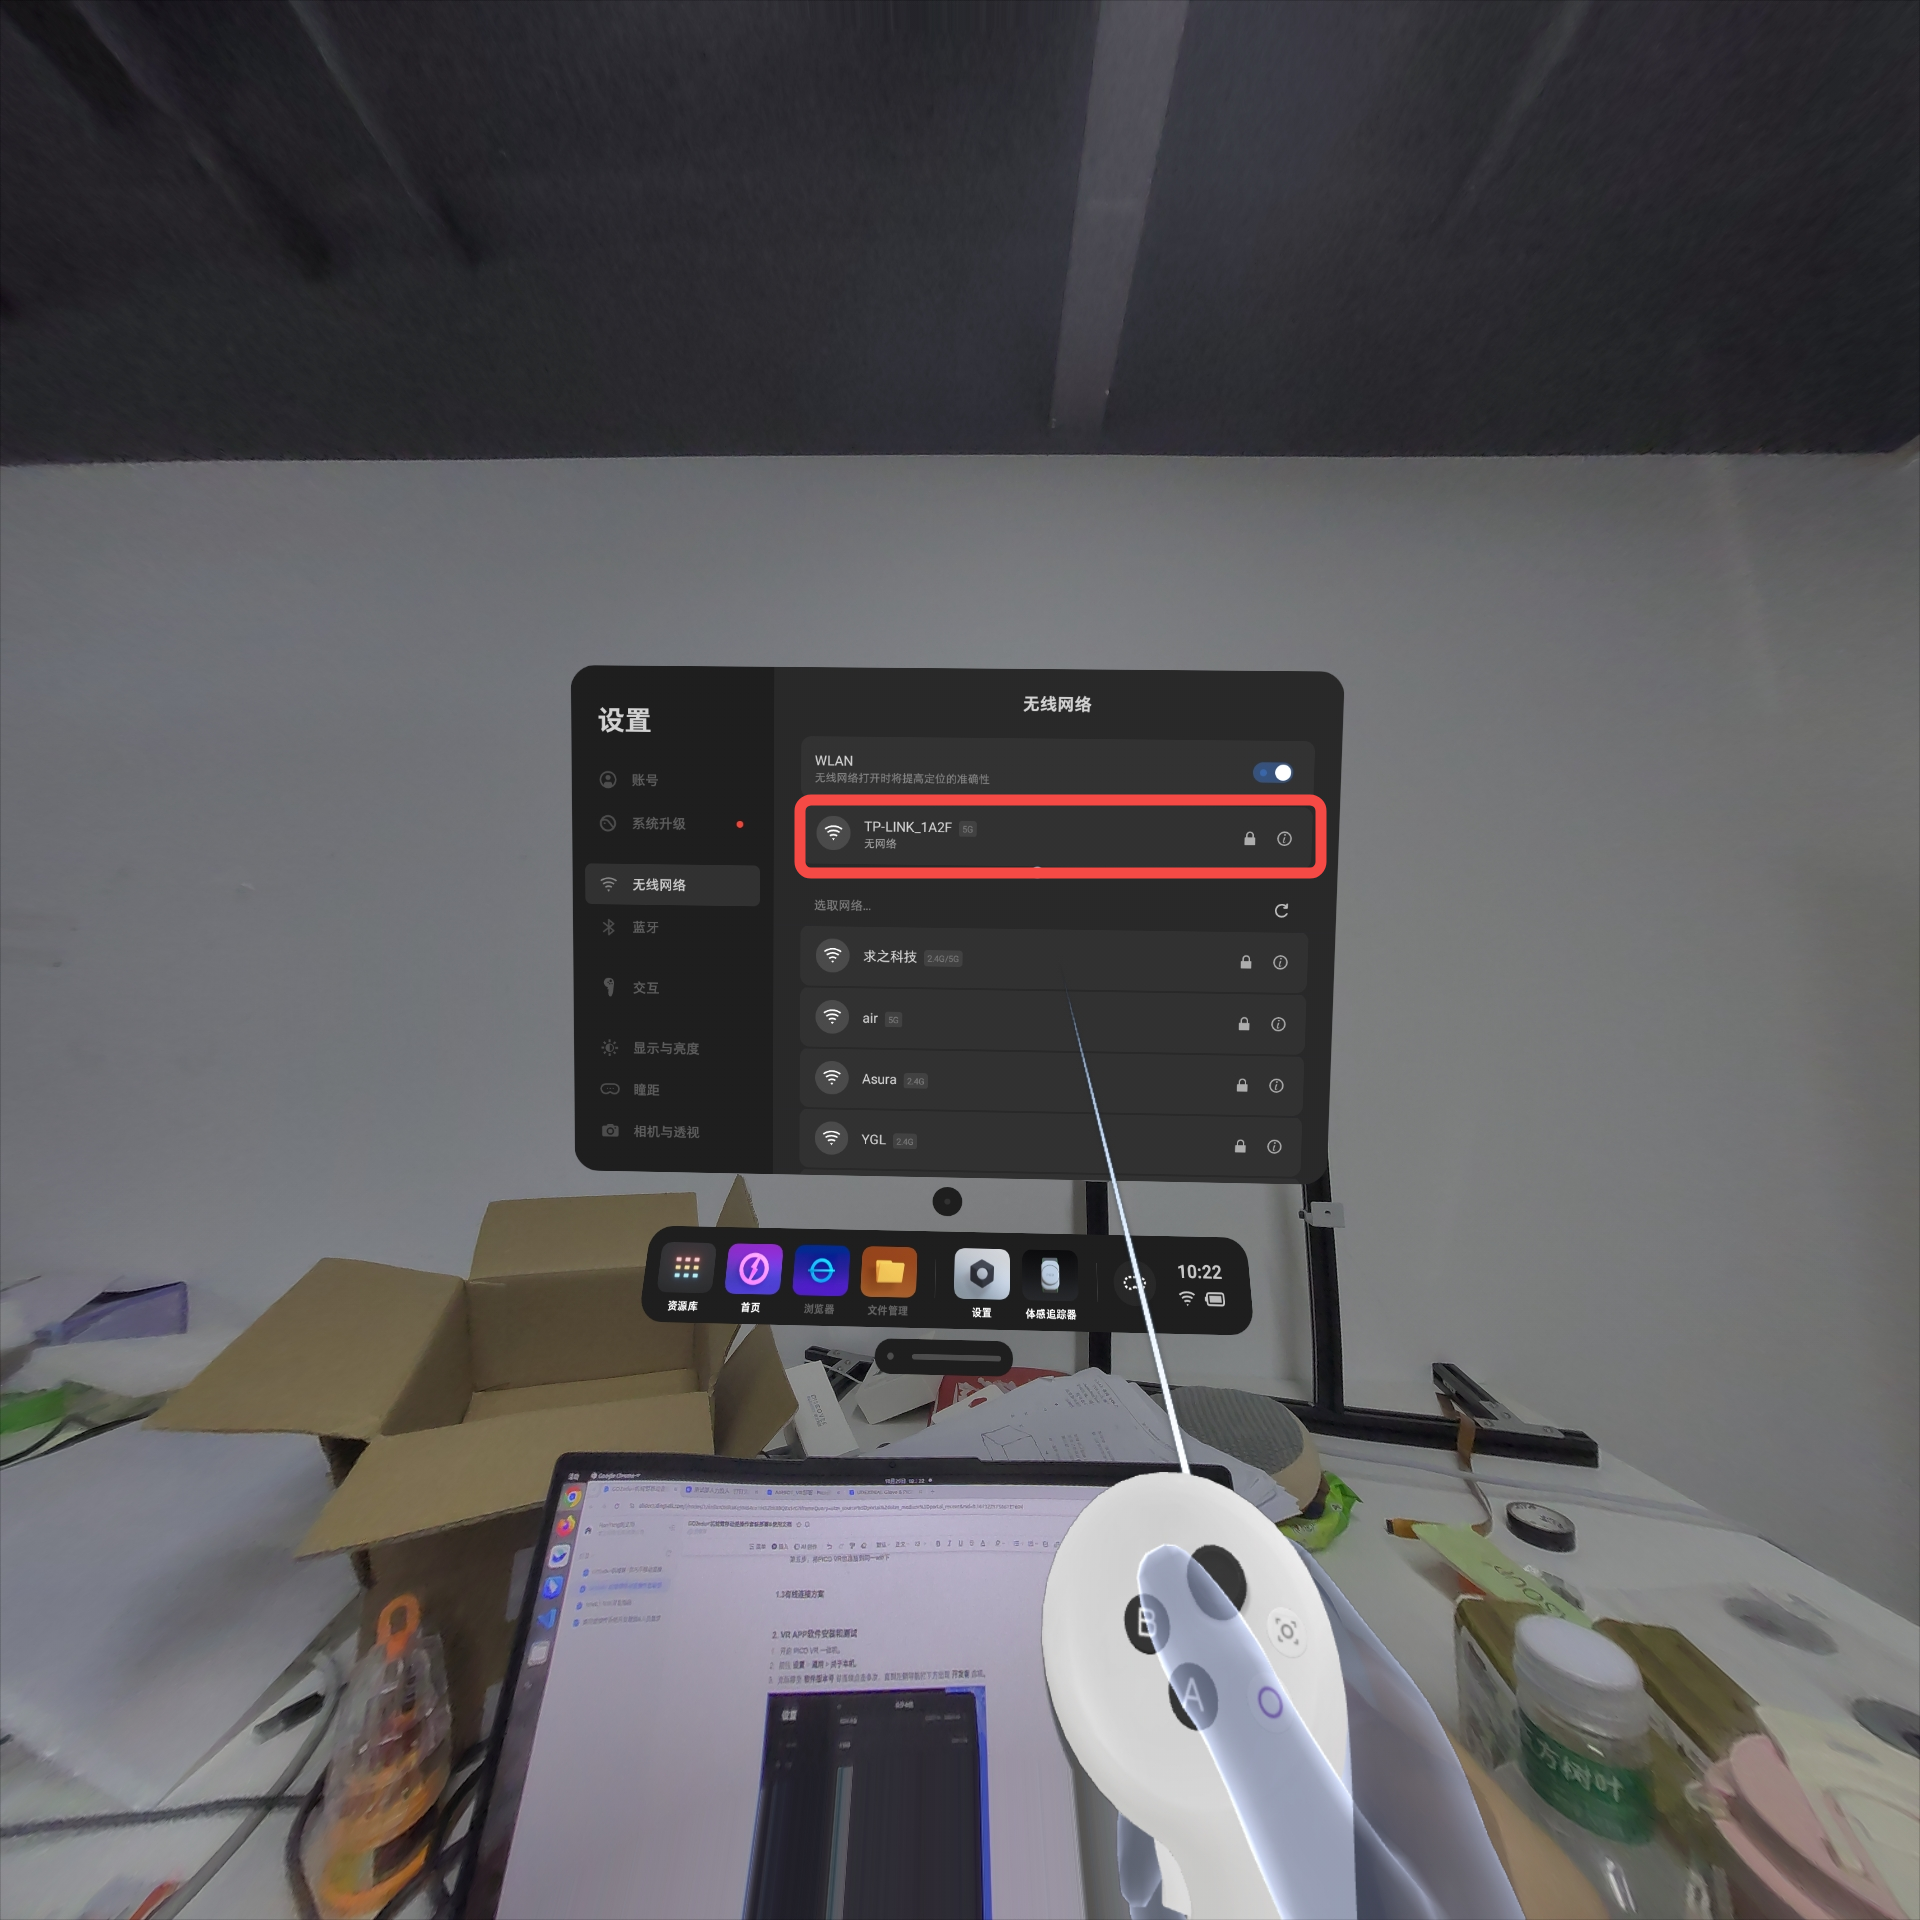
Step 5: Connect the PICO VR headset to the same Wi-Fi network by going to Settings > Wireless Network.
Wired Connection#
Materials:
- Three RJ45-to-RJ45 Ethernet cables
- USB Type-C docking station with an Ethernet port
- Personal computer; Ubuntu ≥ 22.04 recommended
Step 1: Connect the GO2, PC, and PICO VR headset (through the docking station) to the router. After connecting them, check whether the indicator next to each router Ethernet port is flashing.
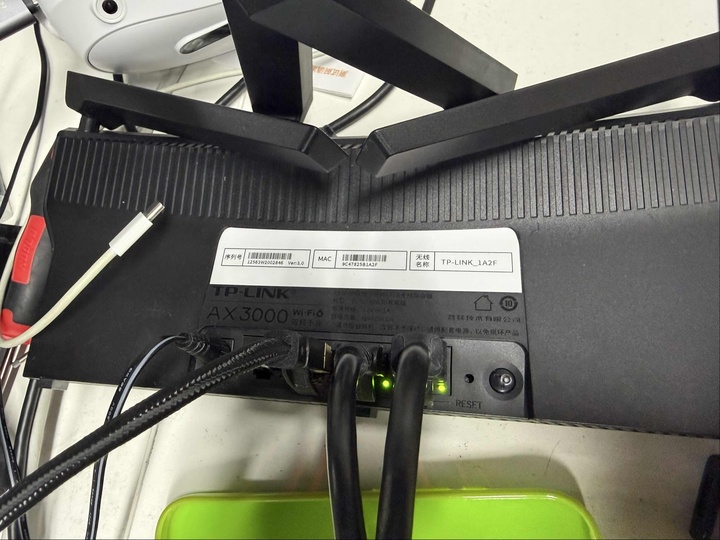
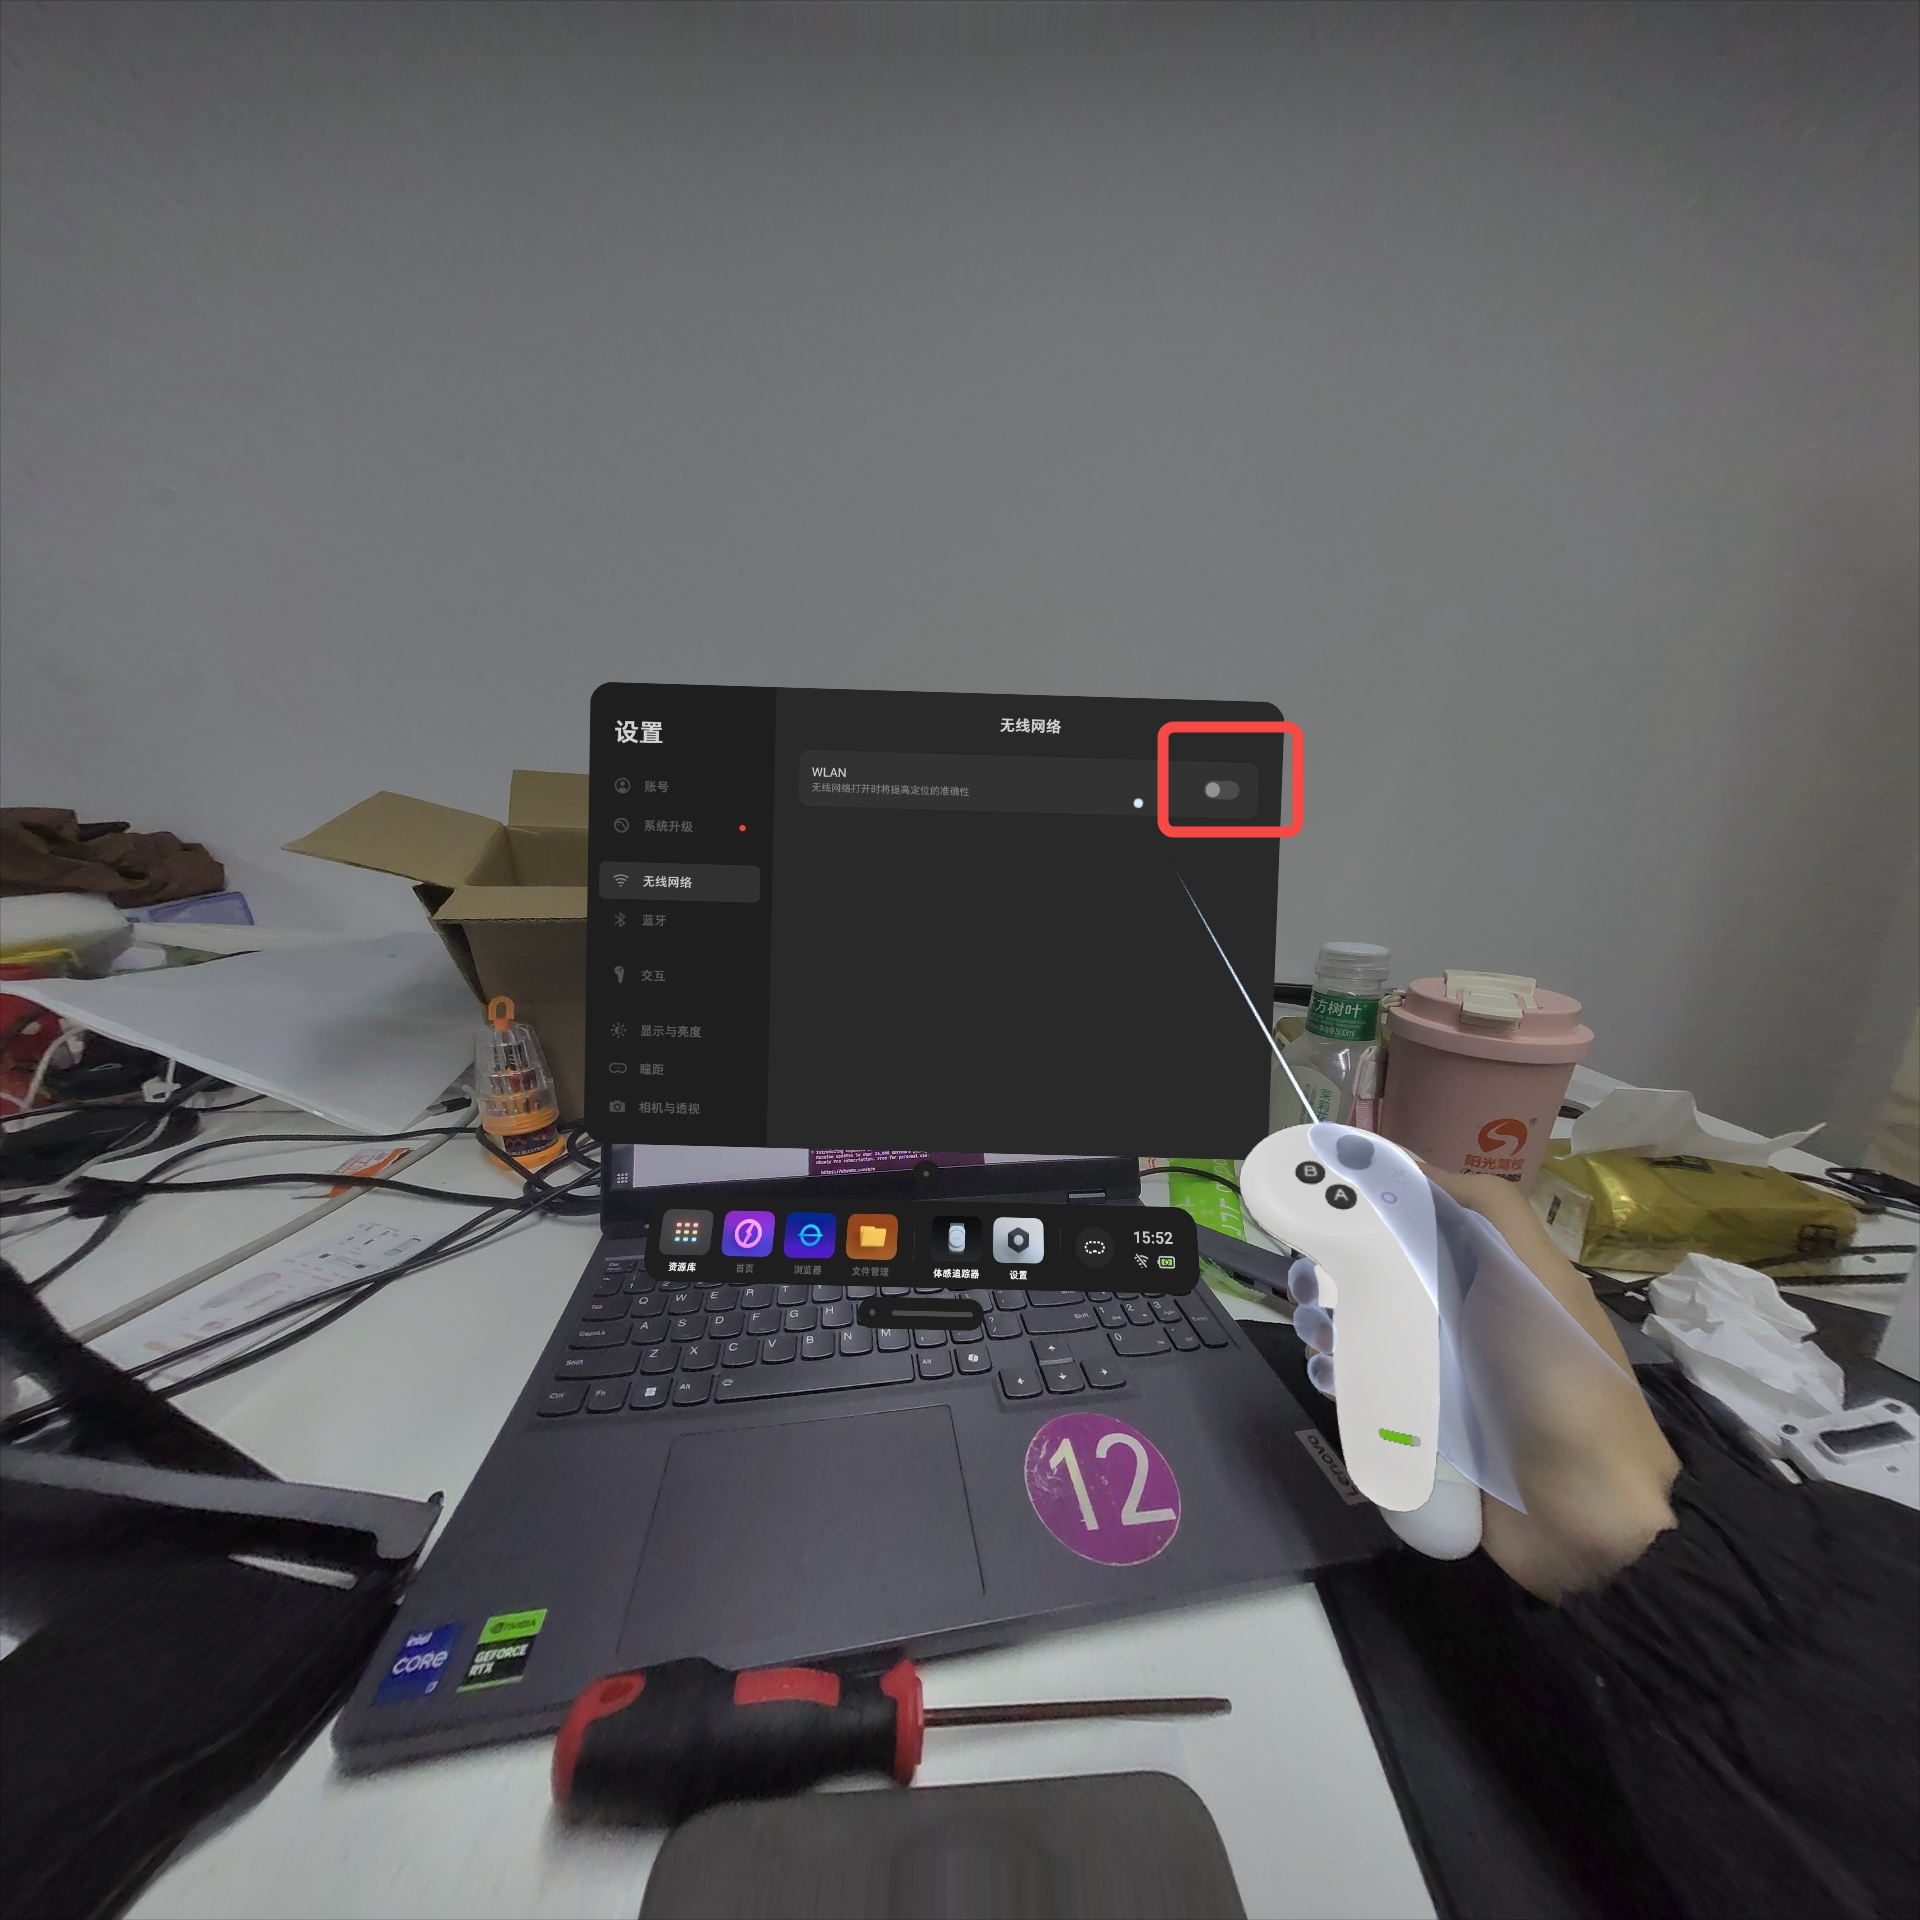
Step 2: Turn off Wi-Fi on the PICO VR headset.
Step 3: Open a terminal and use SSH to access the quadruped robot's host computer. The connection is successful if you can log in.