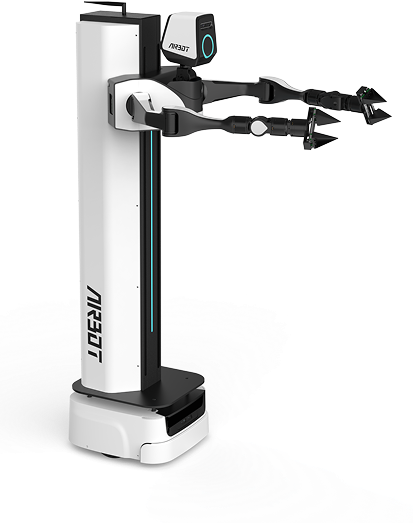
Main Functions
Power-On#
Power Up#
Turn on the main-unit power and base power separately, and then turn on power to both robotic arms. When the light strips on the head, body, front of the base, and both robotic-arm bases are all lit, power-on is complete and the self-check begins.
Self-Check#
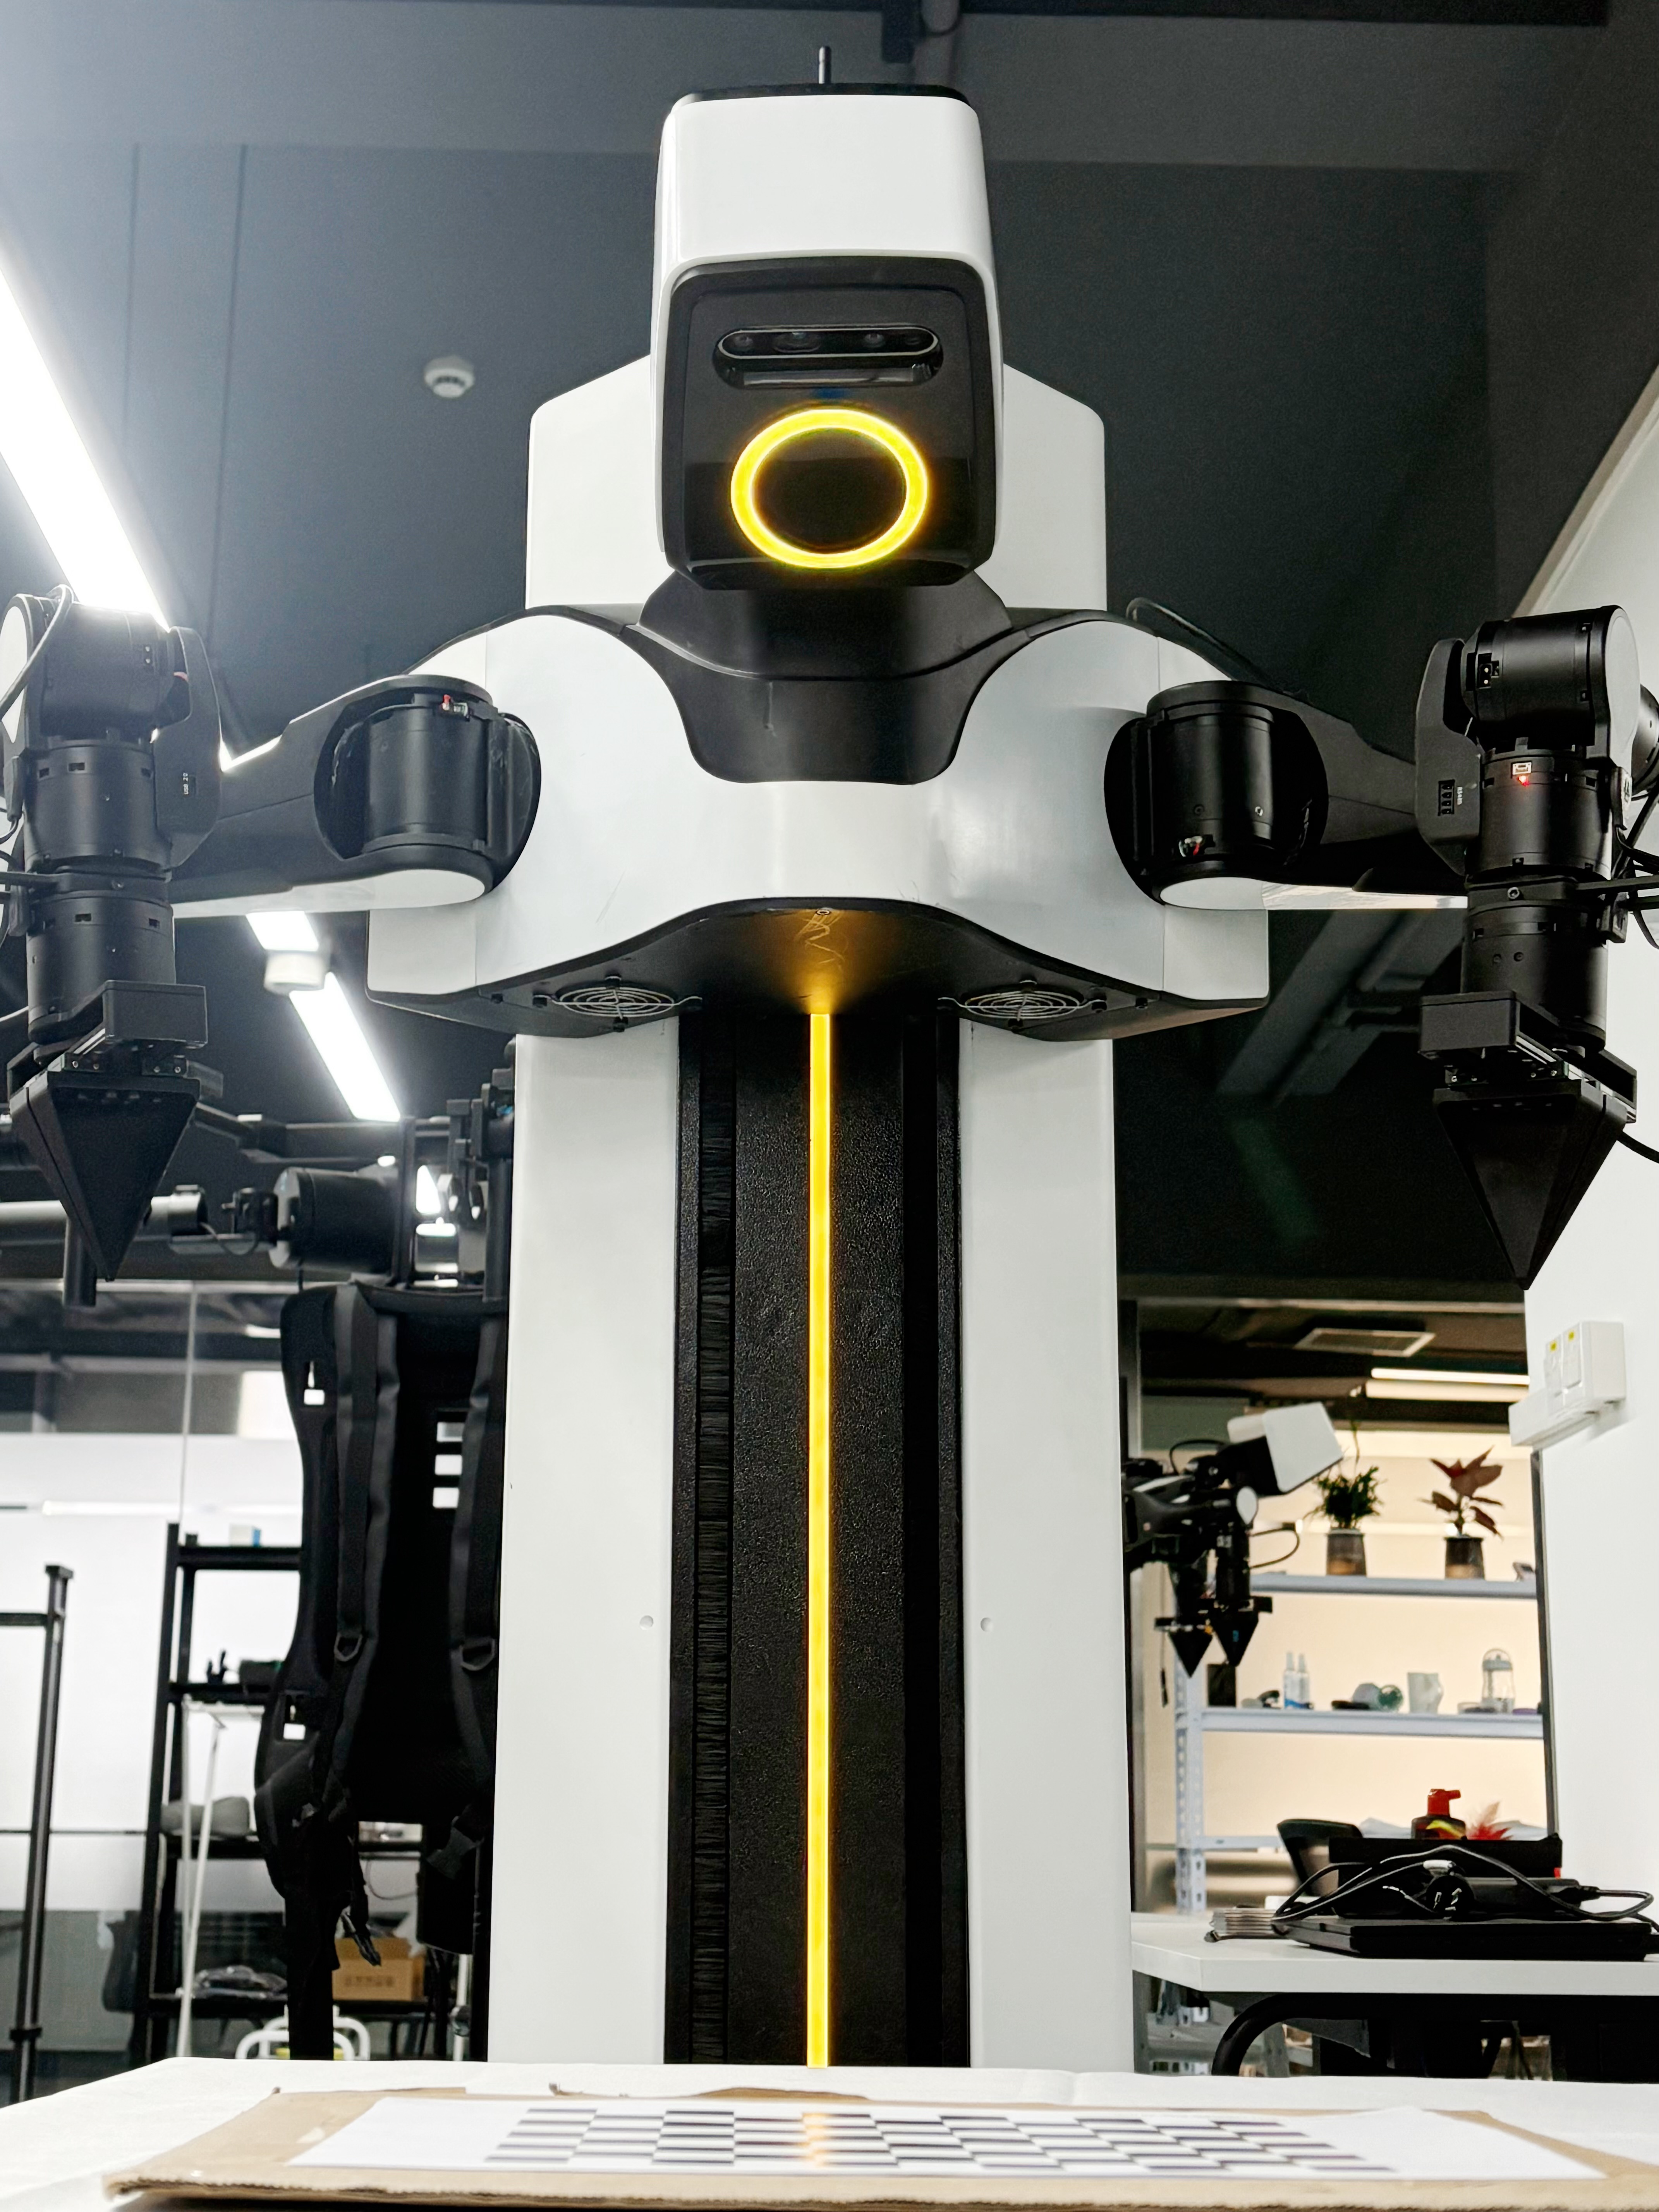
Self-Check in Progress
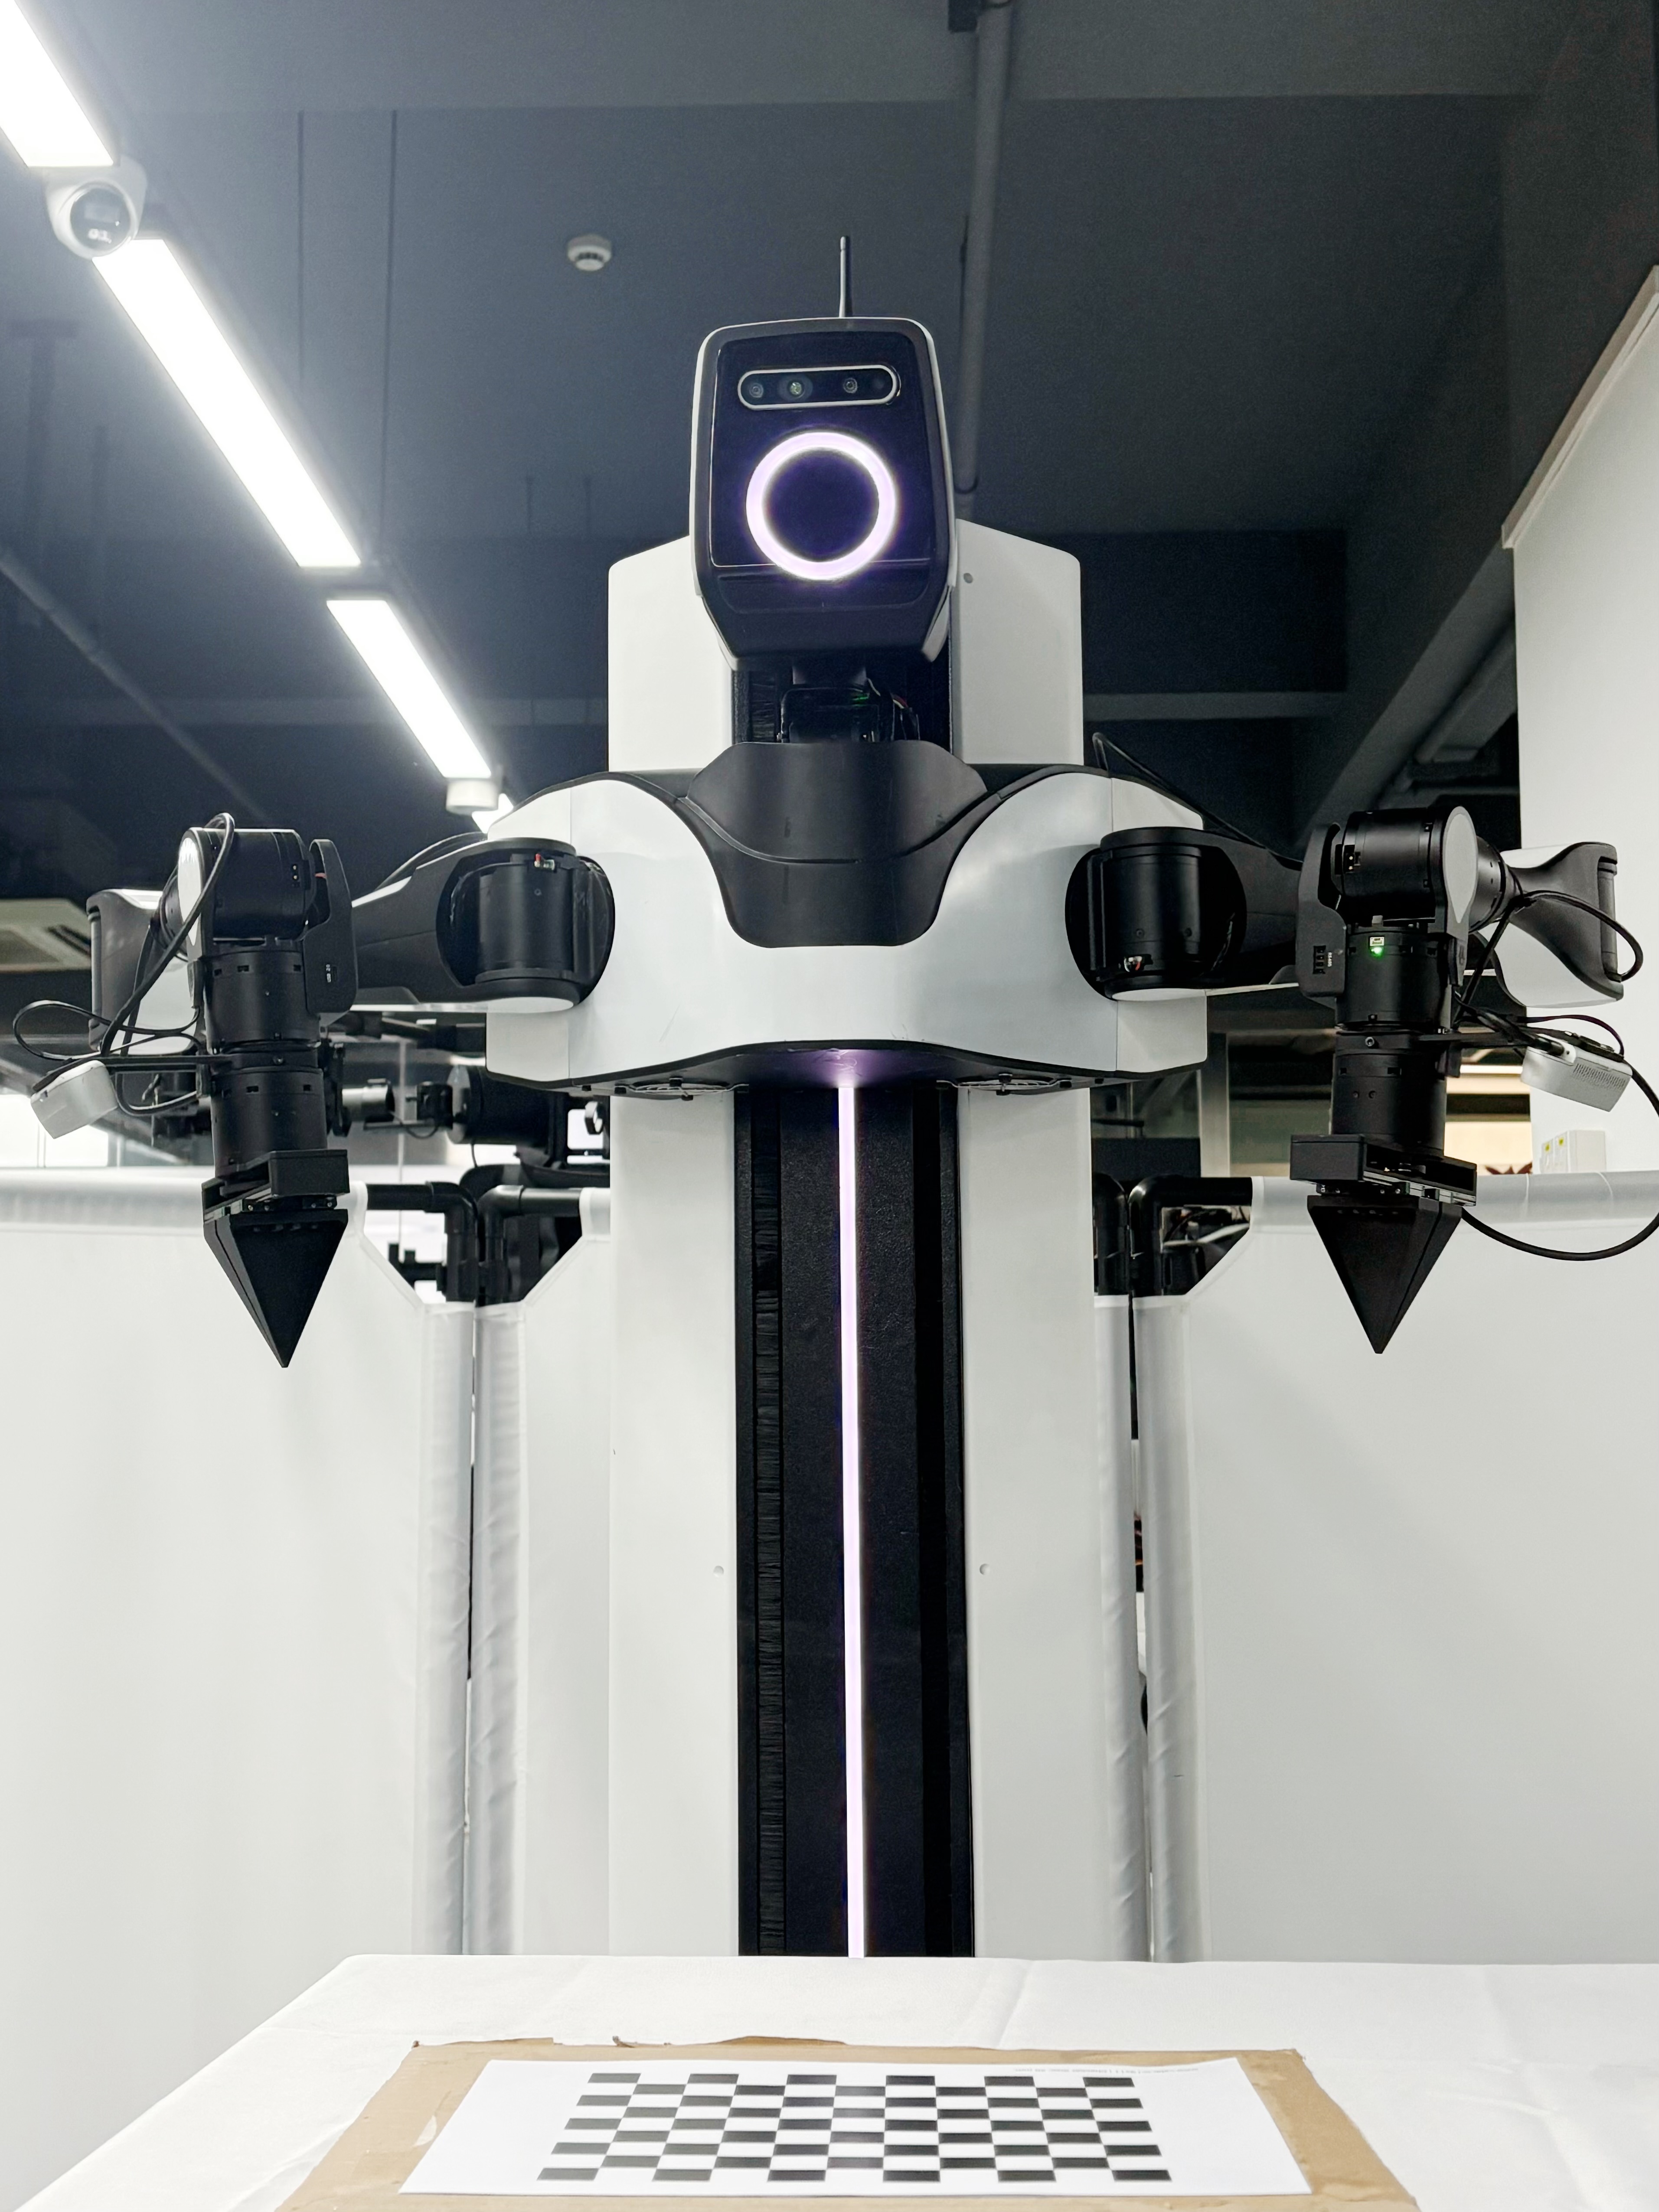
Self-Check Complete
Abnormal Light Patterns#
After the self-check begins, the head and body light strips remain solid yellow while the system checks for hardware faults. If a recoverable fault is detected, it is indicated by the head light pattern.
| Head Light Pattern | Fault | Solution |
|---|---|---|
| Single yellow flash | No signal from left arm | Insert the left arm's Type-C cable into the USB-2 signal port |
| Double yellow flash | No signal from right arm | Insert the right arm's Type-C cable into the USB-2 signal port |
| Triple yellow flash | No signal from either arm | Connect the signal cables for both arms |
| Single red flash | Left-arm zero-position drift | Calibrate the left arm's zero position |
| Double red flash | Right-arm zero-position drift | Calibrate the right arm's zero position |
| Triple red flash | Zero-position drift on both arms | Calibrate the left and right arms separately |
| Single red flash | Left arm cannot read motors | Disconnect all left-arm cables, wait 30 seconds, reconnect them, and power on |
| Double red flash | Right arm cannot read motors | Disconnect all right-arm cables, wait 30 seconds, reconnect them, and power on |
| Triple red flash | Neither arm can read motors | Disconnect and reconnect the cables for both arms separately |
Calibrate the Arm Zero Position#
During zero-position calibration, keep the upper arm horizontal while pushing the forearm inward by hand and clamping it toward the body until it reaches the limit.
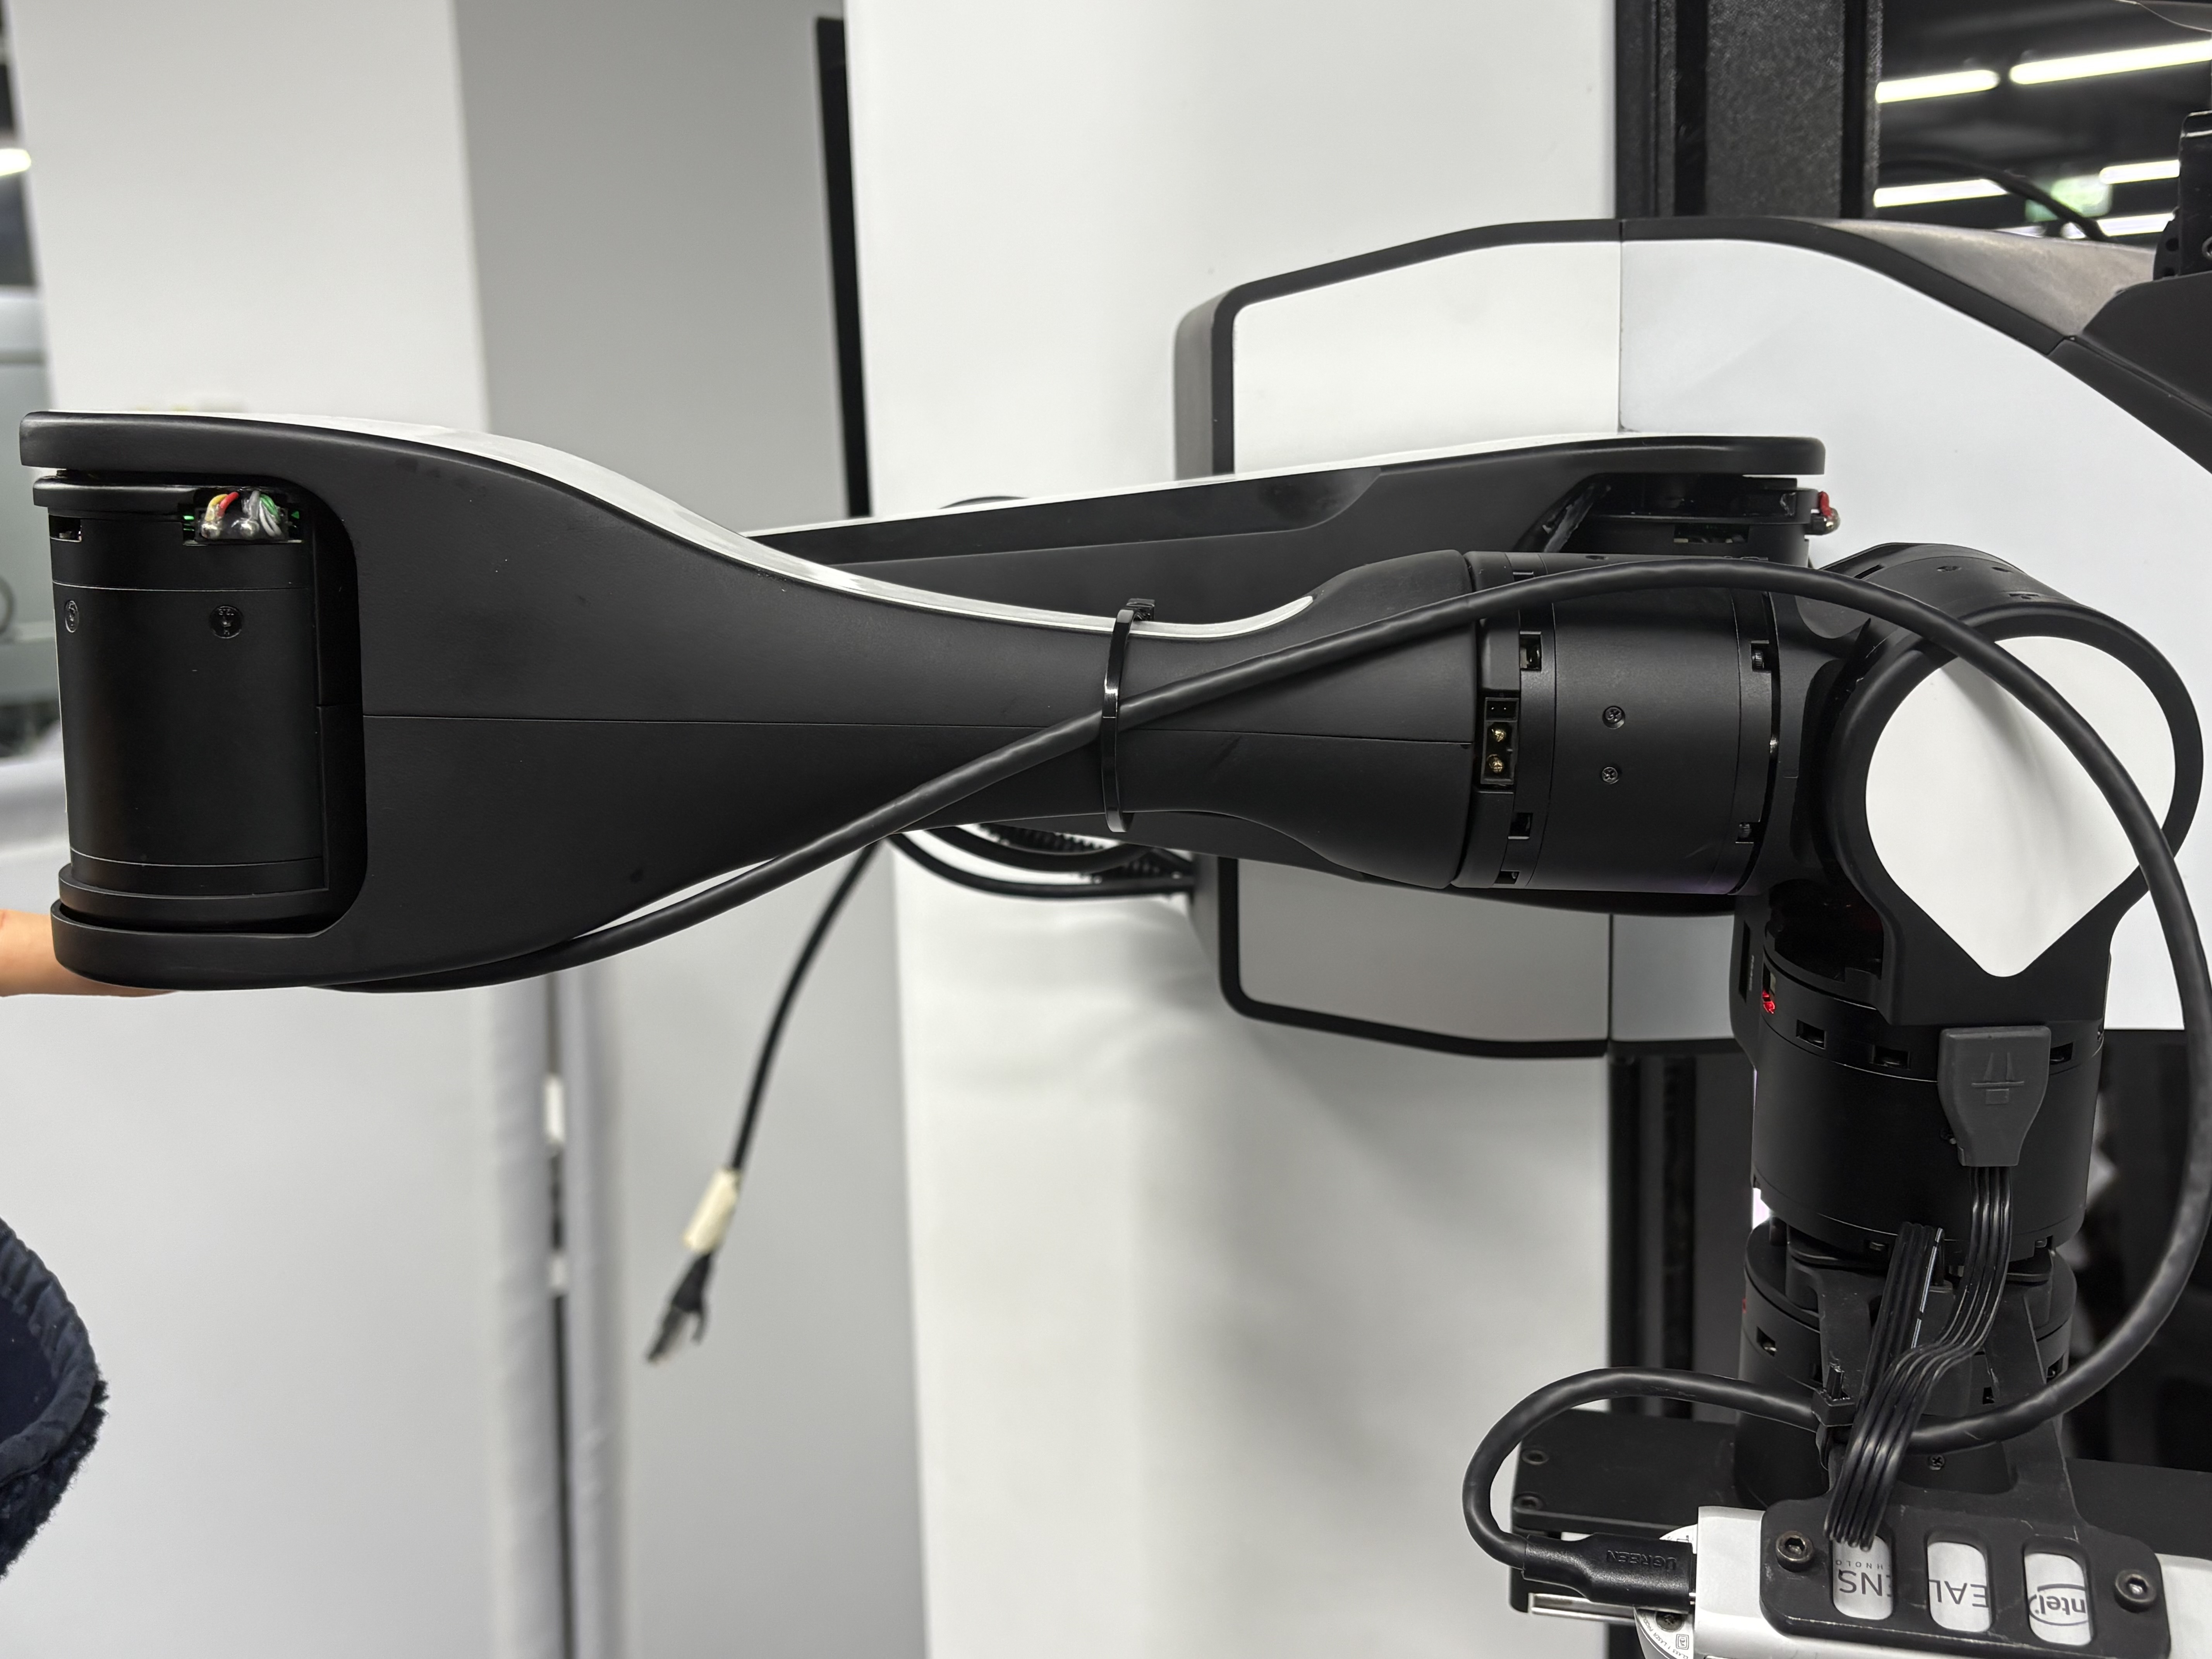
Keep Horizontal
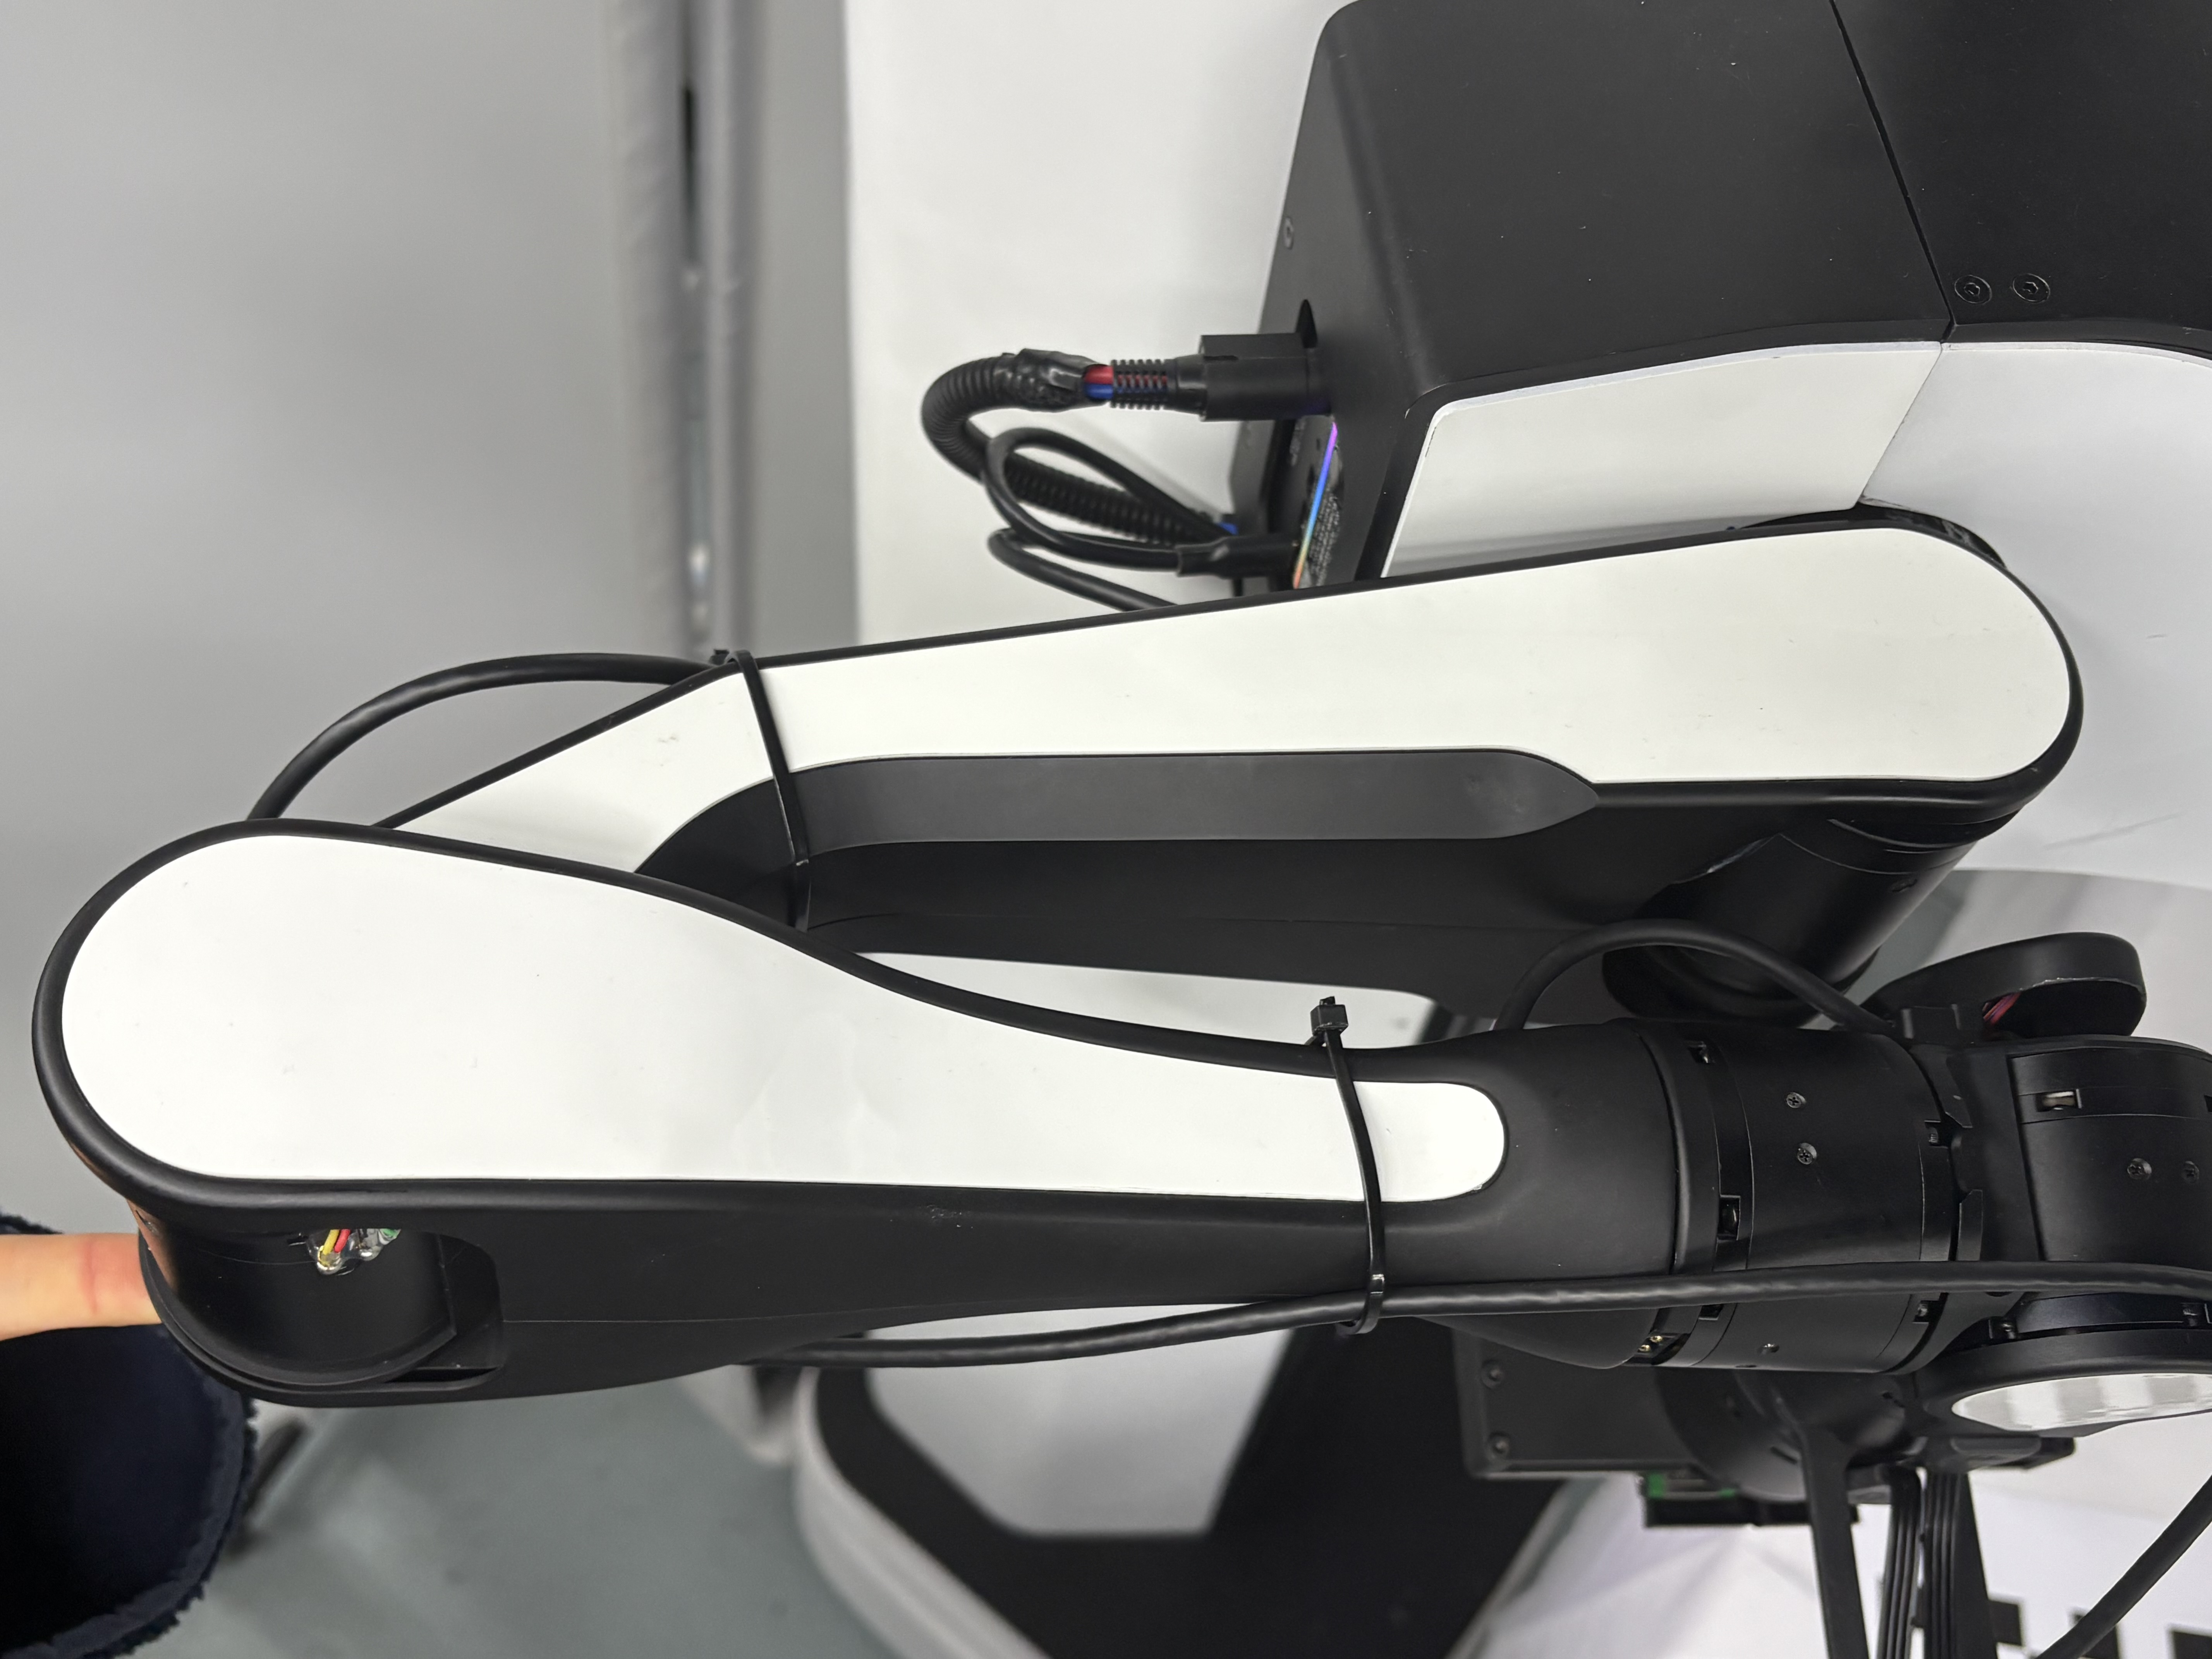
Clamp Inward
Reference
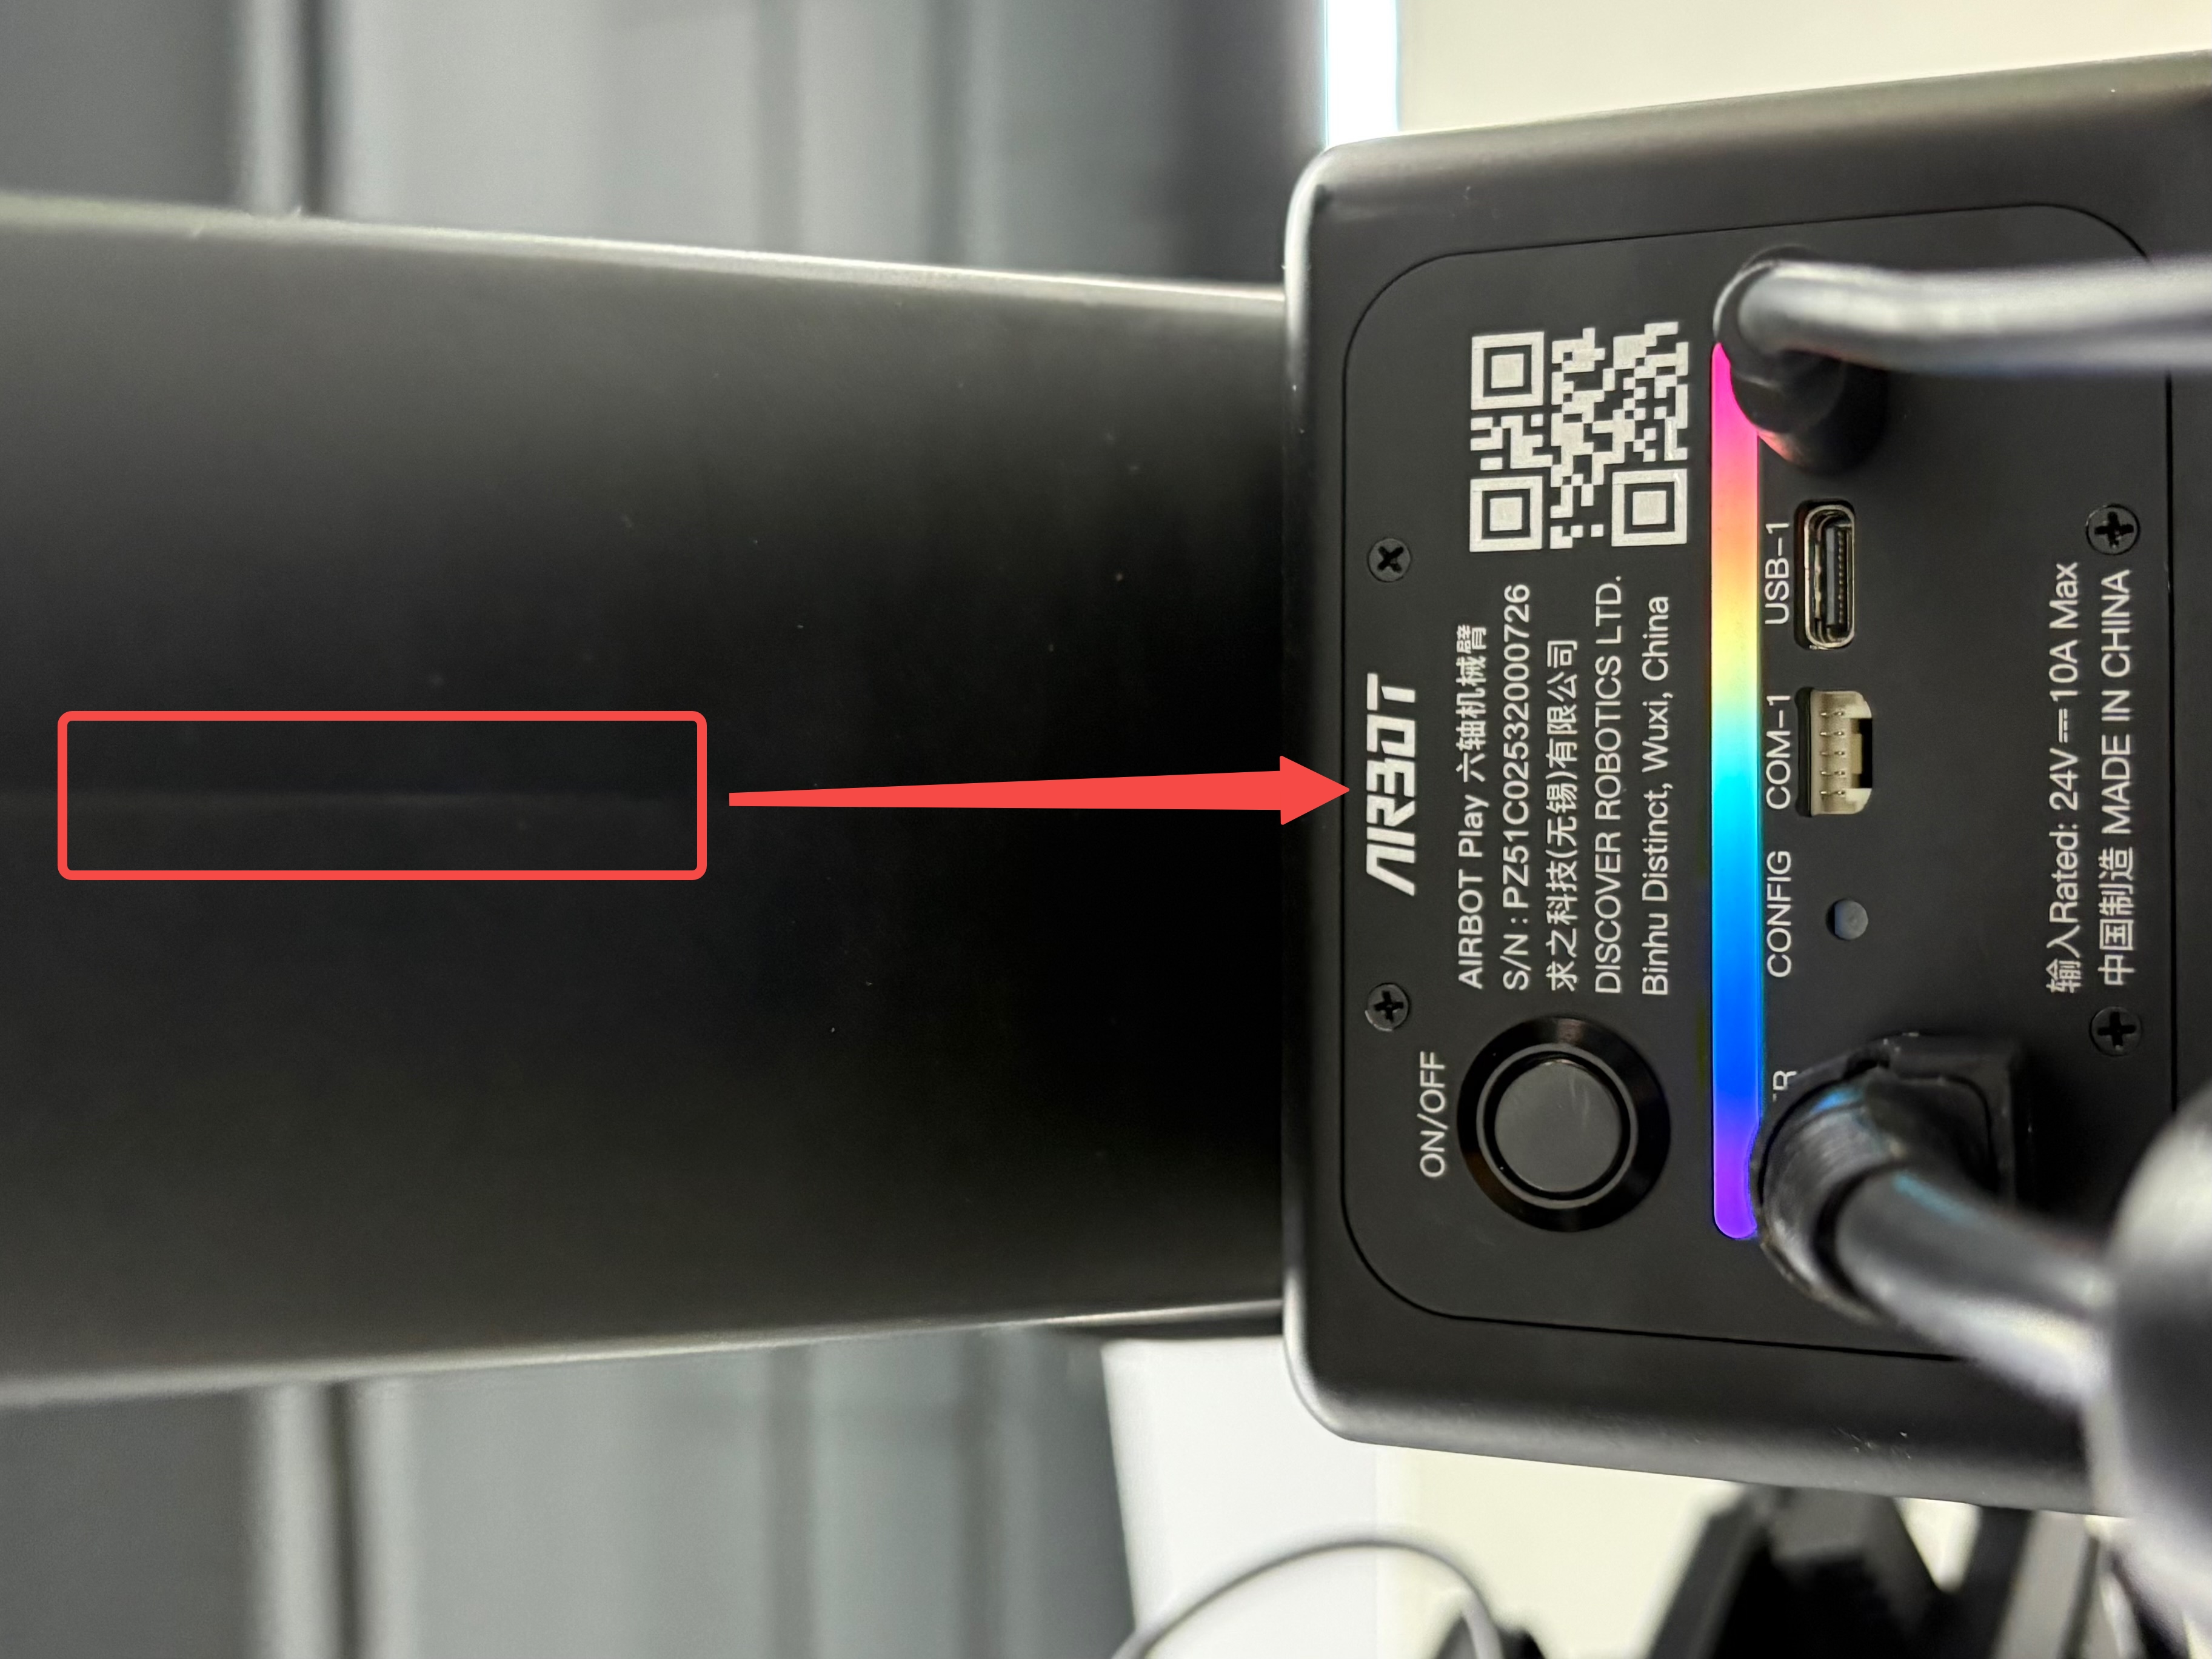
Horizontal zero-position reference:
A prominent reference line is located on the rear of the arm. When this line points to the center of the “AIRBOT” text on the base plate, the robotic arm is in the horizontal zero-calibration position.
Zero-position calibration:
Press and hold the base button for 3 seconds. A click-like sound indicates that the motors have entered free-drive mode. Joint friction is relatively high, and the lights show a “multicolor light pattern.” After moving the arm to the position described above, press the base button. A second click-like sound indicates that calibration is complete, and the lights change to a “white light pattern.”
Caution
During zero-position calibration, the robotic-arm motors are disabled and the arm can fall freely. Support it by hand to prevent a collision.
Self-Check Passed#
After the self-check passes, the head and body lights remain solid white (see Self-Check Complete above). You can then use the controller to enter remote-control mode.
Remote Control#
- Enter remote-control mode
After the self-check passes, press start on the controller to enter remote-control mode. The robotic arm moves to an initial position, as shown below.
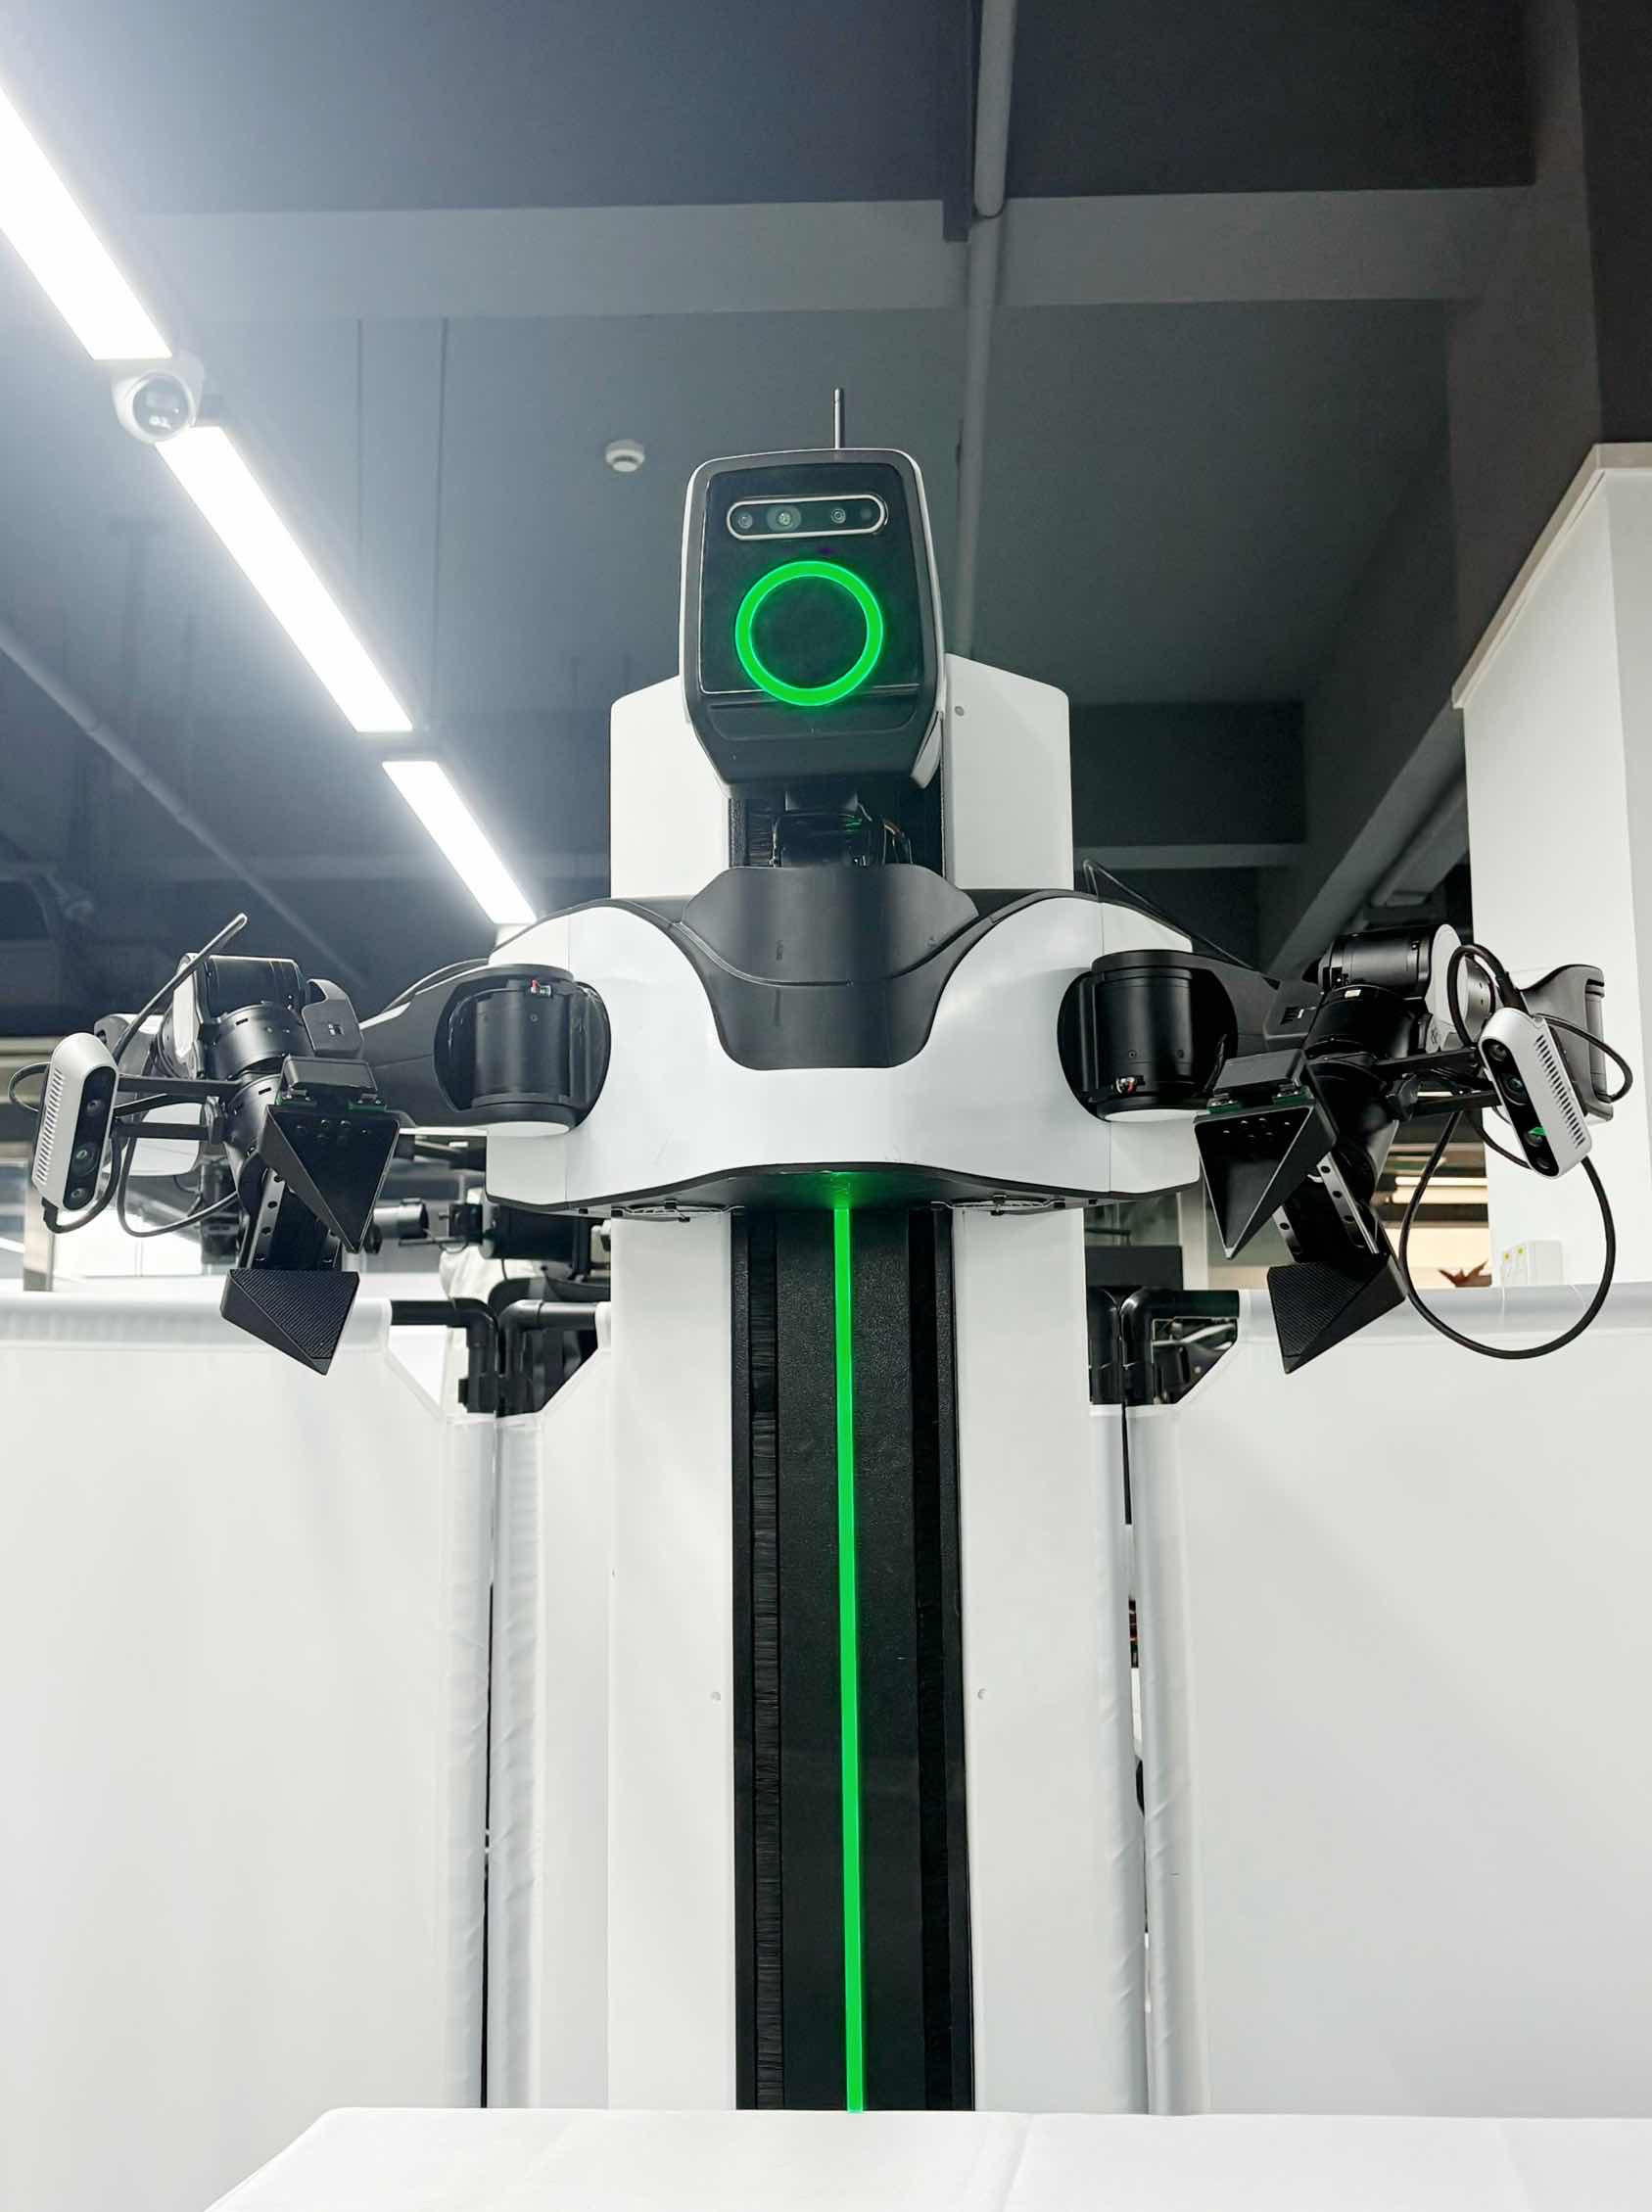
Remote-Control Mode
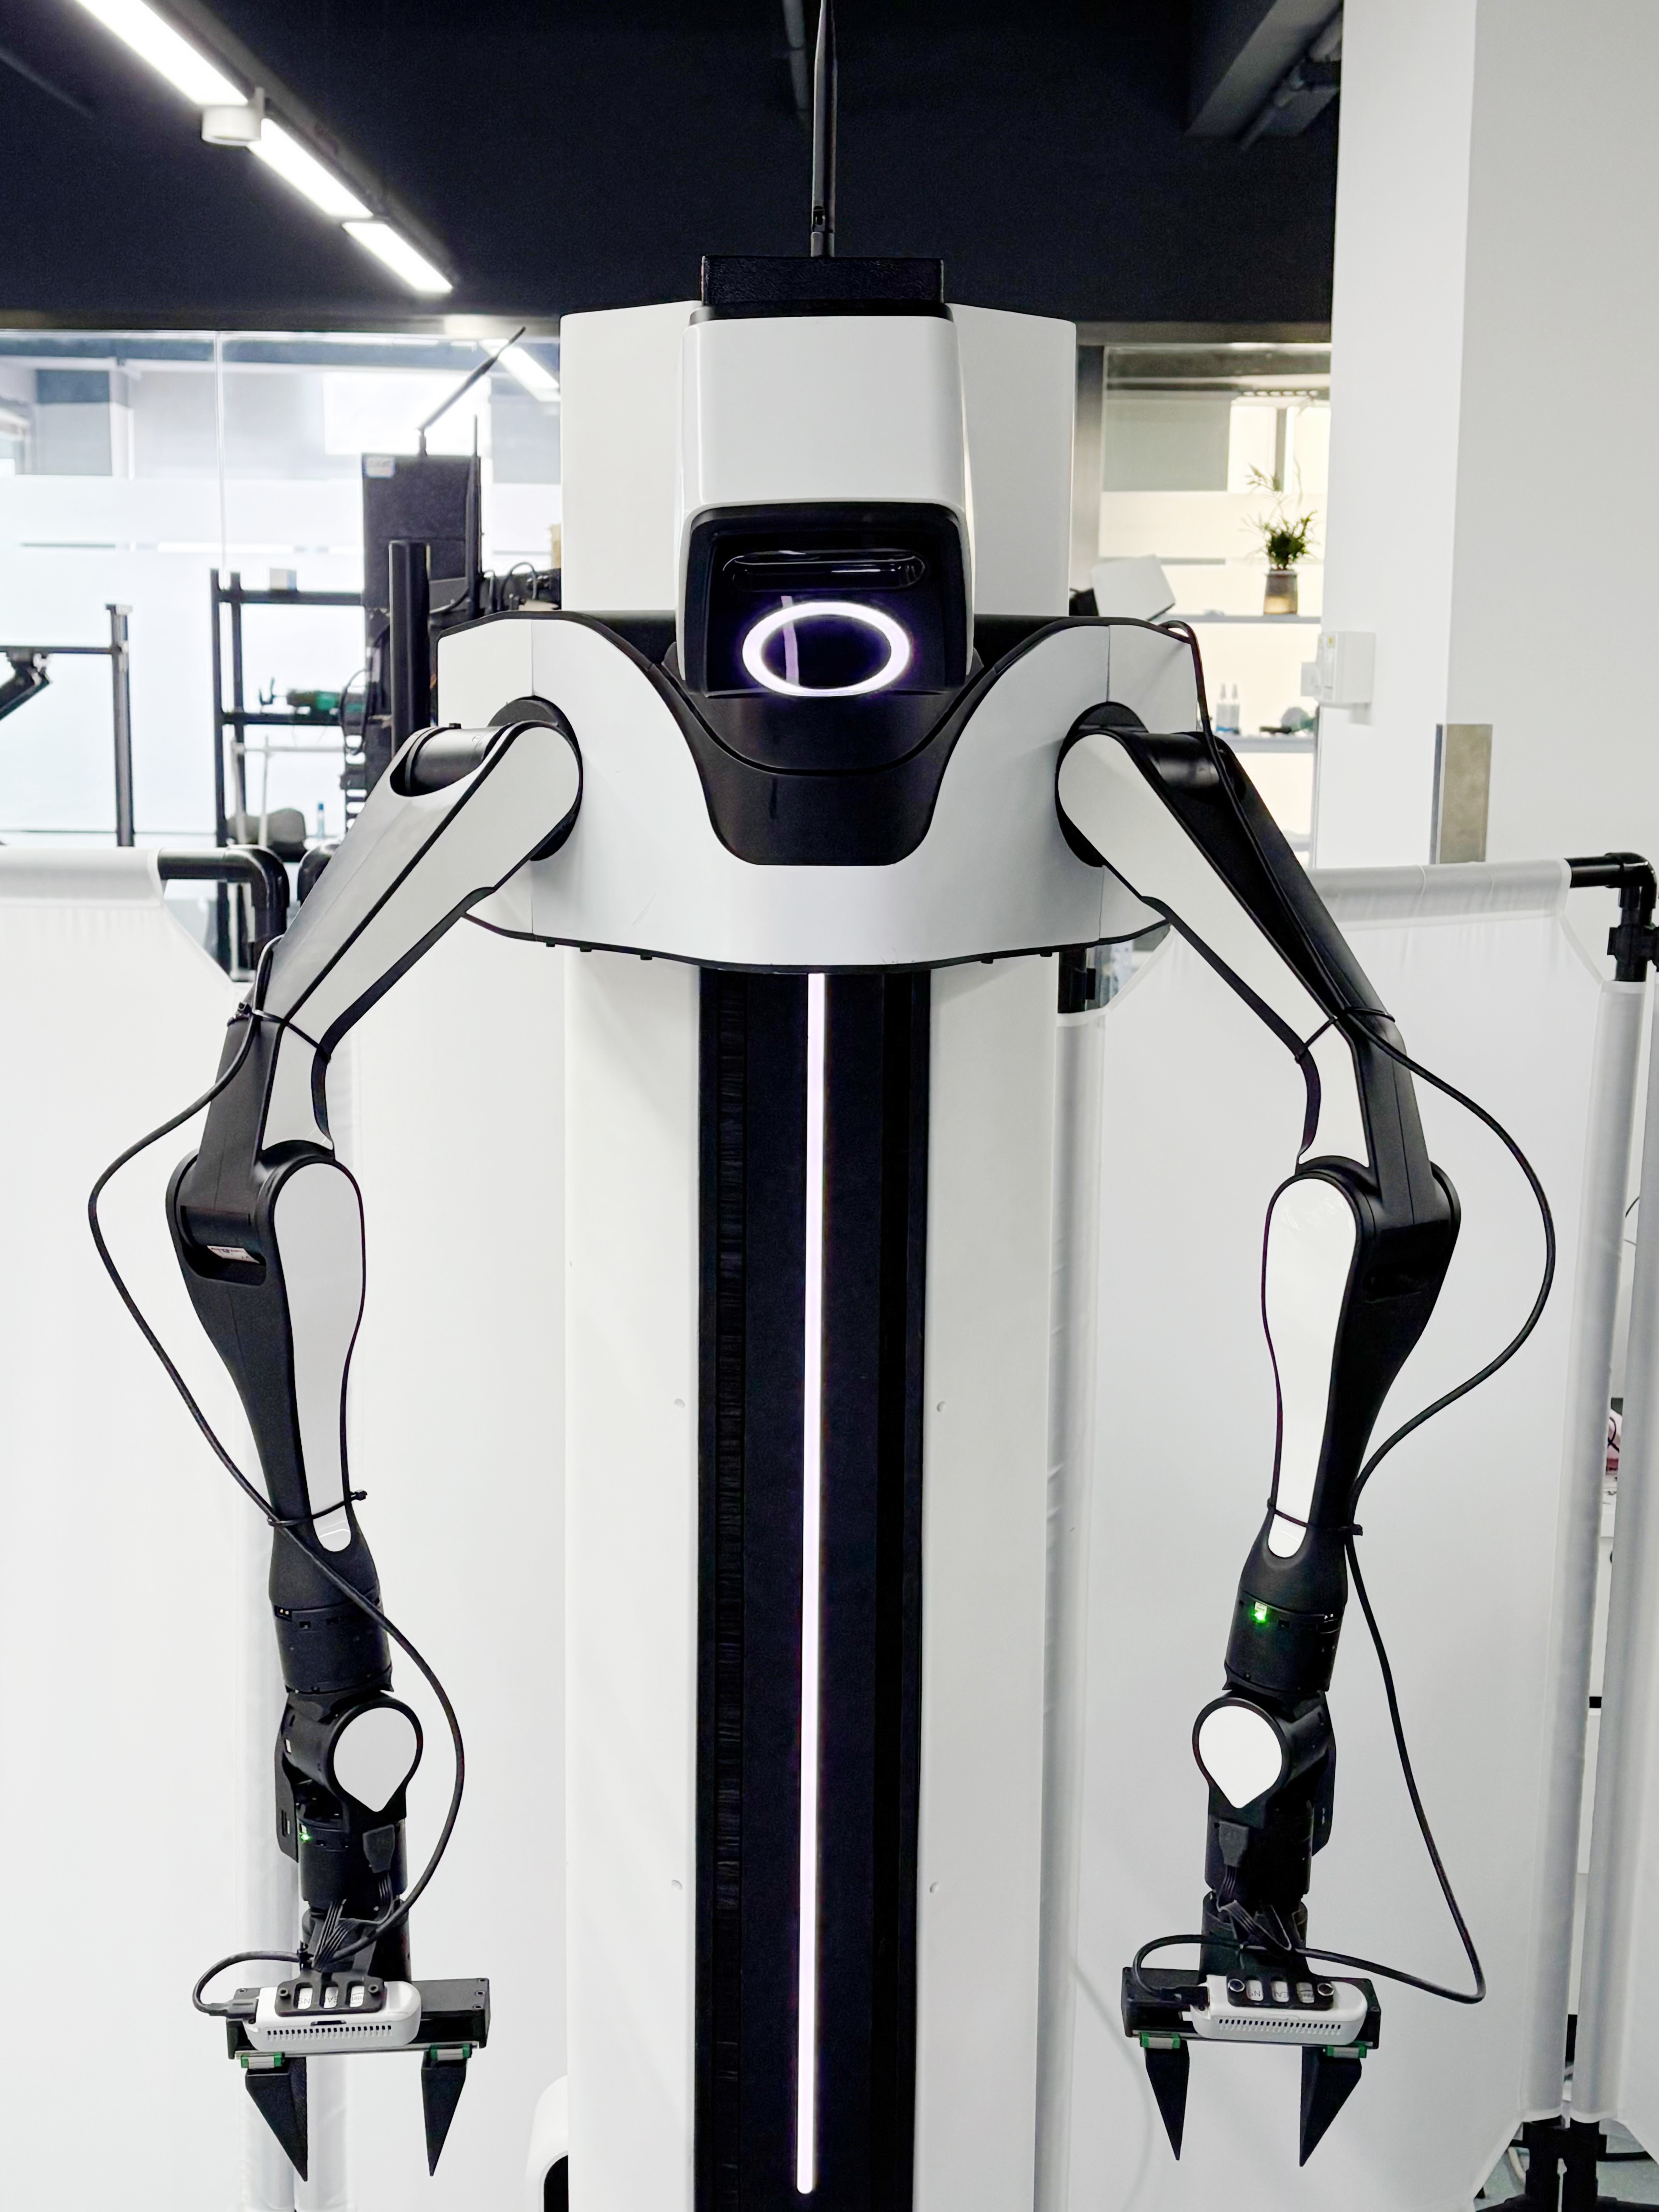
Standby Mode
Caution
Make sure there is sufficient space around the robot and maintain an appropriate safe distance from it.
- Controller instructions
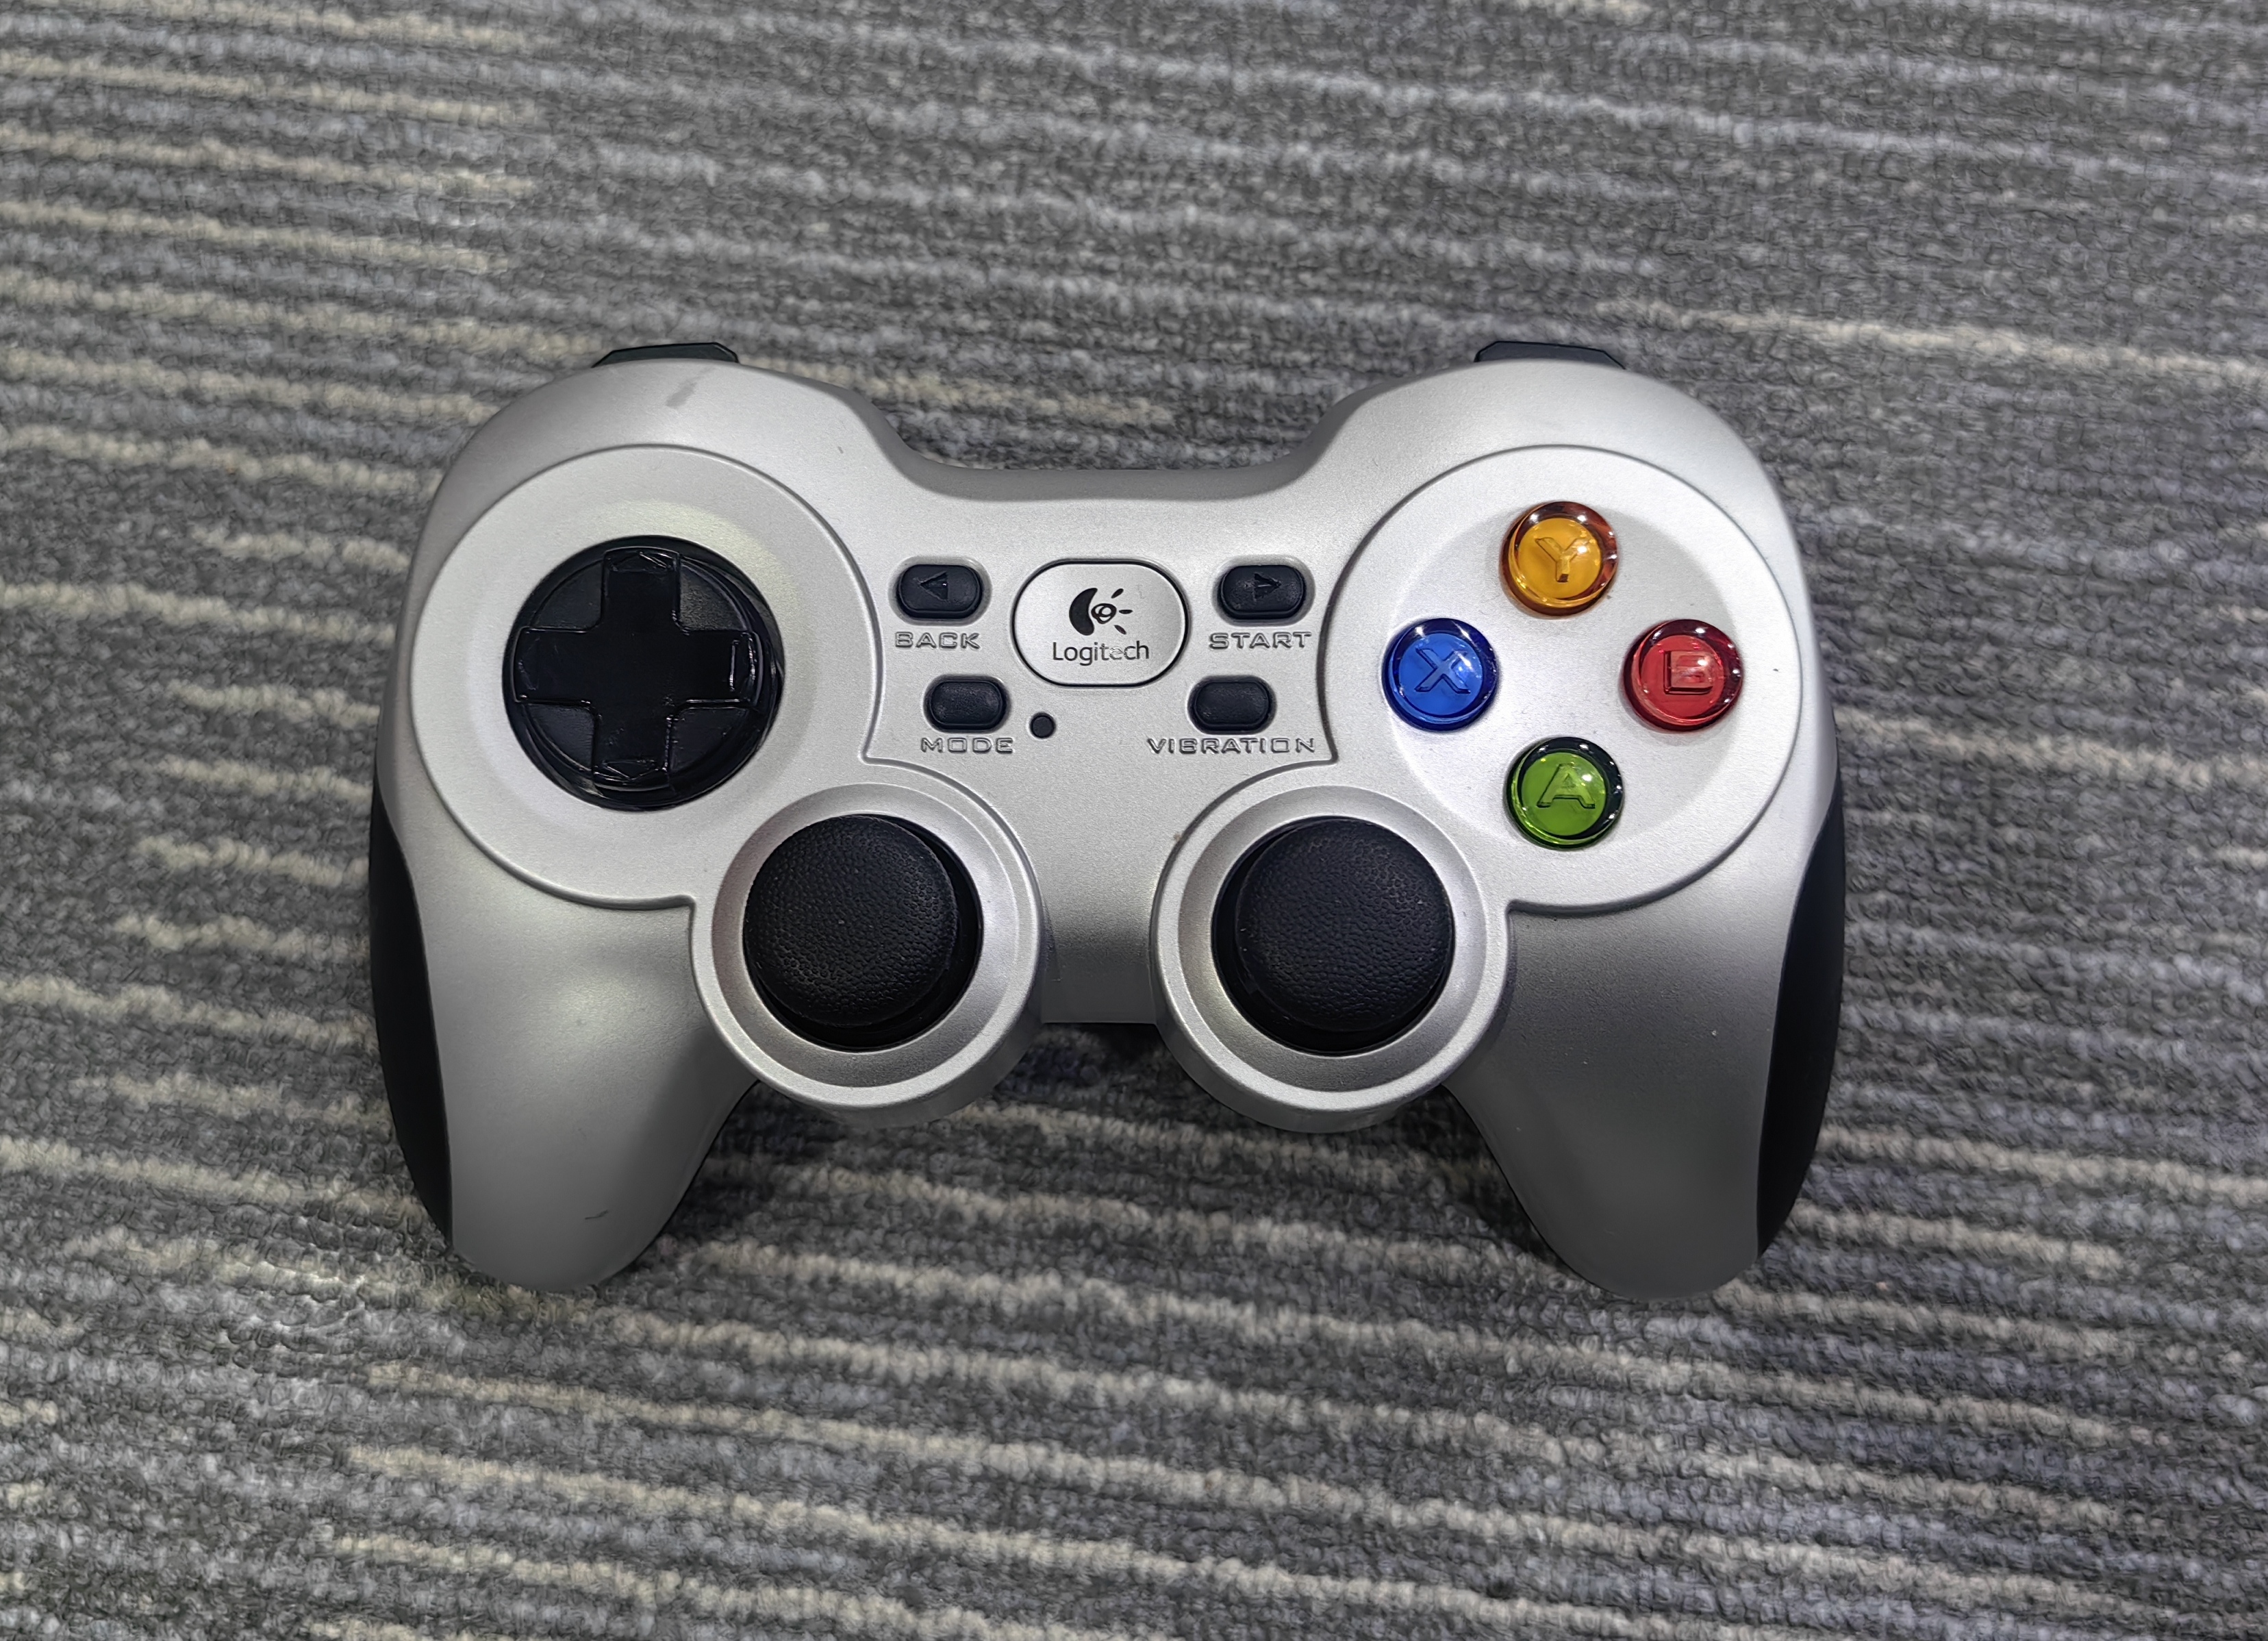
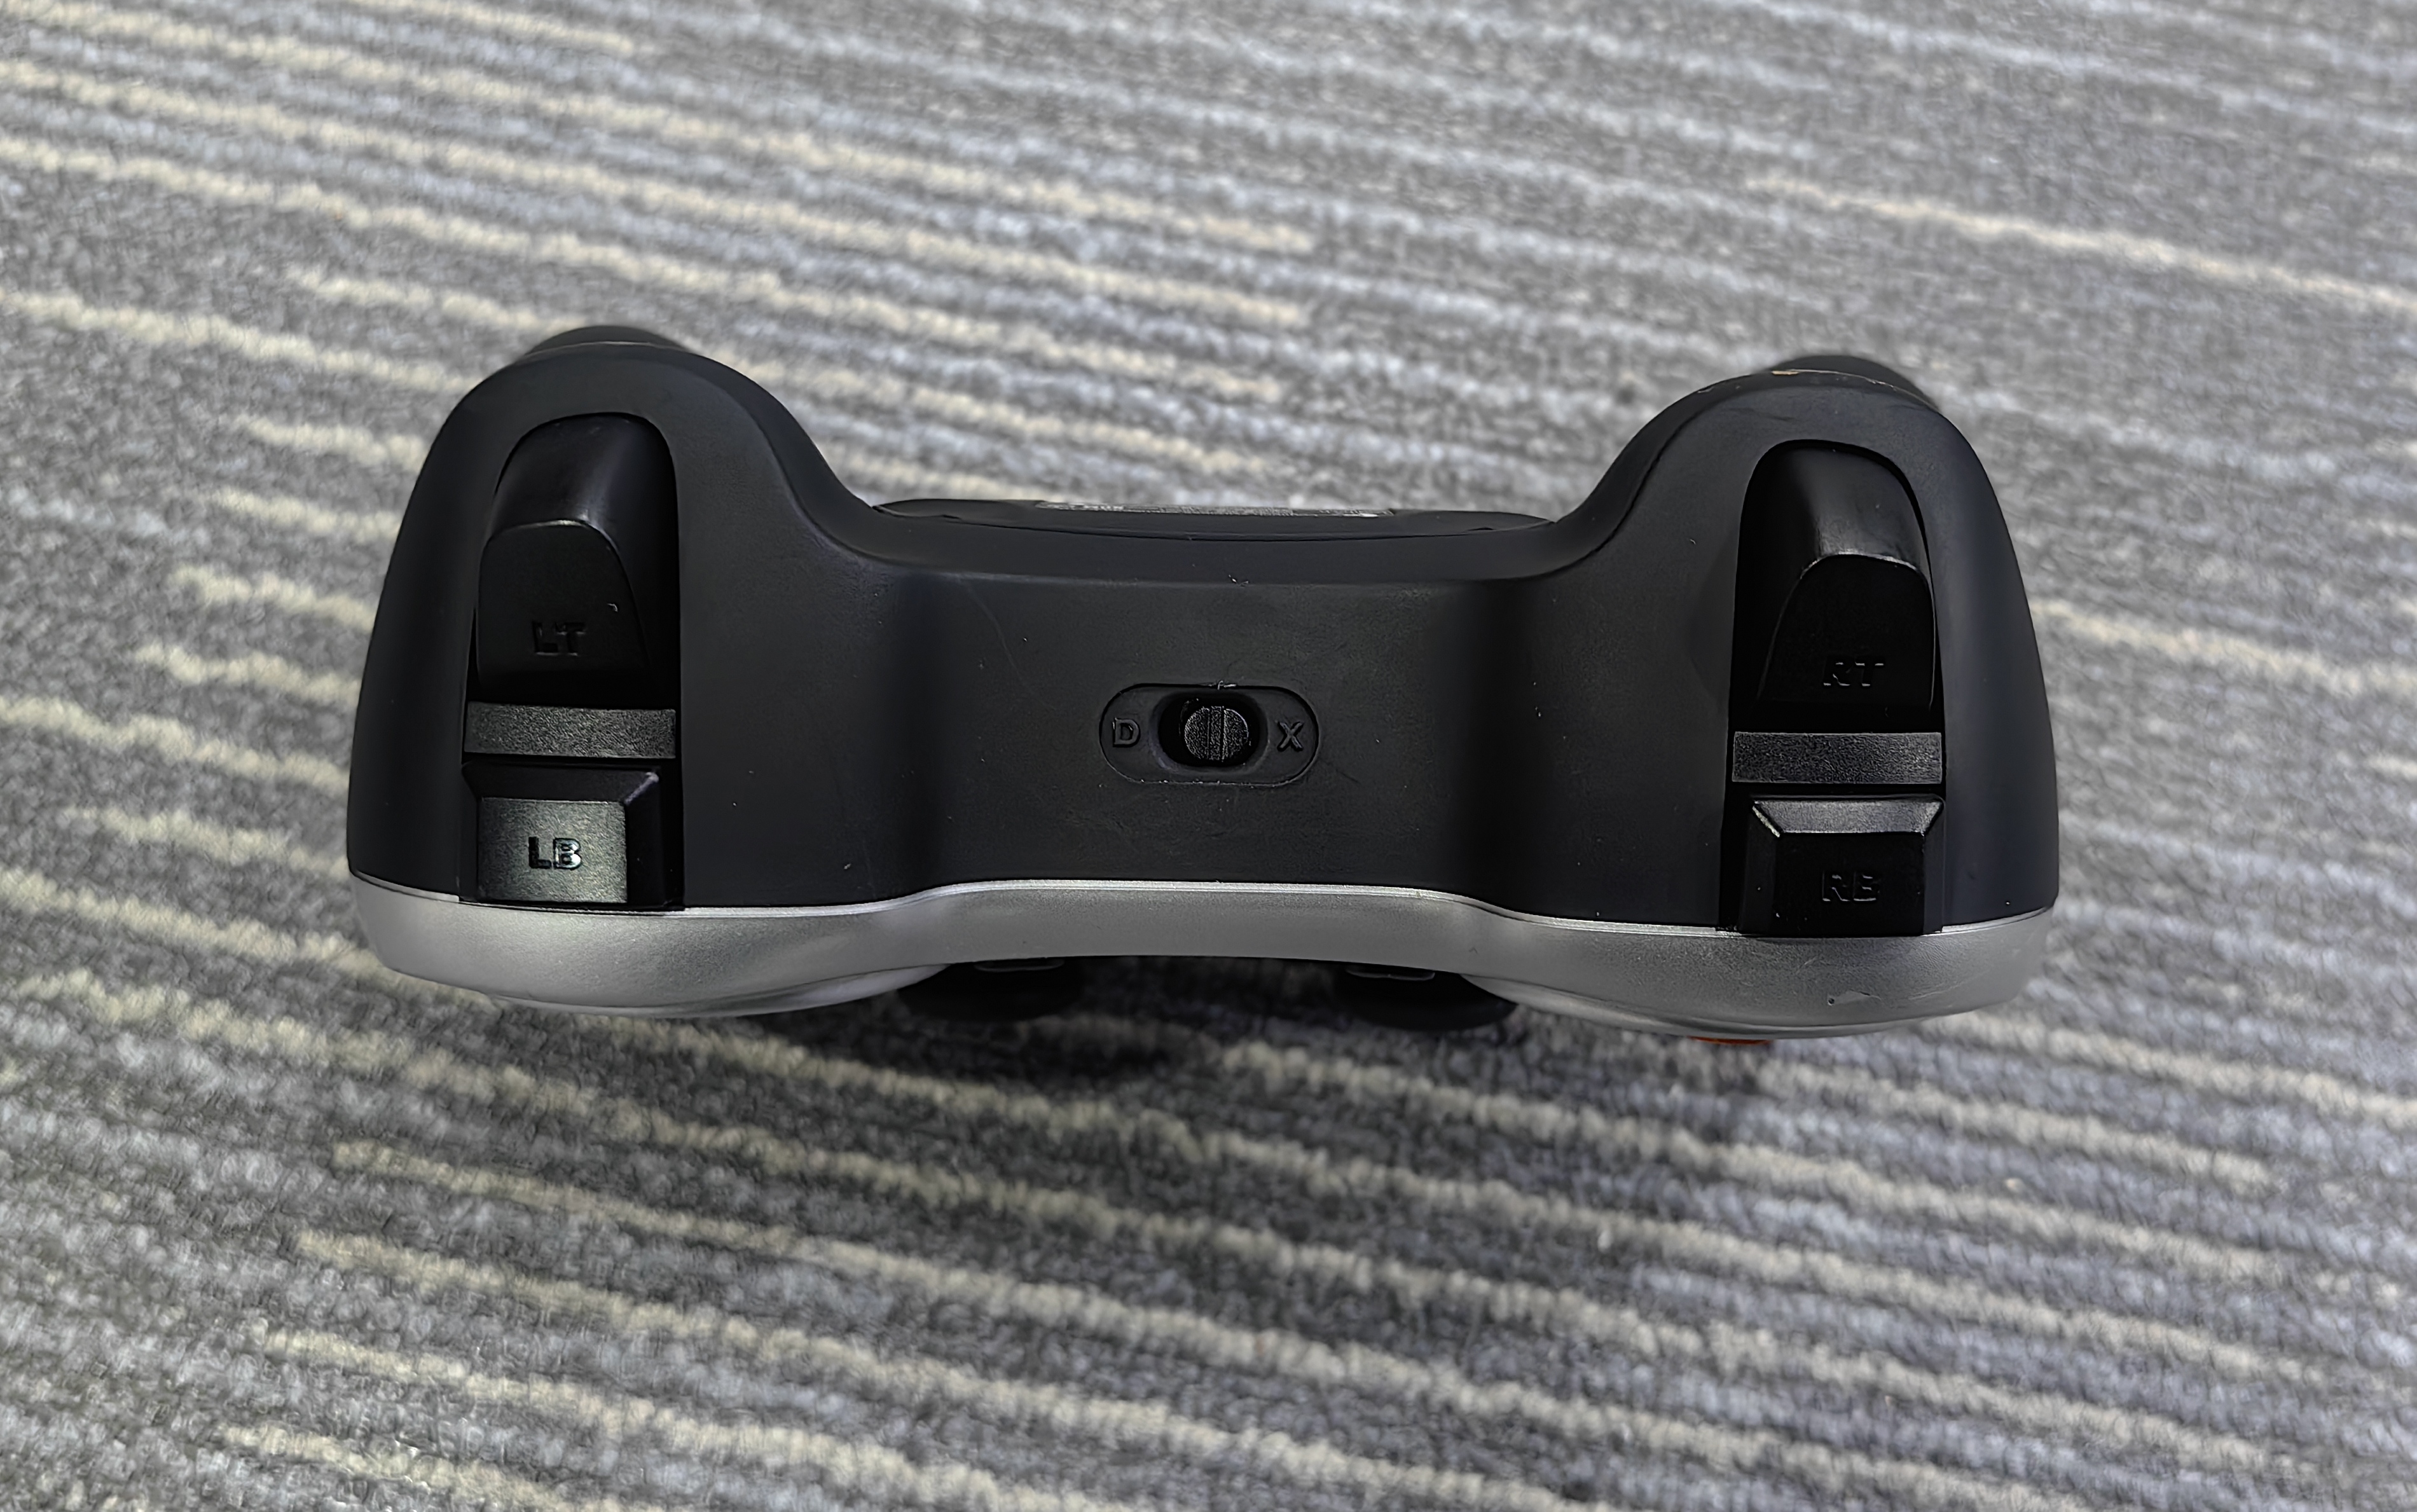
Caution
Press the MODE button at the lower left of the center of the controller face so its indicator turns off, and move the switch in the center of the controller's front edge to X.
The controls are described below:
| Mode | RobotStates | Controller Button | Description | How to Exit | Light Pattern |
|---|---|---|---|---|---|
| Self-check mode | READY |
LB + RB |
Press quickly when the yellow light first turns on to enter calibration mode after self-check | Automatically enters standby mode after the self-check passes | Head/body: solid yellow |
| Standby mode | STOPPED |
Start |
System ready; remote-control mode is available | / | Head/body: solid white |
| Remote-control mode | STARTED |
Right joystickLeft joystickLT/RTX |
Right joystick: Turns the headLeft joystick: Moves the baseLT/RT: Raises/lowers the bodyX: Enters backpack teaching mode |
Press Back to return to standby mode |
Head/body: solid green |
| Backpack teaching mode | TELEOP_UNSYNC |
LB + RB |
Ready state for entering backpack synchronization mode | Press Back to exit |
Head: solid white Body: solid light blue |
| Backpack synchronization mode | TELEOP_SYNC |
— | The teaching backpack directly controls the robotic arms | Press Back to exit |
Head/body: solid light blue |
| Any mode | — | Back |
General exit button; exits the current mode and returns to the previous state | — | — |
Caution
When you press Back to exit remote-control mode (head/body: solid green):
- The robot automatically lowers both arms and returns to the standby-mode pose.
- Make sure there is sufficient safe clearance below and around the robotic arms.
- Make sure no people or other equipment are within the robotic arms' range of motion.
After exiting, the robot returns to standby mode (head/body: solid white).
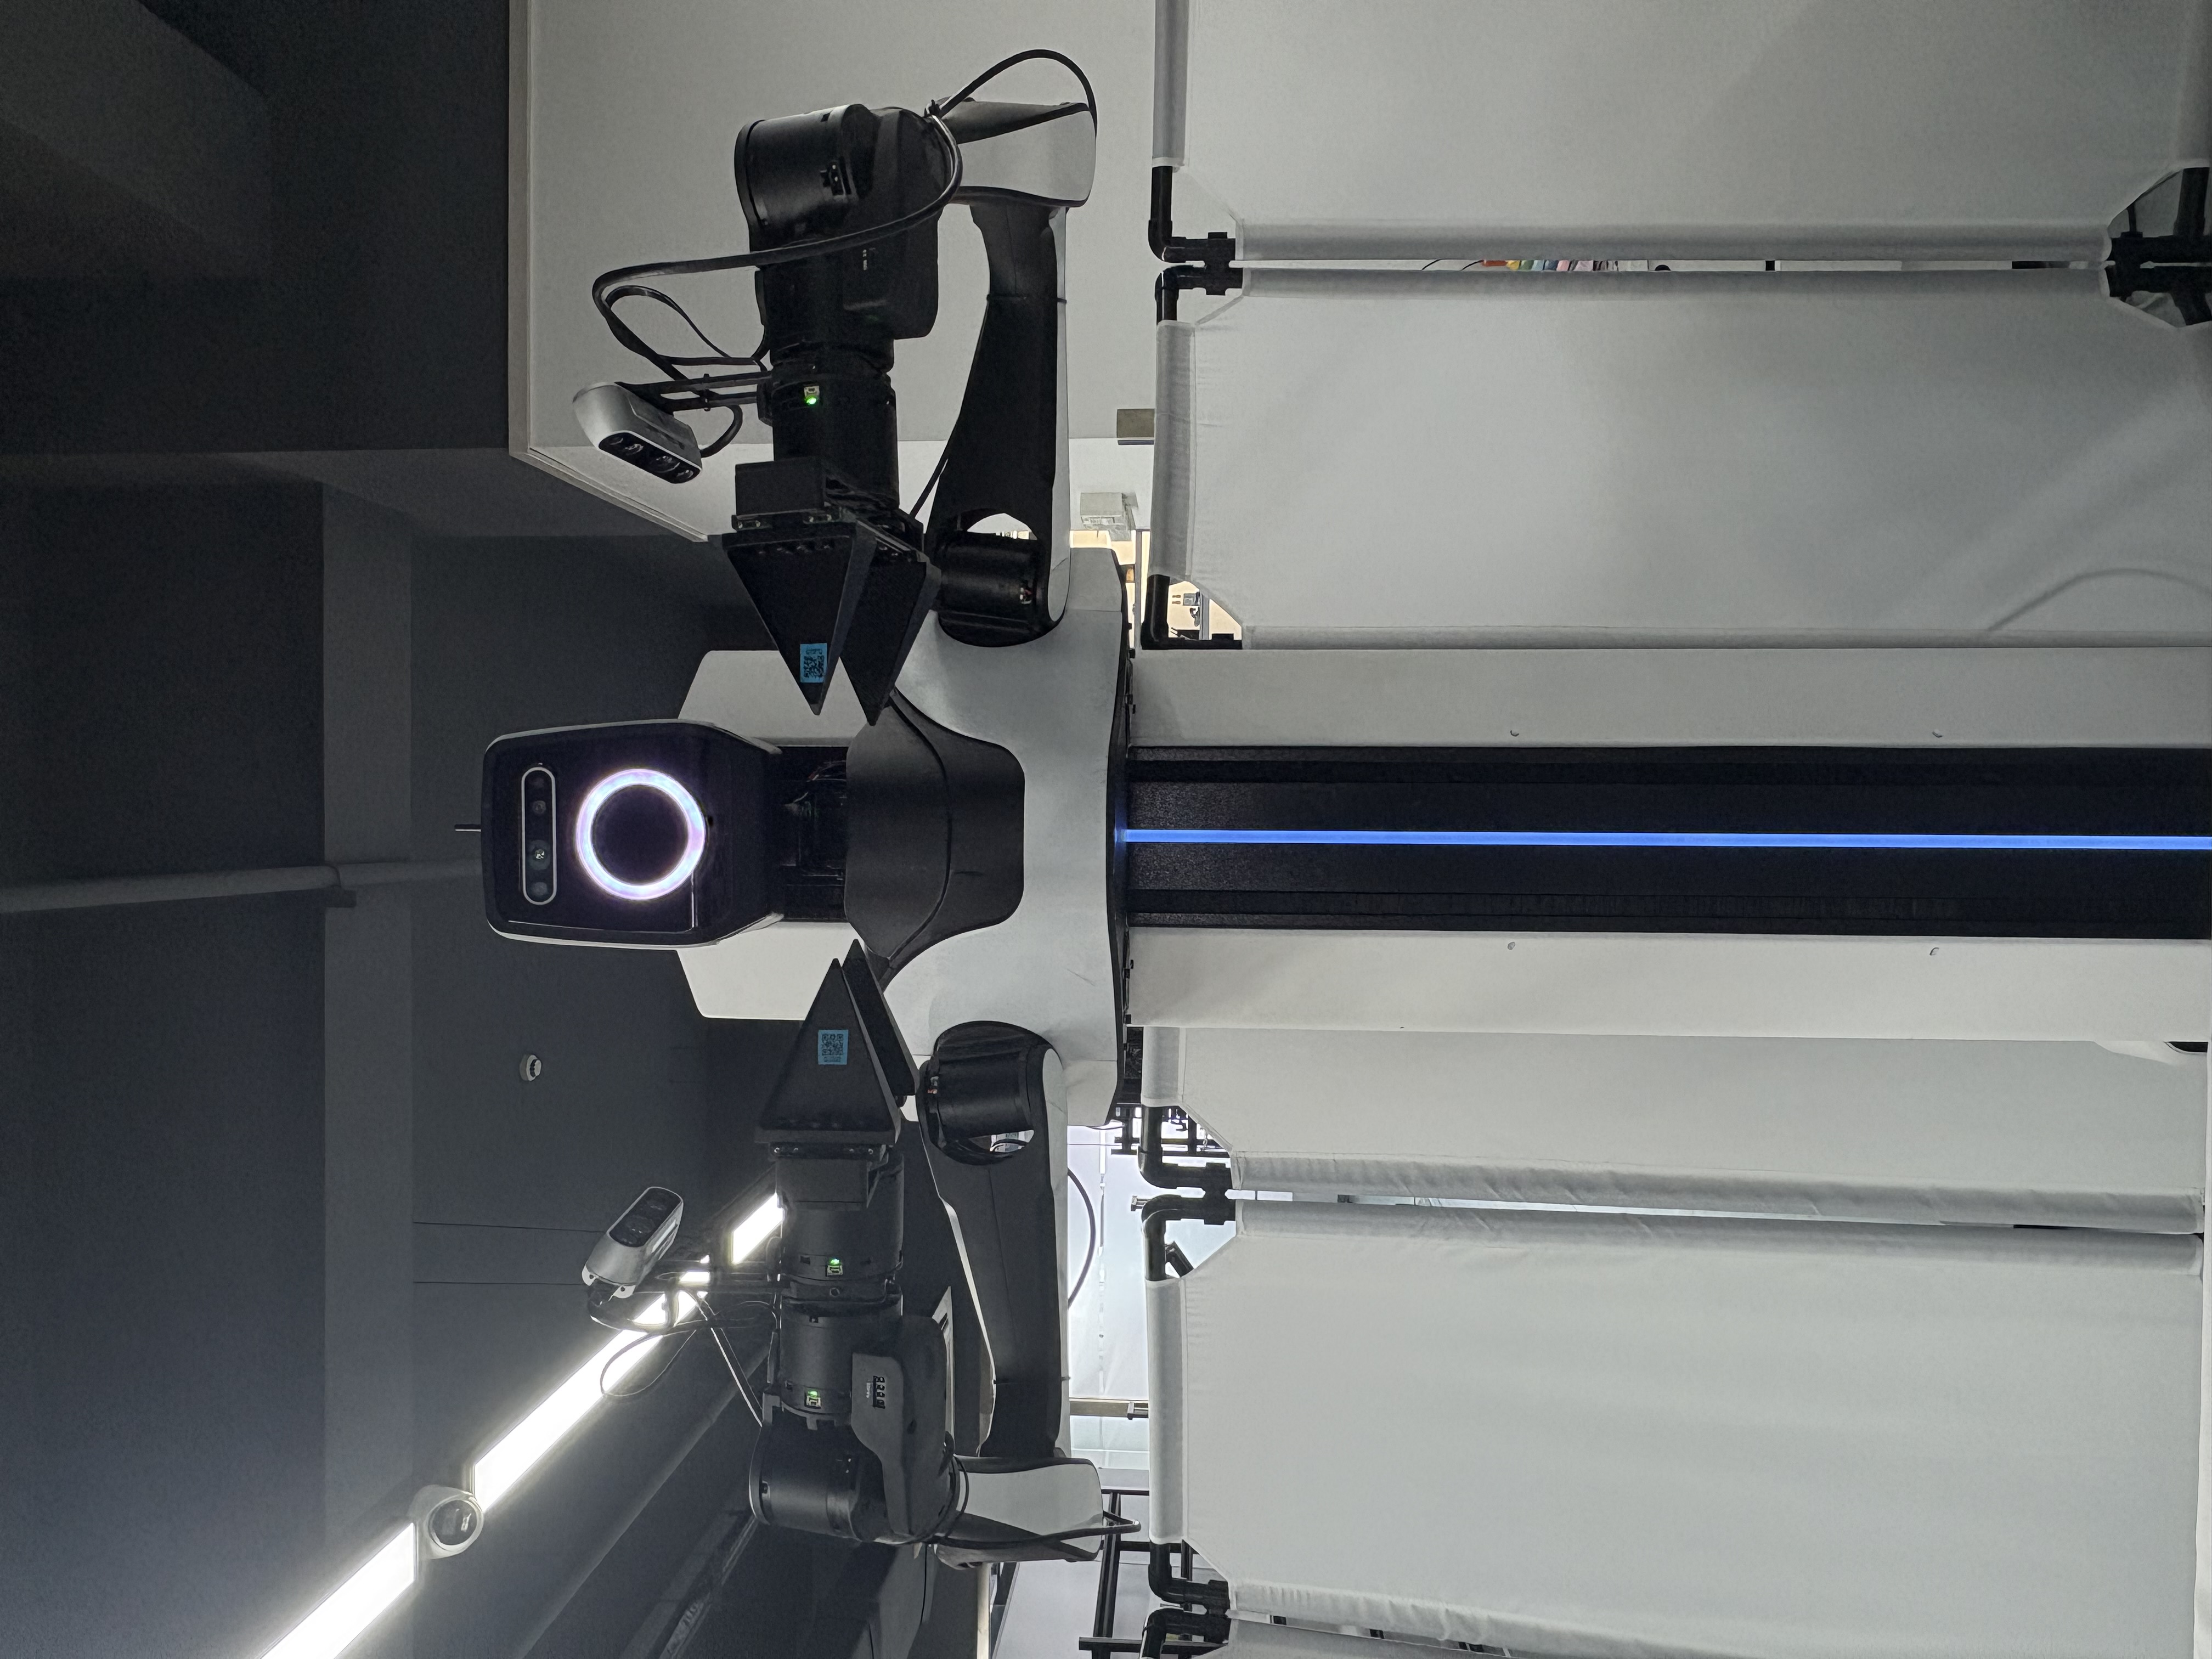
Backpack Teaching Mode
Teaching Backpack#
Hardware#
The teaching backpack has a power switch on its rear, as shown below. Turn the switch on before use.
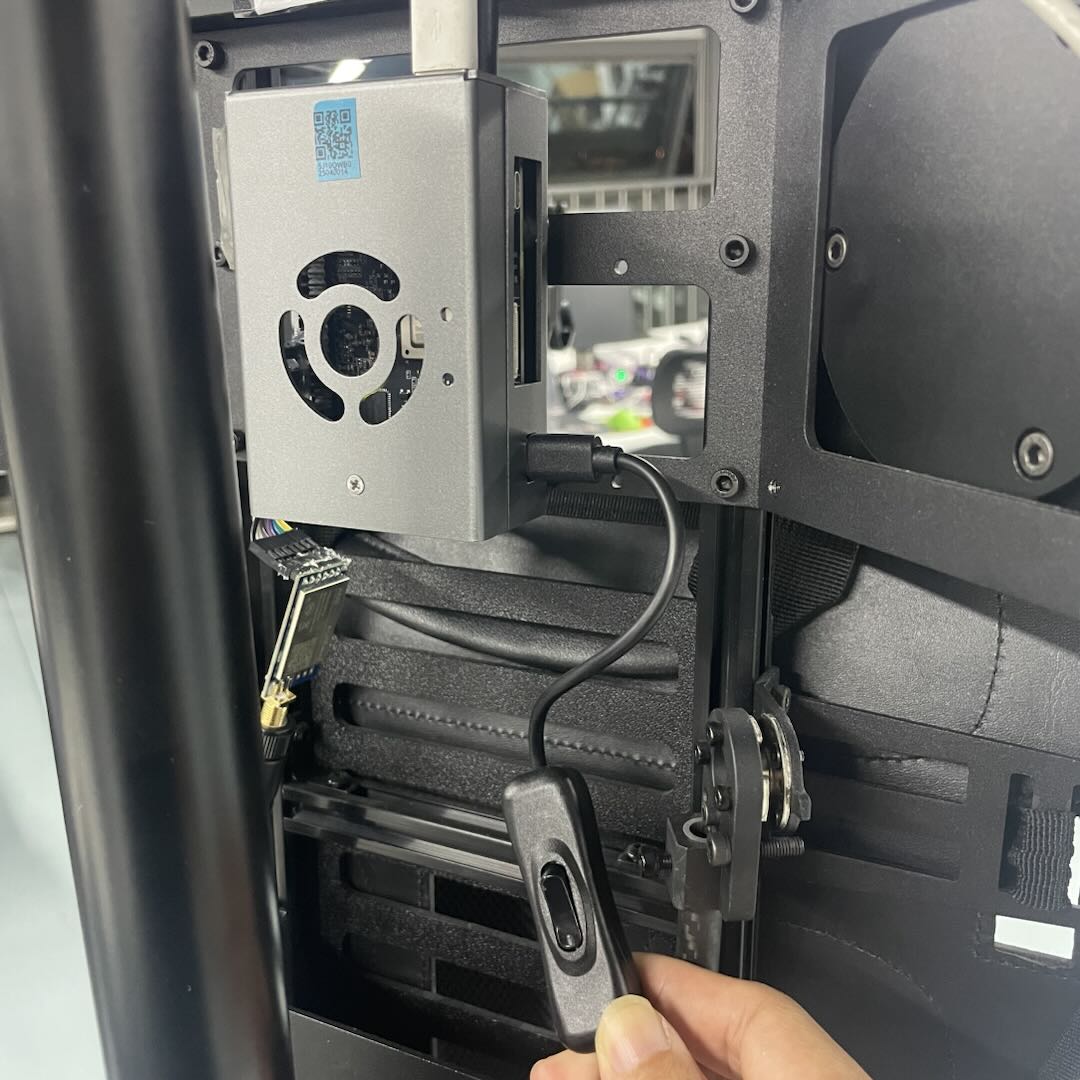
Turn On the Backpack#
Before turning it on, compare the teaching arms against the initial poses shown below. Make sure every face of each teaching arm is oriented correctly. Otherwise, a robotic-arm joint may rotate to the wrong angle, reach its limit, and fail to synchronize.
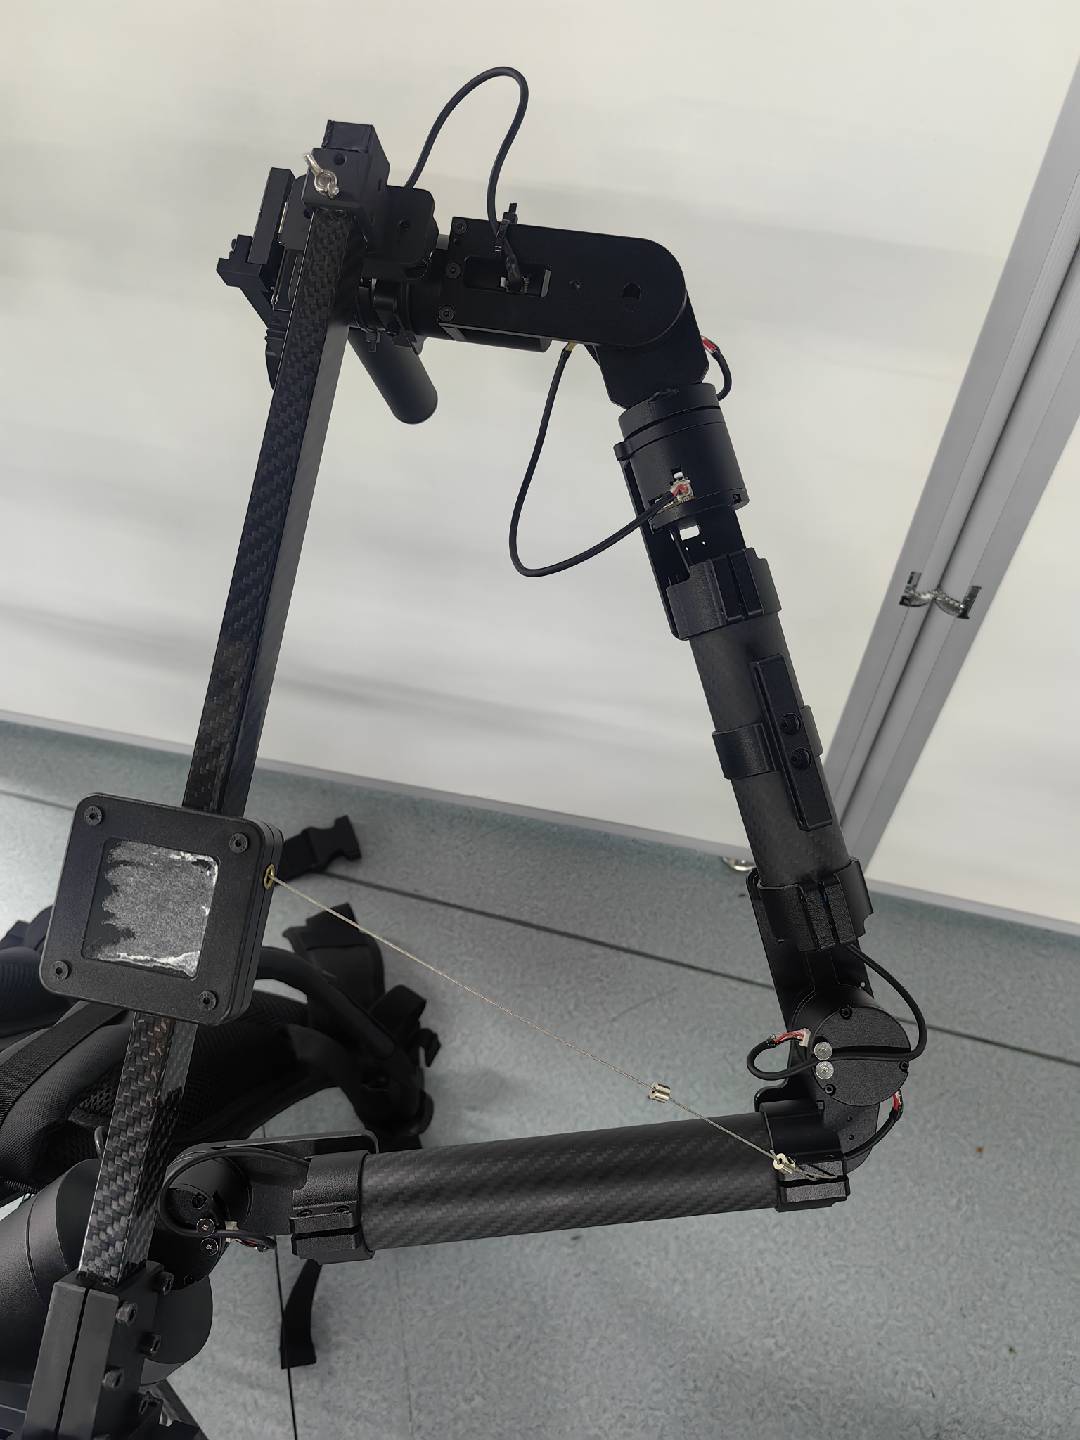
Right Arm Initial Pose
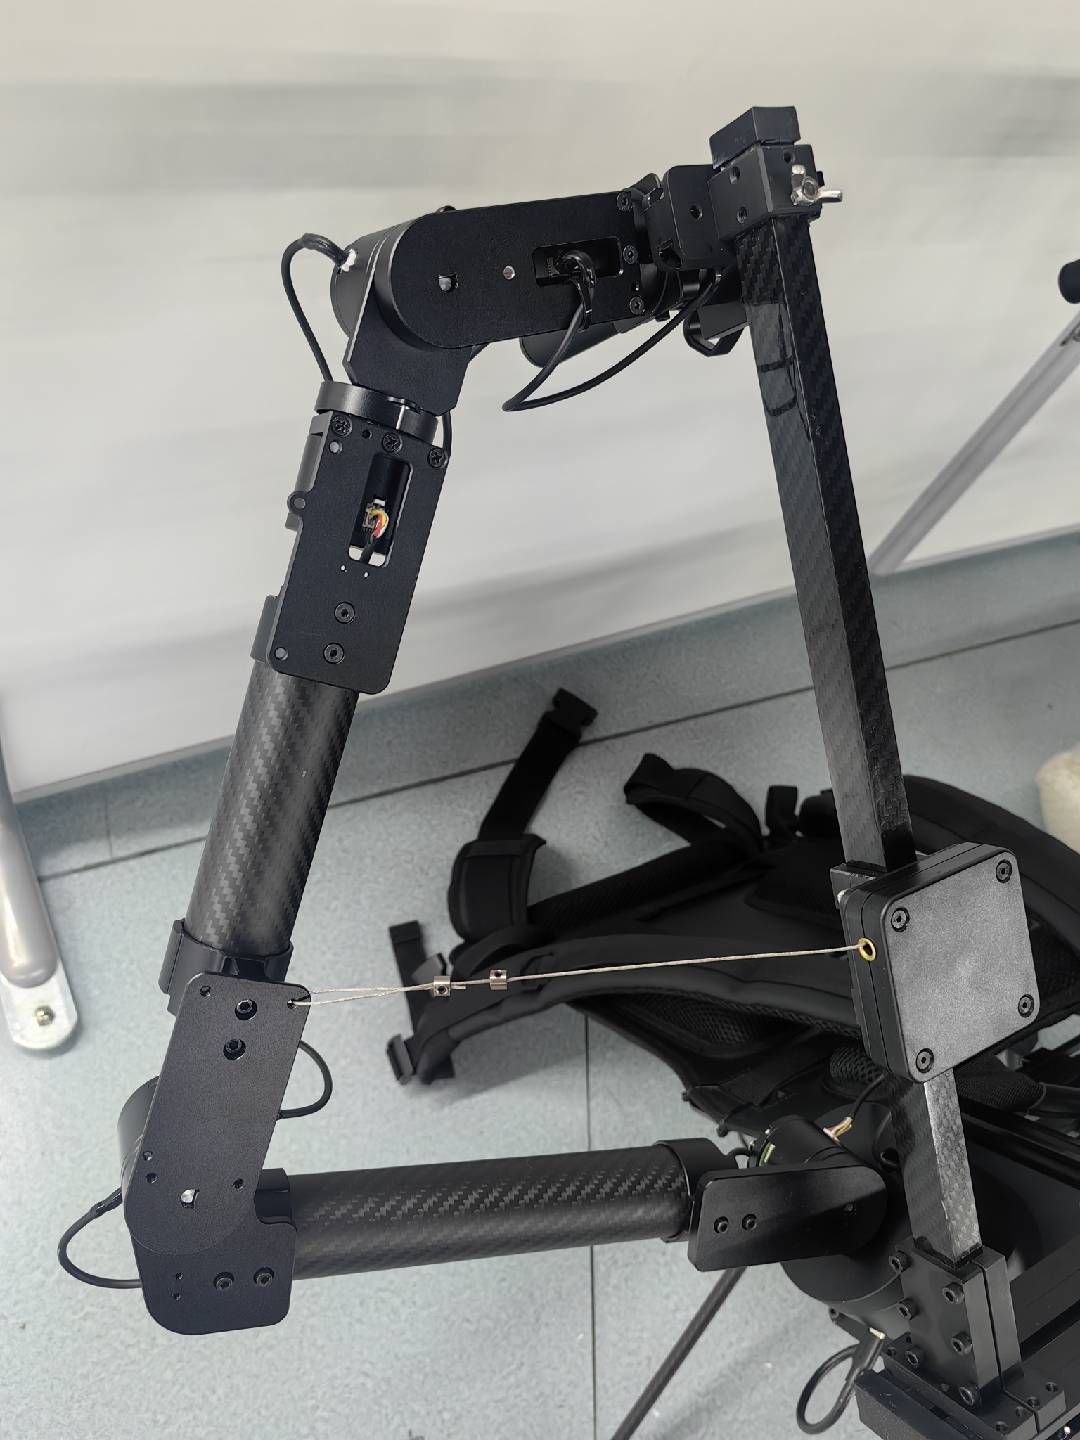
Left Arm Initial Pose
After the switch is turned on, the teaching backpack begins sending teaching-arm joint positions to the robot. After you use the controller to put the robot in backpack synchronization mode, the backpack can control robotic-arm movement.
Notes
- When putting on the backpack, always make sure that controller synchronization is not enabled. This prevents accidental contact with a teaching arm during donning from causing unexpected robotic-arm synchronization and creating a safety risk.
- When ending synchronization, promptly disable synchronization and turn off backpack power.
- If the backpack cannot synchronize, disconnect and reconnect the cable at the teaching arm's shoulder and cycle power. After power-on, restart synchronization with the controller.
- If either arm becomes inoperable during teleoperation due to overcurrent caused by a stall, restart the system to recover.
Power-Off#
- Before power-off, press
Backon the controller repeatedly until the robot returns to standby mode (solid white). - After returning to standby mode, the robotic arms automatically lower to the sides of the body. Make sure the robot has sufficient room to move and maintain an appropriate safe distance from it.
- Turn off the robot main-unit power switch.
- Press and hold the base power button to turn off the base.
Charging#
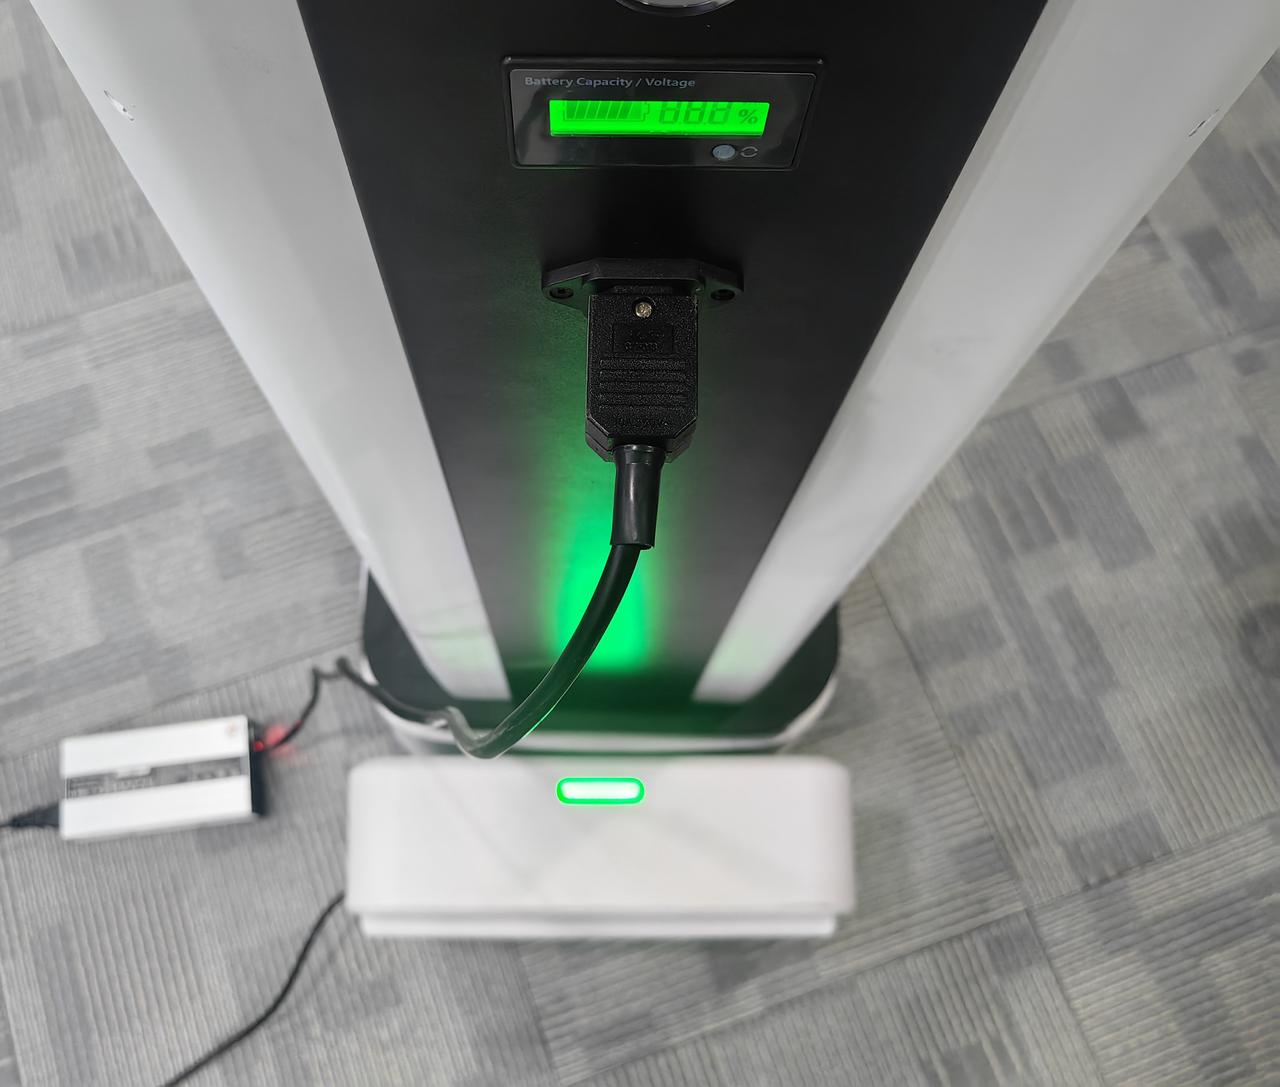
Charge the robot promptly after use. Connect the main-unit charger to the rear charging port. The base charges wirelessly through the charging dock.