ACT Model#
Initialize the Environment#
- Configure the data acquisition environment by following Data Acquisition, and then activate its Conda environment:
- Download and install the program package:
git clone --depth 1 https://github.com/OpenGHz/Imitate-All.git && cd Imitate-All
pip install -r requirements/train_eval.txt -i https://pypi.tuna.tsinghua.edu.cn/simple
Caution
Run all subsequent commands in the airbot_data environment.
Collect Data#
Follow the procedure in MMK2 Data Acquisition in detail.
After data acquisition is complete, place the dataset in the default location used by the ACT model-training program. Create the directory with:
Then copy the data manually or with the following command. Modify the path in the command as required:
The data storage format is shown below:

Configure Parameters#
Before training or inference, configure the parameters. In ./configurations/task_configs, create a Python file with the same name as the task. Use configurations/task_configs/airbots/airbot_mmk2_example.py as a reference.
Tip
For example, if the task name is mmk_stack_block_0604, copy the reference file to ./configurations/task_configs and rename it mmk_stack_block_0604.py.
For different MMK2 tasks, the following parameters generally need to be changed:
cameras: Cameras used for trainingchunk_size: Length of the action sequence predicted each timetemporal_agg: Whether to smooth single-step predictionsbatch_size_train,batch_size_validate: Directly affect training efficiency, but a higherbatch_sizerequires more GPU resources. For an 8GB graphics card, the value generally cannot exceed 4.num_epochs: Number of training epochs. More epochs take longer but may produce better training results.
Train the Model#
Prepare the dataset and configure the parameters first. At least 2 data instances are required for training; otherwise, the training and validation sets cannot be split.
Tip
The first training run automatically downloads pretrained weights. The download may fail if the terminal has no proxy. You can manually download the file by opening https://download.pytorch.org/models/resnet18-f37072fd.pth in a browser, or download the Feishu file below, and then move it to the specified directory with:
Tip
The default path may differ on some devices. If moving the file has no effect, use the terminal to locate the actual download path.
conda activate airbot_data
python3 policy_train.py -tn <task_name>
# Example: python3 policy_train.py -tn mmk_stack_block_0604
Parameter: -tn specifies the task name, which must match both the dataset name and the task name in the configuration file.
Model: The generated model is stored in ./my_ckpt/<task_name>/<time_stamp>.
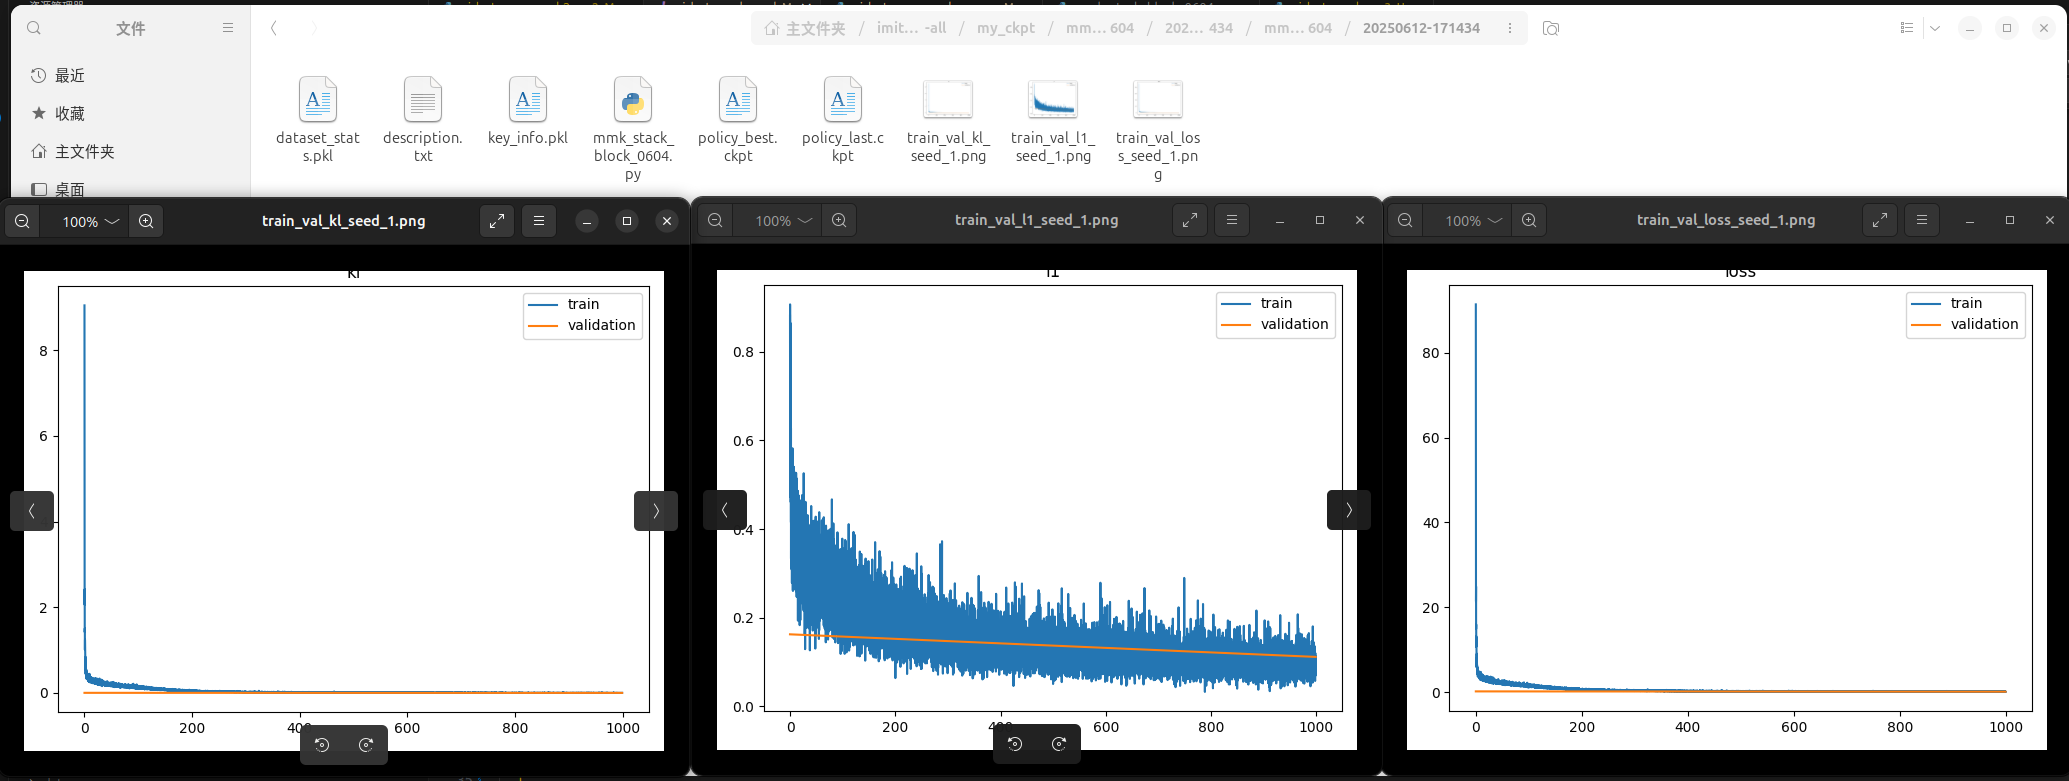
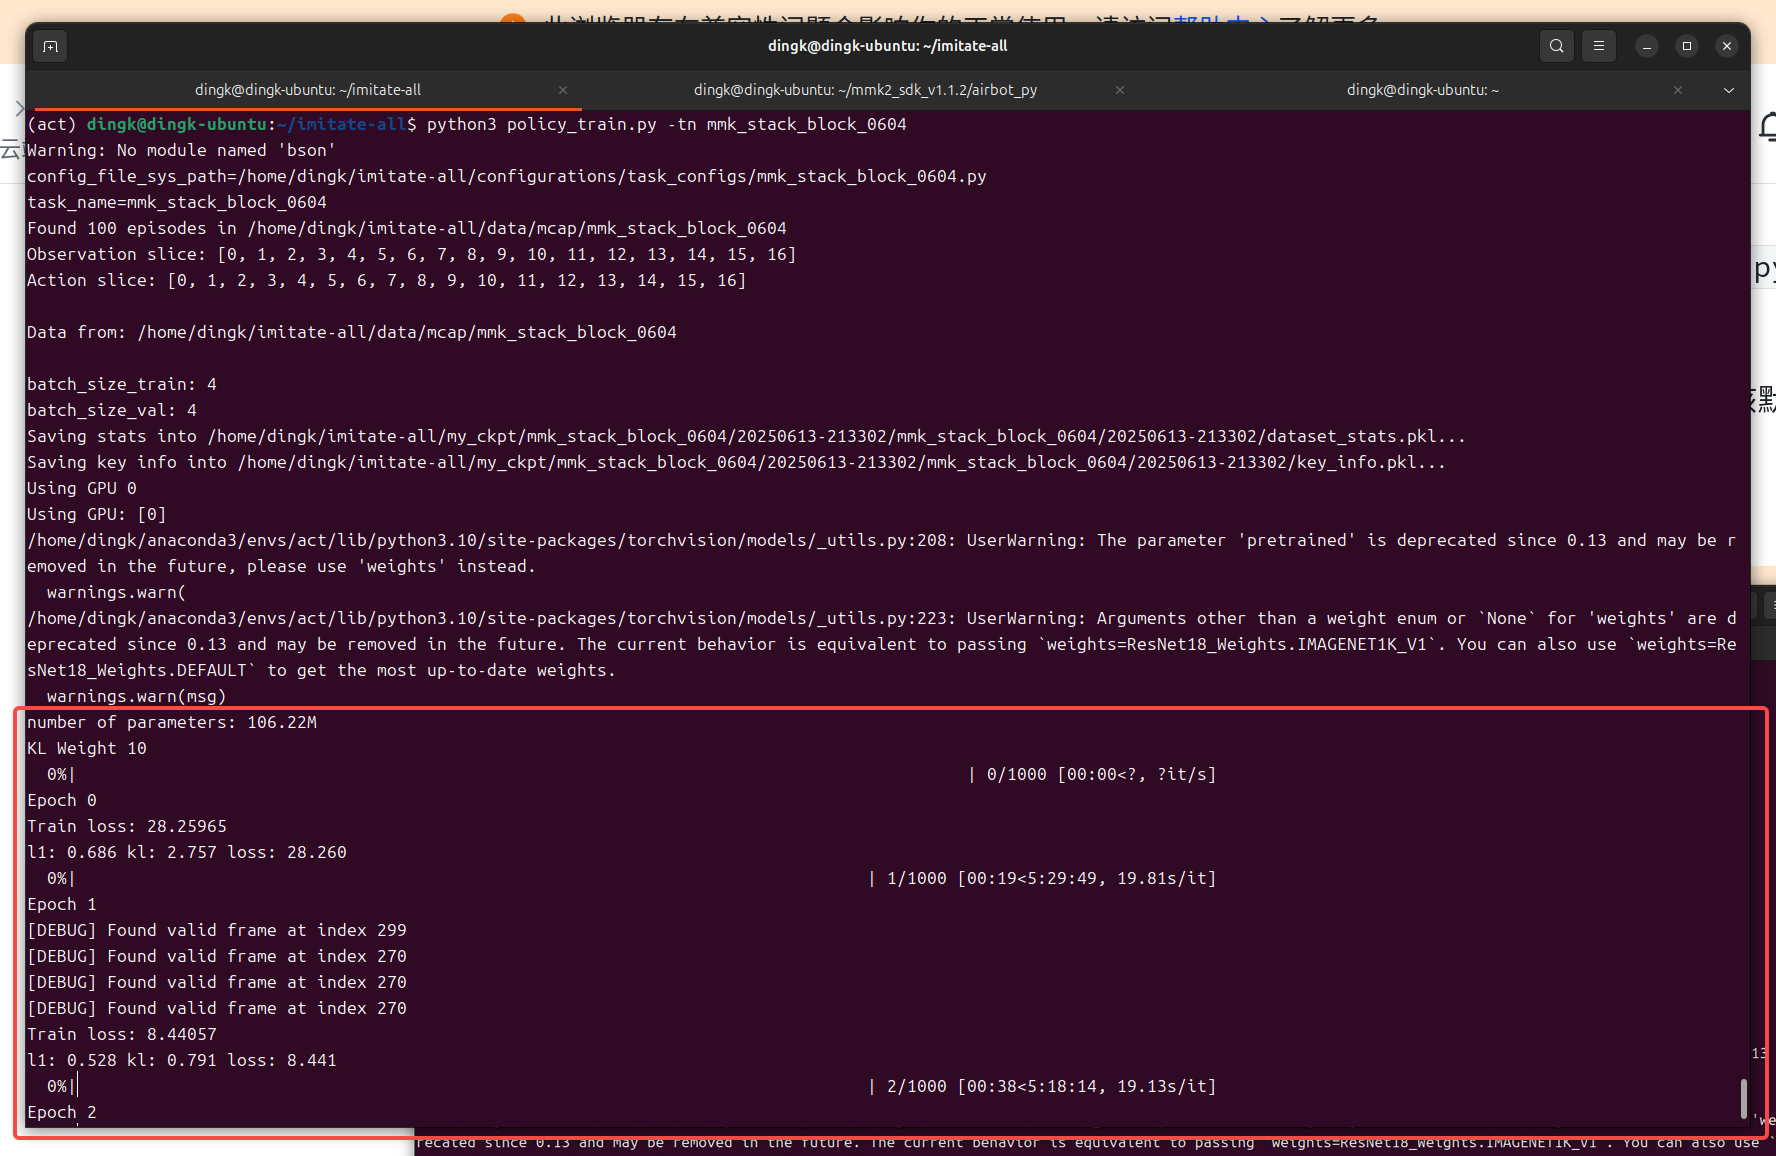
Example of a successful run:
Run Model Inference#
Activate the Environment#
Inference#
Caution
Exit teleoperation mode before inference.
Configuration File#
The configuration file is ./configurations/basic_configs/example/environment/airbot_mmk.yaml. It is configured similarly to data acquisition. The following parameters generally need to be changed for MMK2:
ip: MMK IP addresscameras: Cameras and their configuration used during inference. The number of cameras must match the training configuration file. Make sure that camera configuration matches the actual hardware. After an incorrect configuration, restart the device before reconfiguring it.
Start Inference#
Model File#
Inference locates the corresponding model file by task name and timestamp. The path format is ./my_ckpt/<task_name>/<time_stamp>.
Command#
python3 policy_evaluate.py -show -cf configurations/basic_configs/example/environment/airbot_mmk.yaml -tn <task_name> -ts <timestamp> -mts <max_steps>
For example:
python3 policy_evaluate.py -cf configurations/basic_configs/example/environment/airbot_mmk.yaml -tn airbot_mmk -ts 20250910-104530 -mts 100
Parameters#
-show: Displays camera images.-cf: Robot configuration-file path.-tn: Specifies the task name. The program uses it to locate the corresponding task configuration file and, together with the timestamp, the corresponding model file.-ts: Specifies the model-file timestamp, which is used to locate the corresponding model file.-mts: Total number of inference steps per run.
Tip
After inference starts, the terminal prints a prompt. Press Enter to begin inference. Key responses depend on the OpenCV window; click that window before pressing a key.
View Information#
After policy training, key information and dataset statistics are stored in key_info.pkl and dataset_stats.pkl. Follow these steps to view them.
Activate the Conda environment in the folder:
Then view information for a specified timestamp with:
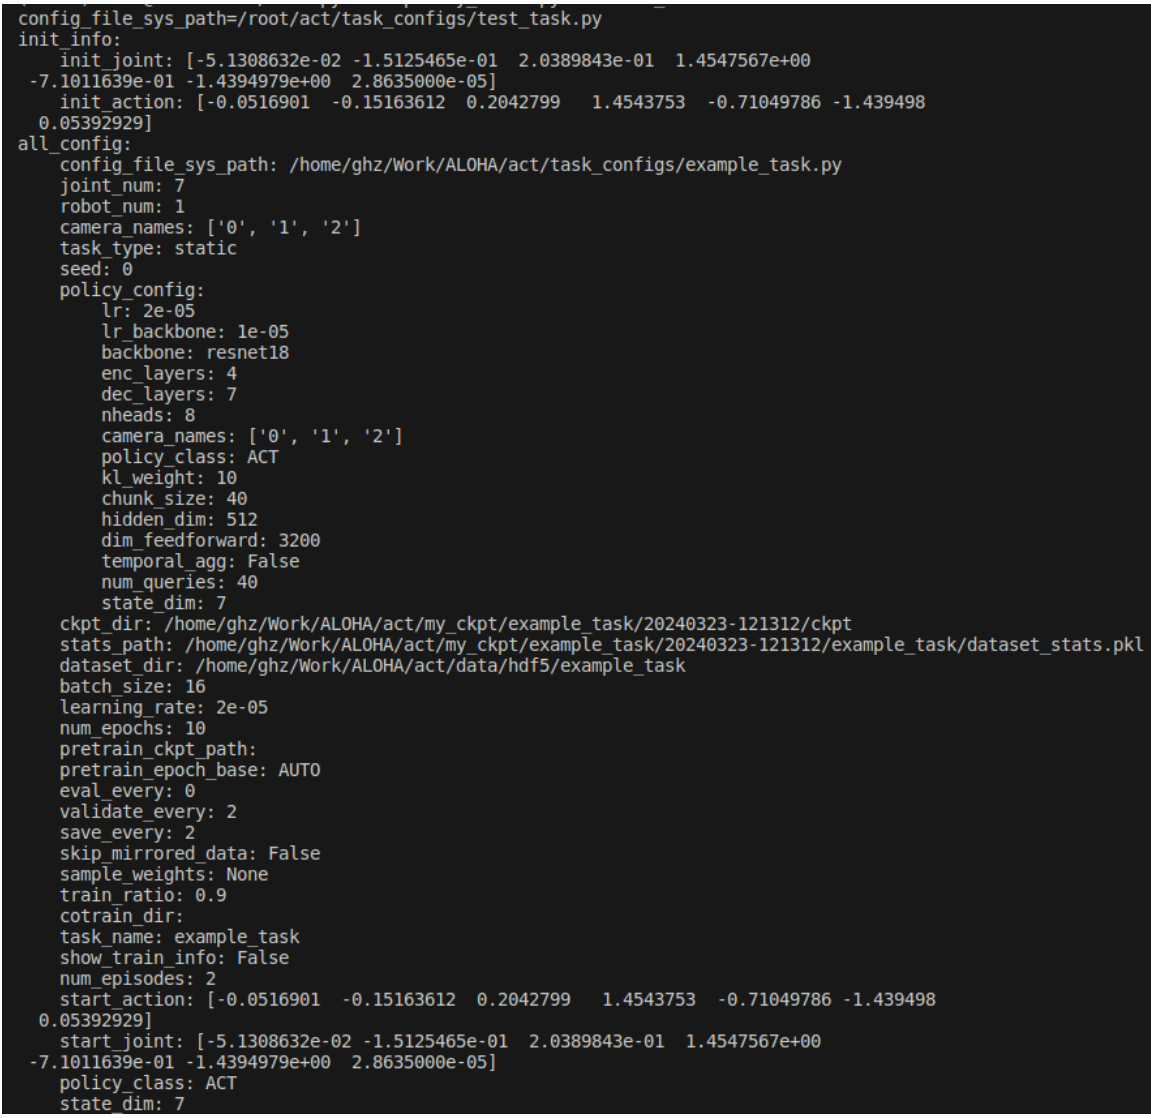
The terminal displays key information for the task, including:
Tip
Before model inference, you can preview the statistics and check for outliers to help prevent unexpected behavior during inference.
TBD