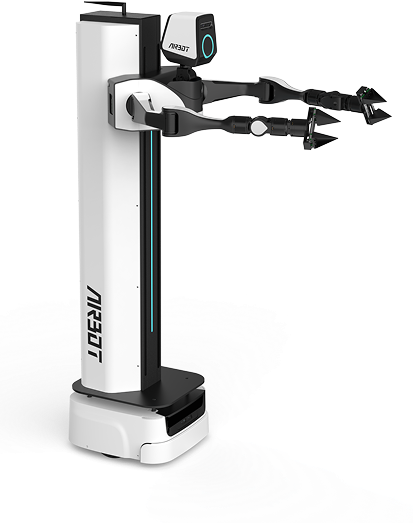
Data Acquisition#
Download the toolkit used in the installation steps below from the Changelog.
Configure the Environment#
System Requirements#
- Operating system: Ubuntu AMD64 (x86_64)
- Python: >= 3.10
- Dependency management: Anaconda (Miniconda recommended)
Install the Environment#
Create a Conda environment:
Install the Software#
Operating Environment Requirement
Run all commands in the airbot_data virtual environment.
Install the SDK#
Install the Data-Collection Package#
Version Verification
- After installing the SDK, run the following command. The expected version is 4.0.6.
- After installing data acquisition, run the following command. The expected version is 0.6.4.
After installation, the terminal may show red dependency errors. These can generally be ignored, and you can proceed to the following steps.
Collect Data#
Start the MMK2#
- Turn on base power.
- Turn on main-unit power.
- Turn on robotic-arm power.
- Enter remote-control mode: After the self-check passes (white lights), press
Starton the controller to enter remote-control mode (green lights). - Enter backpack teaching mode: Press
Xon the controller to enter backpack teaching mode (light blue body light and white head light). - Start teaching synchronization:
- Turn on teaching-backpack power.
- Put on the backpack.
- Wait 30 seconds, and then press
LB + RBon the controller to start teaching synchronization (the head light changes from white to light blue).
Connect to the MMK2#
Follow the Wired Connection instructions in Software Configuration.
Robot Configuration Files#
MMK2 Configuration File#
Robot configuration-file path: airbot_data_collection/airbot/configs/robots/airbot_mmk.yaml
    _target_: airbot_data_collection.airbot.robots.airbot_mmk.AIRBOTMMK

    ip: 192.168.11.200
    components: [left_arm, left_arm_eef, right_arm, right_arm_eef, head, spine]
    cameras:
      head_camera:
        camera_type: REALSENSE
        rgb_camera.color_profile: 640,480,30
        enable_depth: "false"
        align_depth.enable: "false"
        # serial_no: '123456'  # multiple rs-cameras case
      # left_camera:
      #     camera_type: USB
      #     video_device: /dev/left_camera
      #     image_width: "640"
      #     image_height: "480"
      #     framerate: "25"
      # right_camera:
      #   video_device: /dev/right_camera
      #   camera_type: USB
      #   image_width: "640"
      #   image_height: "480"
      #   framerate: "25"
    default_action: [
        # arms will not move when demonstrating
        -0.233,-0.73, 1.088, 1.774, -1.1475, -0.1606,    # left_arm (6 joints)
        1.0,                             # left_arm_eef (1 joint)
        0.2258, -0.6518, 0.9543, -1.777, 1.0615, 0.3588,  # right_arm (6 joints)
        1.0,                             # right_arm_eef (1 joint)
        0.0, -0.0,                       # head (2 joints)
        0.0,                             # spine (1 joint)
      ]
Parameters:
ip: Robot IP address. A wired connection is recommended whenever possible to increase the data acquisition frequency and ensure data quality.components: Robot components to use.cameras: Camera configuration parameters. Adjust them for the actual configuration.default_action: Initial robot joint angles. The order must correspond one-to-one withcomponents.
Main Configuration File#
The main data acquisition configuration file is airbot_data_collection/airbot/configs/mains/mmk.yaml.
The following settings generally need to be changed:
- Task information (
task_info). VLA models such as pi0 have requirements for textual descriptions, so make these as accurate as possible. For example:
    task_info:
      operator: xxx
      station: mmk-MK11QWZ025170023
      task_name: pick wooden blocks and place and stack
      task_description: pick the wooden blocks from the bowl with the gripper, and place all wooden blocks on the desktop,and stack the wooden blocks one by one
      task_description_zh: 用夹爪从碗中拾取木制积木,将木制积木放置在桌面上,将木制积木逐个堆叠
      task_id: 120
      # Single-skill configuration
      # skill: grasp
      # Multiple-skill example (uncomment this and comment out the single-line setting above):
      skill:
        - grasp
        - place
      object:
        - wooden blocks
        - bowl
      scene: desktop
      subtasks:
        - skill: grasp
          description: "pick the wooden blocks from the bowl with the gripper"
          description_zh: "用夹爪从碗中拾取木制积木"
        - skill: "place {A} on {B}"
          description: "place the wooden blocks on the desktop"
          description_zh: "将木制积木放置在桌面上"
        - skill: "stack {A} on {B}"
          description: "stack the wooden blocks one by one"
          description_zh: "将木制积木逐个堆叠"
- Data storage directory (dataset.directory): Data is stored by default in airbot_data_collection/data/
. - Data-collection frequency (update_rate): Frequency at which all data is updated, in Hz.
- Data-size limit (sample_limit.size): Maximum collection length, or maximum number of data points. If the data is not saved manually before reaching this limit, it is saved automatically when the limit is reached.
Start Collection#
Collection Command#
Important
- You must enter backpack teaching mode before running data acquisition. Otherwise, an error occurs.
- Data is saved in MCAP format.
Keys#
Caution
Do not press keys repeatedly, as this can cause duplicate actions.
After running the command above, use the keyboard to control operation. The keys are described below:
| Key | Function |
|---|---|
| Space | Starts recording a segment. The data is saved automatically after all frames are recorded. |
| s | Stops and saves the current recording before all frames have been collected. This results in recordings of different lengths. |
| q | Discards the current recording or re-records the previous segment. |
| r | Deletes the most recently collected data file. |
| p | Prints the current robot state in the terminal. |
| i | Displays these instructions again. |
| z/Esc | Exits the collection program. |
Procedure#
- Start the program: A live window appears for each camera.
- Start recording: Press Space to start recording data, and teleoperate the MMK2 to complete the target task.
- Discard a recording: If the demonstration is unacceptable, press
qto discard the current recording. -
Complete the task:
- Wait until the specified number of frames has been collected, or press
sto save immediately. The number of frames used for the actual task should be as close to the maximum collection-frame count as possible. - Data is saved automatically after the configured maximum number of frames is reached.
- Wait until the specified number of frames has been collected, or press
-
Save data: By default, data is saved to
data/<task_name>under the current directory.
Additional Recommendations#
- Task duration: Try to complete the task before reaching the maximum frame limit; do not end the motion too early.
- Movement speed: Do not move the robotic arms too quickly. Otherwise, the collected information becomes sparse and image quality deteriorates.
- Data backup: Back up each collected task-data folder to the same directory structure on a portable drive.
Check Data (Generally Optional)#
- Image quality: Image data must not be corrupted.
- Topic format: Topic format must meet the requirements.
Run:
Parameters:
dir: Folder containing themcapdataset.print_details: Prints detailed information for each data file.
Example output:
=== Summary Report ===
INFO:__main__:Total files: 55
INFO:__main__:Normal files: 53
INFO:__main__:Abnormal files: 2
INFO:__main__:Abnormal files and issues:
INFO:__main__:  data/mcap/mmk2_pick_and_place_wooden_blocks_0731/13.mcap:
INFO:__main__:    - Mismatch: Message len=492 > Min video frames=491
INFO:__main__:  data/mcap/mmk2_pick_and_place_wooden_blocks_0731/44.mcap:
INFO:__main__:    - Mismatch: Message len=507 > Min video frames=506
For actual training, remove files that do not meet the requirements. Otherwise, errors may occur.
Caution
By default, this check expects 3 cameras (the left hand, right hand, and head) and identifies data with missing cameras as abnormal. If only some cameras are actually used, ignore this message.
Before collecting more data, delete the status files to avoid non-contiguous data numbering:
Visualize Data#
Usage#
Double-click index.html in the data_viewer folder to open the data-visualization page in a browser:
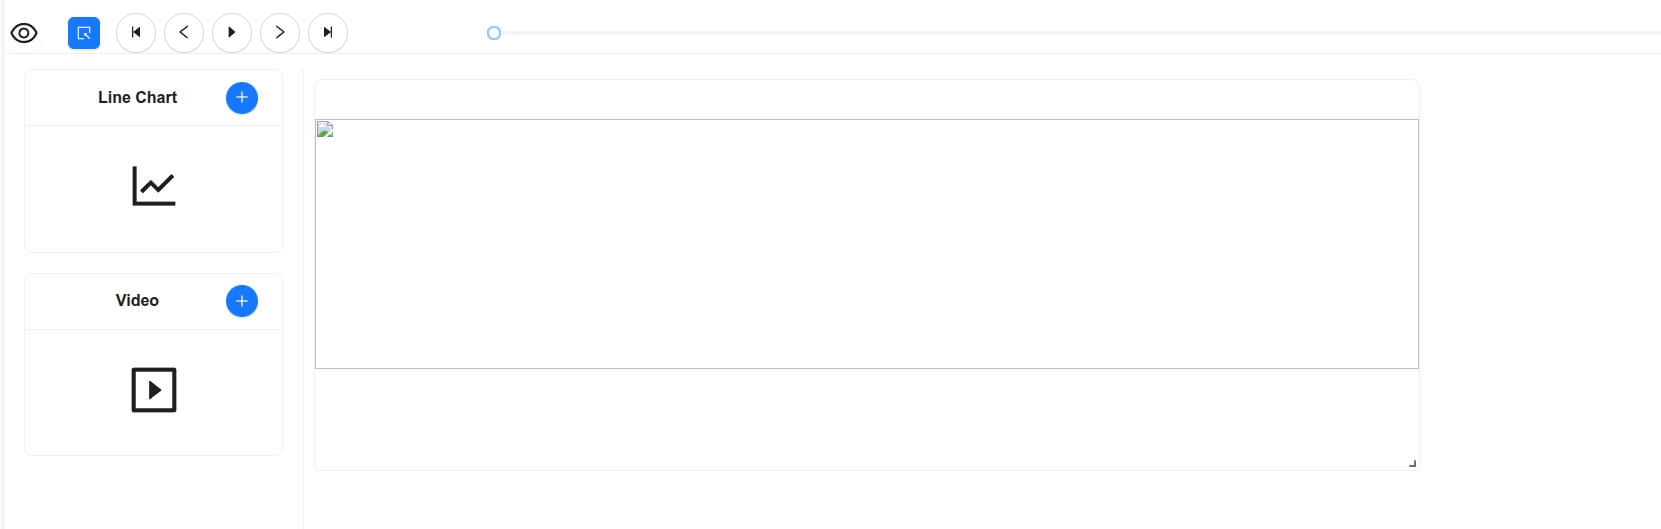
On the page, click the blue browse icon in the upper-left corner:
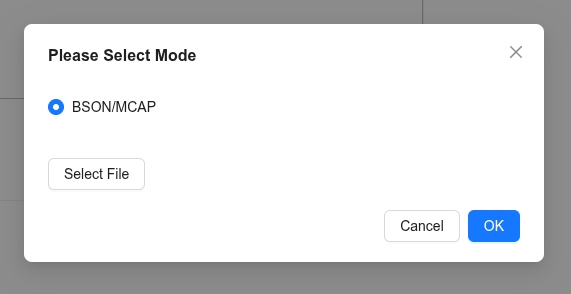
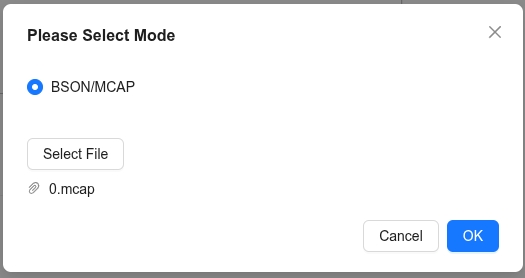
In the file-selection window, select the mcap data file to view, and click OK to import it:
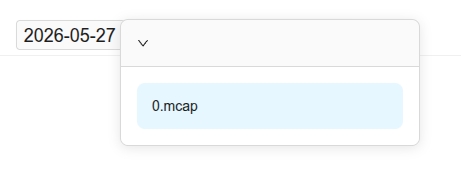
After the file is imported, click the target data file in the data list on the right. A blue background indicates that it is selected:
Click + on the left and select the data type to visualize, such as a chart or video:
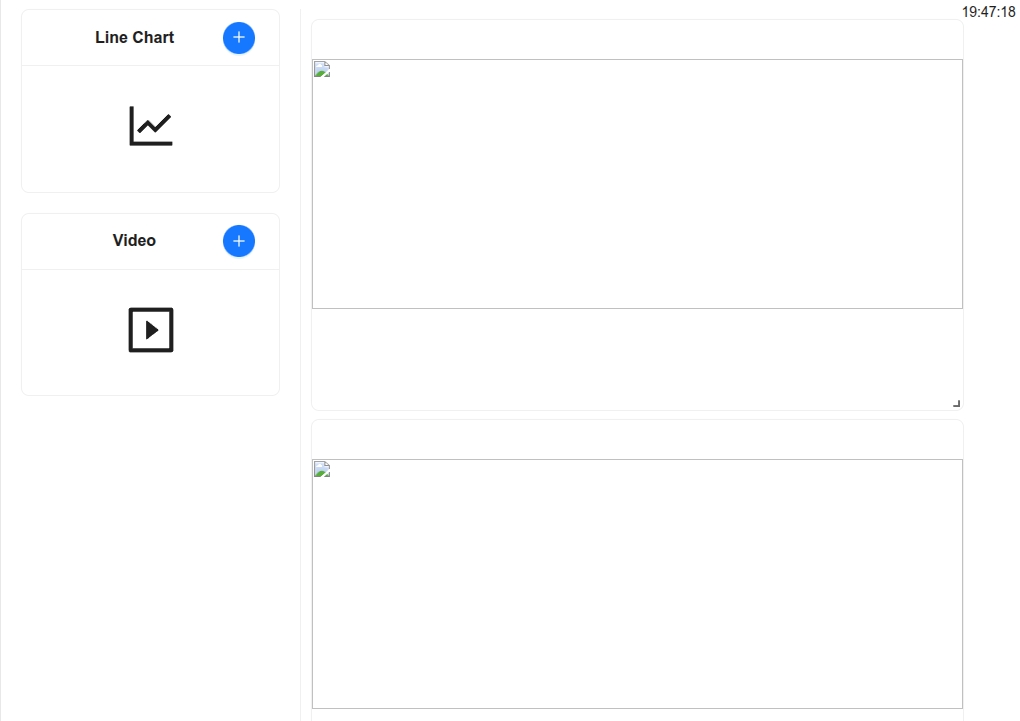
After you select a data type, a visualization window is added on the right. Right-click that window:
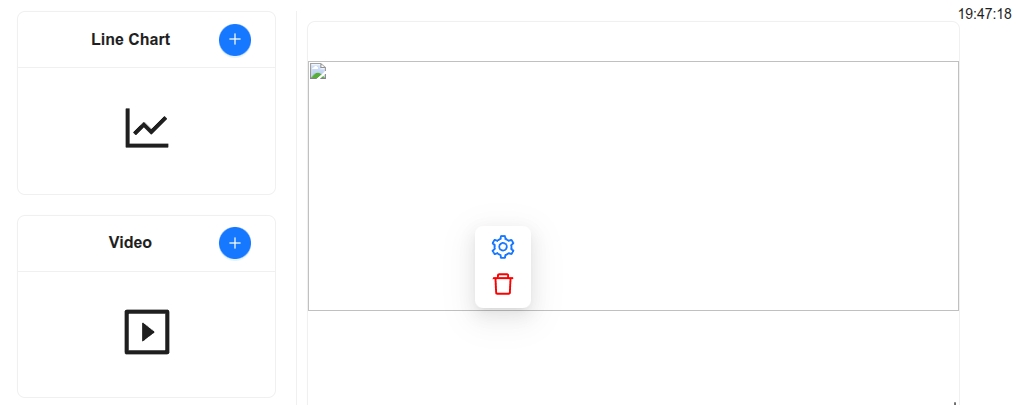
Click the blue settings button, filter for the data name to display under Topic, and click OK:
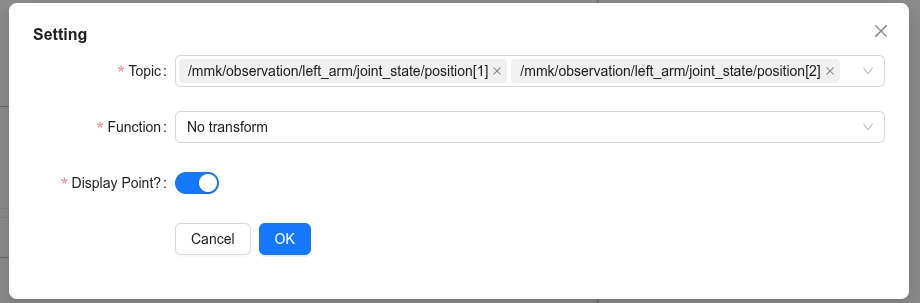
After configuration, click the playback control above the window to visualize the collected data dynamically:
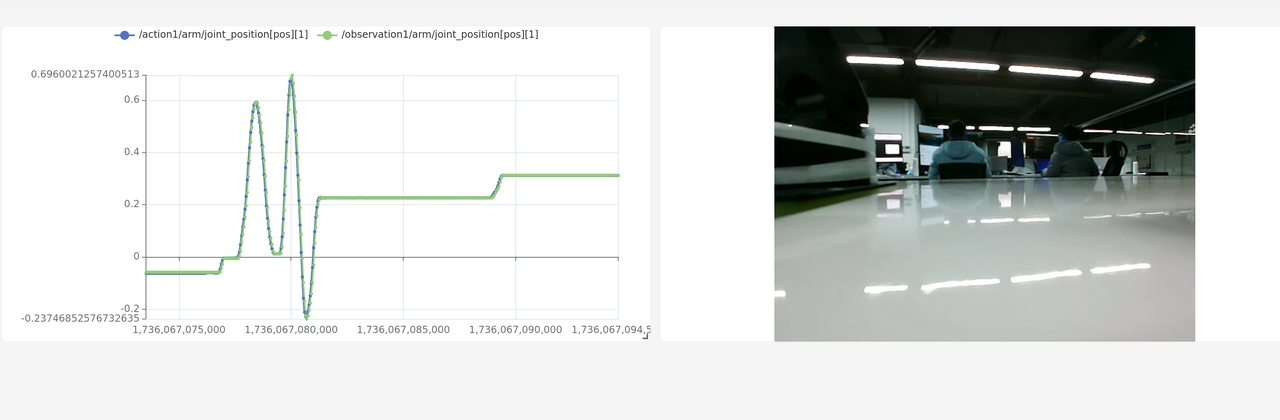
The final data visualization appears as follows:
Replay Physical-Robot Data#
Caution
Exit backpack teaching mode before replay. Start mode with green lights is recommended.
Parameters:
f: Data-replay frequency. This can generally be set to the original data frequency.ip: Robotipaddress.