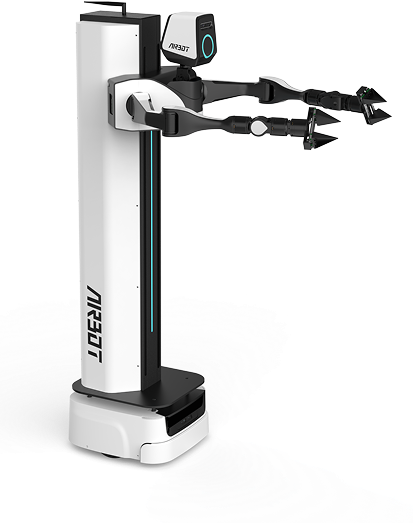
Software Installation Guide#
Version Compatibility
Applicable version: This document applies to V1.1.3.
How to check the version: Log in to the Orange Pi as described in Wired Connection, and then run:
Check the image version in the output. If it is1.1.3, you can continue with this document.
Users of older versions: If you are using a version earlier than V1.1.3, contact our technical support team for upgrade instructions before continuing.
Host Computer Requirements
- Operating system: Ubuntu 20.04 or later
- Python: Python 3.10 or later
Connect to the Orange Pi#
Method 1: Wired Connection#
-
Physical connection
Use the Ethernet cable in the robot's drawer to connect the host computer (your computer) directly to the Orange Pi.
-
Configure the host-computer network
Set the computer's wired network adapter to manual configuration mode, and configure IPv4 with the following values:
Setting Value Description IP address 192.168.11.xxx xxx can be 1–254 (except .200) Subnet mask 255.255.255.0 -
Test connectivity
Open a terminal (Linux/macOS) or Command Prompt/PowerShell (Windows), and run:
A response similar to64 bytes from 192.168.11.200indicates that the physical connection is working. -
Log in over wired SSH
ssh orangepi@192.168.11.200
# Default username: orangepi
# Default password: airbot (characters are not displayed while typing; press Enter when finished)
Method 2: Wireless Connection#
⚠️ Note: For first-time setup, configure Wi-Fi over a wired connection.
-
Initial wired login
Follow Method 1 to establish a wired connection and log in to the Orange Pi successfully over SSH.
-
Configure the Wi-Fi network
- Check Wi-Fi status.
-
Turn on Wi-Fi if it is off.
-
Scan for available Wi-Fi networks.
-
Connect to a Wi-Fi network.
-
Check the wireless IP address
After connecting successfully, run either of the following commands to view the IP assigned to the wireless network adapter:
```bash
ifconfig
```
In the command output, locate the wireless network adapter (usually named
wlan0,wlP2p33s0, or anotherwl*interface). See the example output below.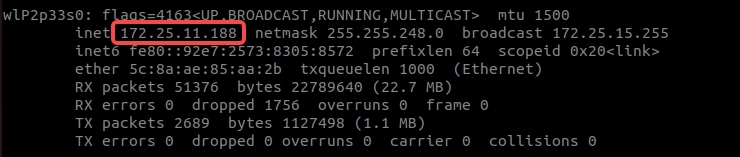
-
Test connectivity
A response similar to64 bytes from <your Orange Pi wireless IP>indicates that the physical connection is working. -
Log in over wireless SSH
After obtaining the wireless IP address, disconnect the Ethernet cable and connect remotely over Wi-Fi:
Verification
After a successful wired or wireless login, the terminal prompt changes to:
This indicates that you have successfully entered the Orange Pi system and can begin development.Install the SDK on the Host Computer#
- Install Anaconda to manage Python environments.
wget https://mirrors.tuna.tsinghua.edu.cn/anaconda/miniconda/Miniconda3-latest-Linux-x86_64.sh -O miniconda.sh
- Install Conda (enter
Enter,yes, ornoas prompted).
- Create a Conda environment. Python 3.12 is recommended.
- Install the Python SDK.